Choosing a Fine Art Landscape Print

Comment

Choosing a Fine Art Landscape Print

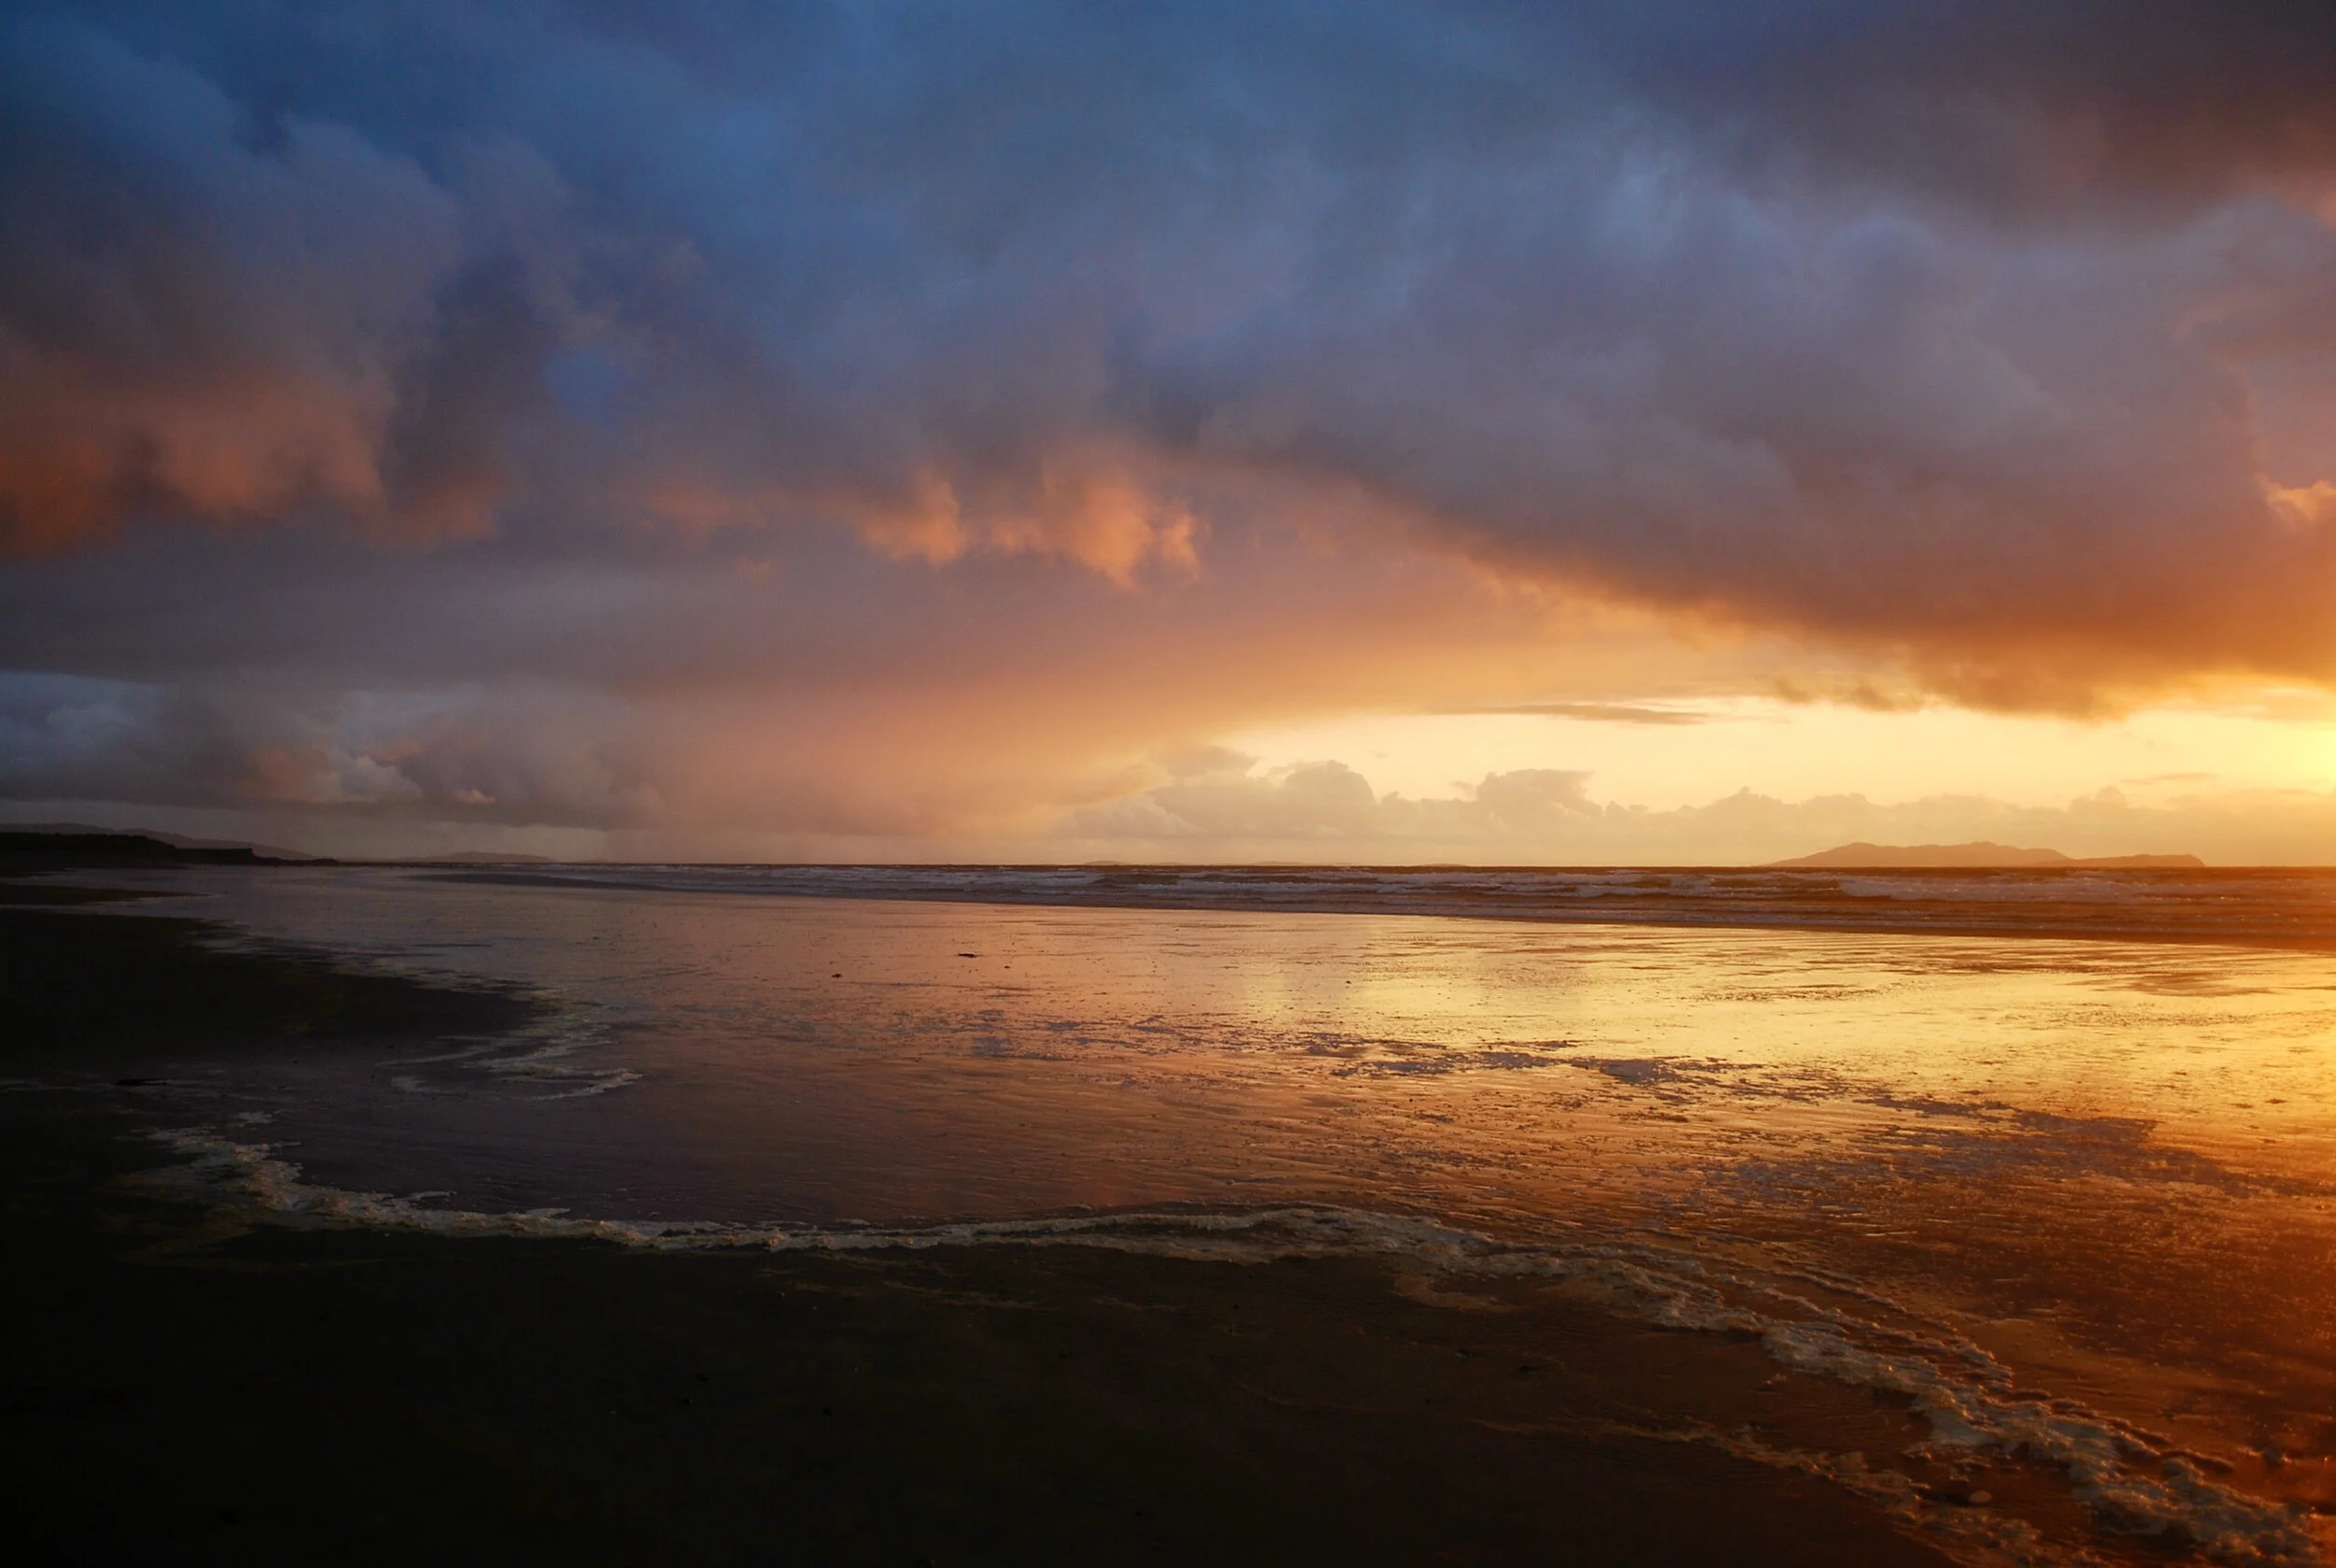
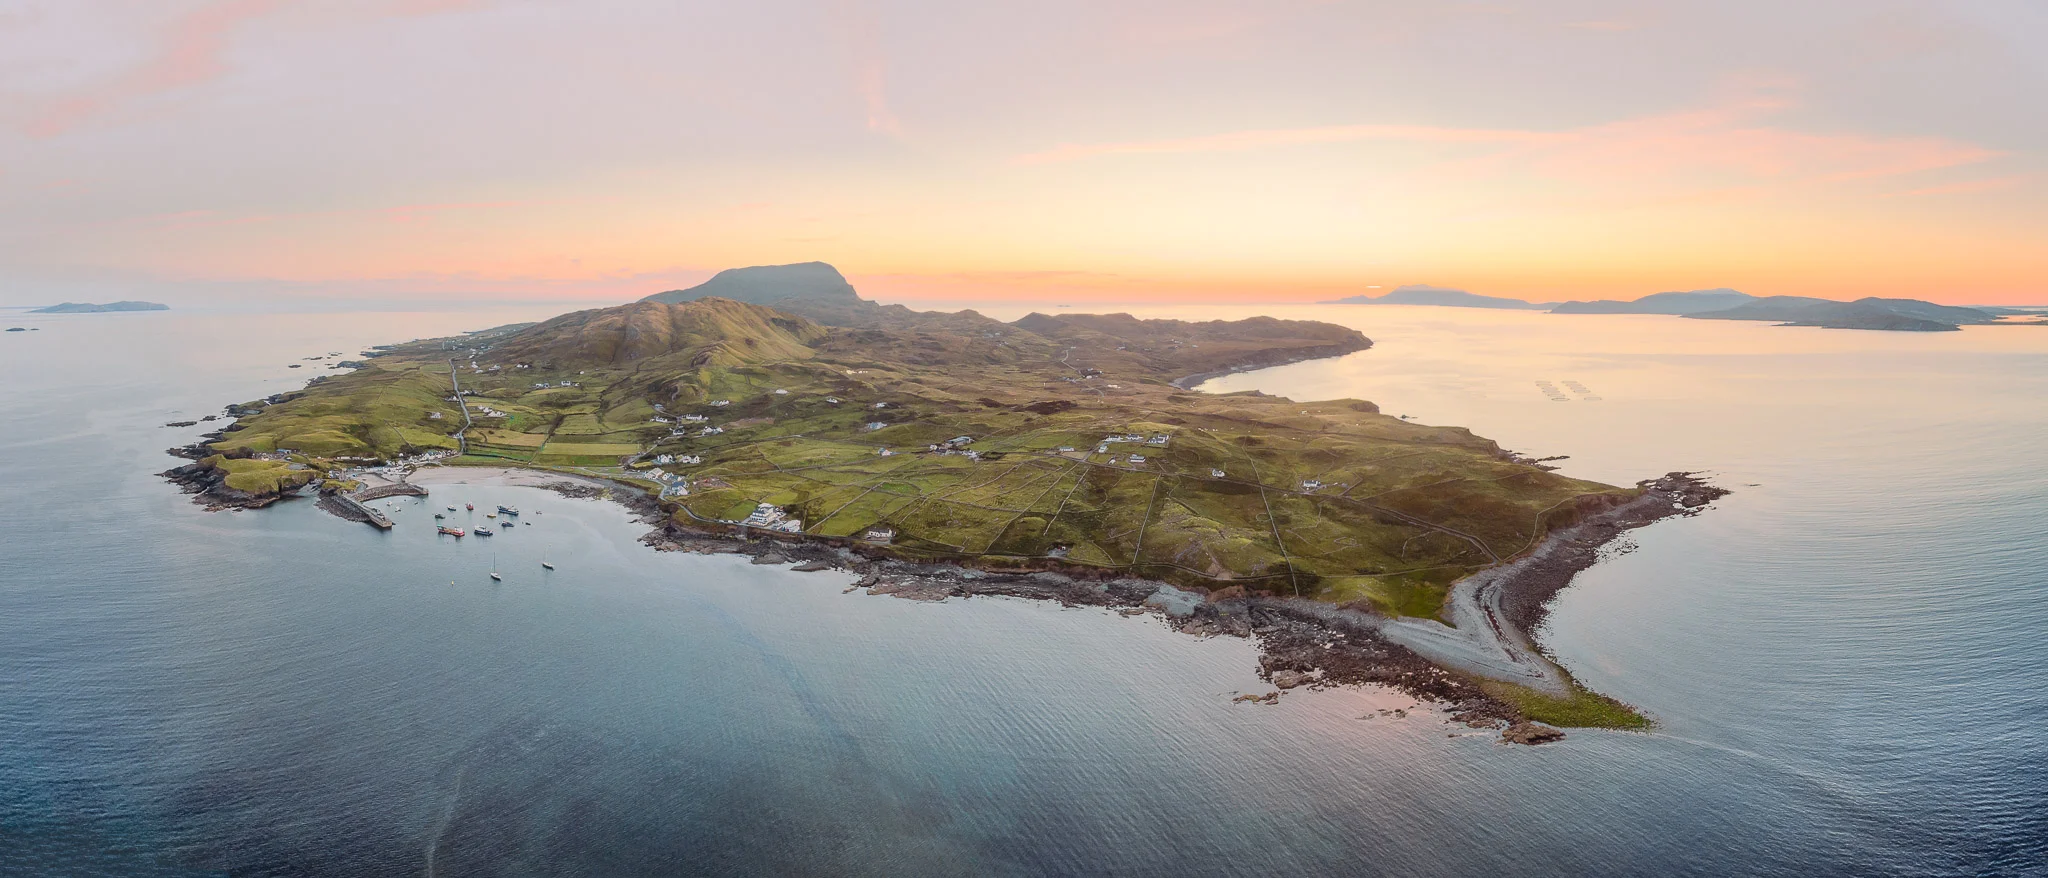
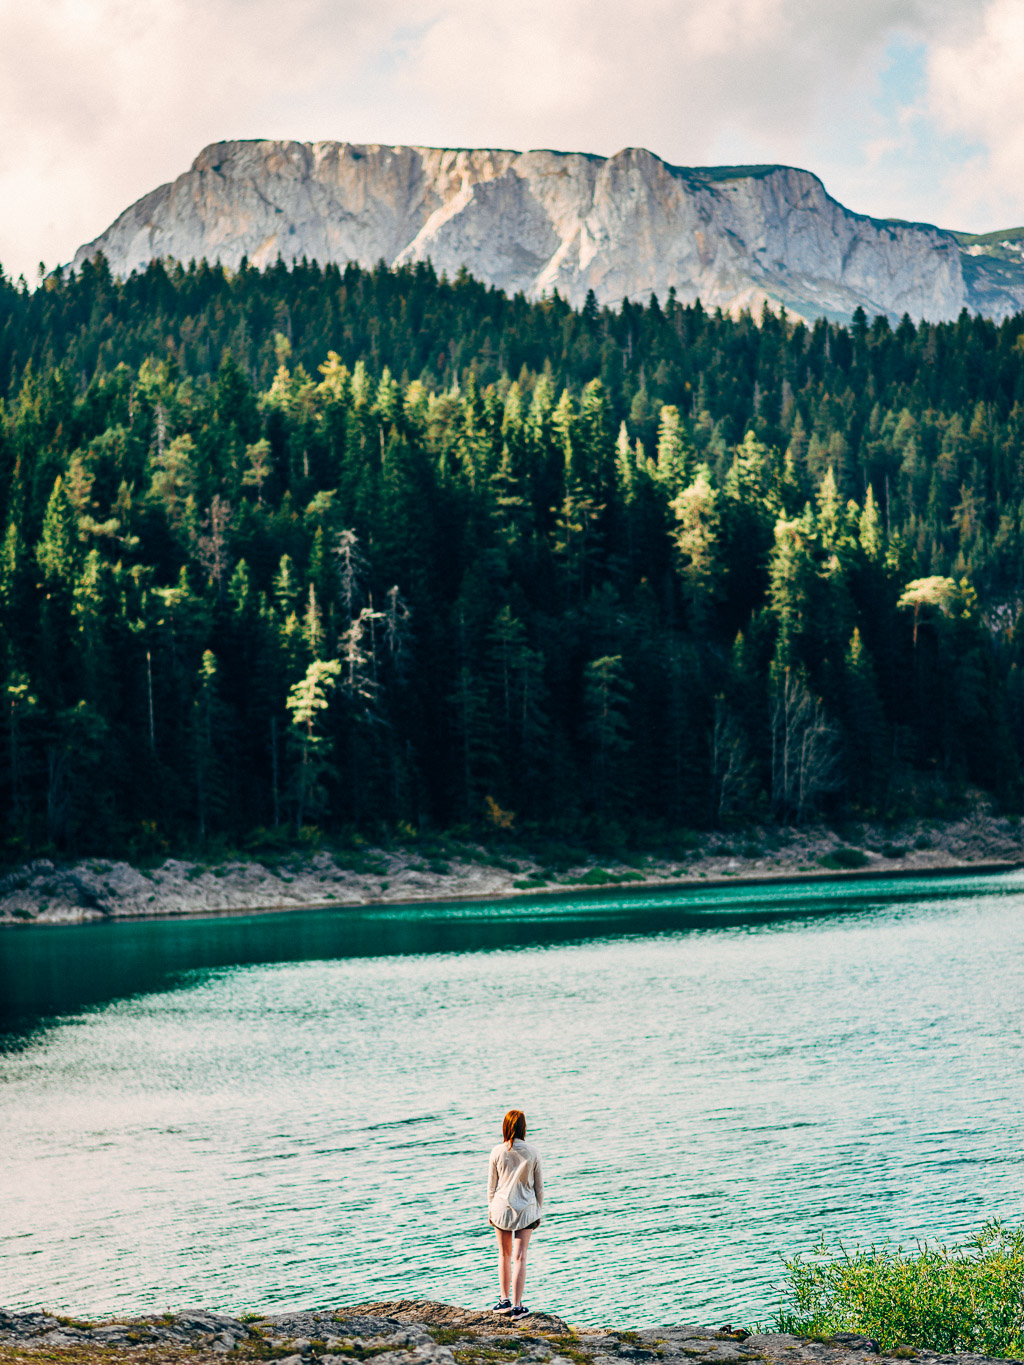
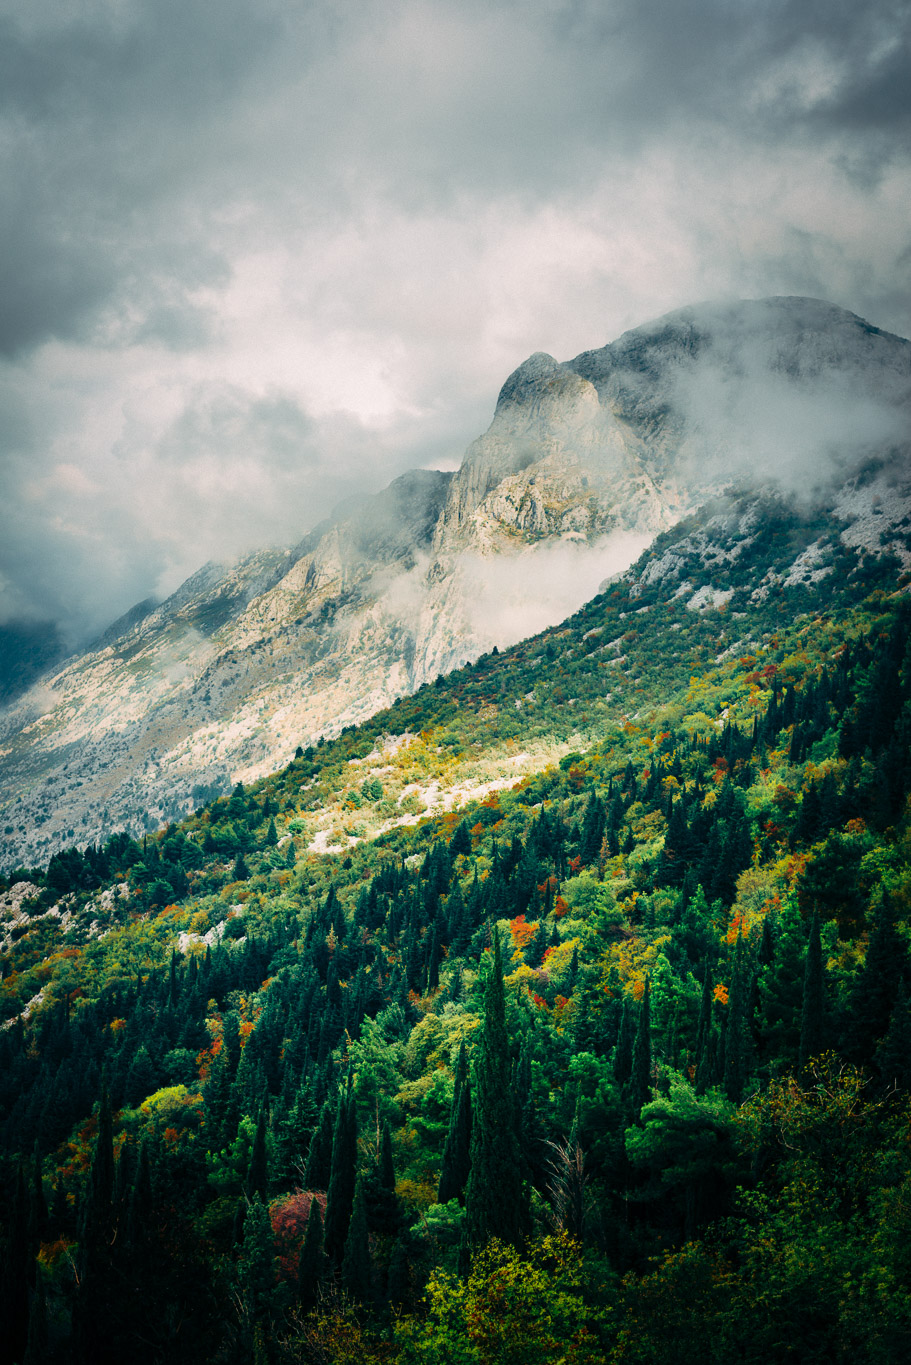
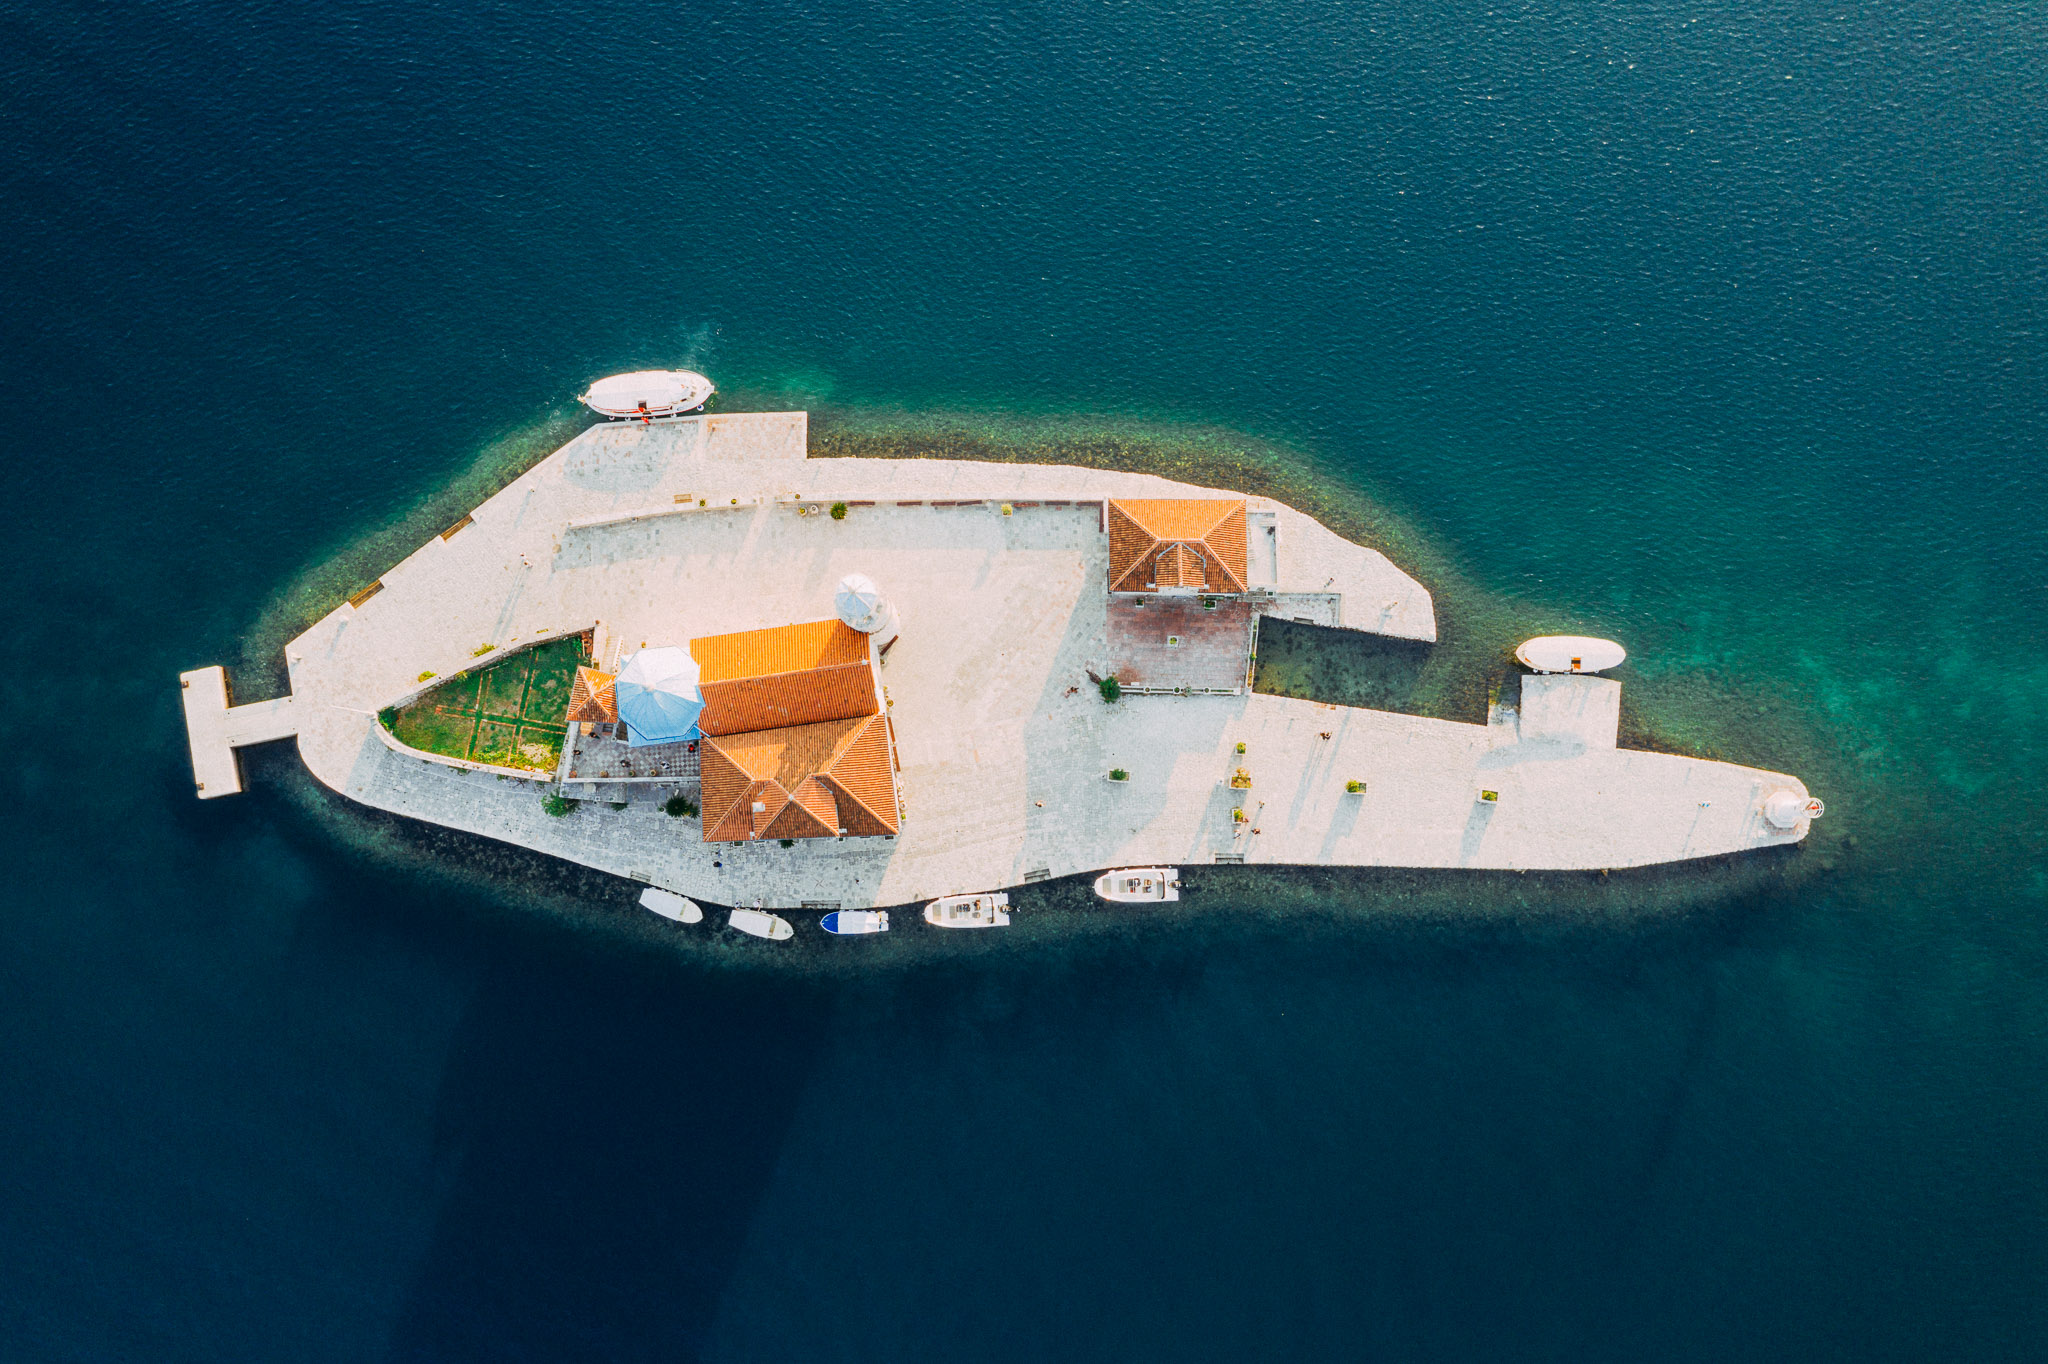
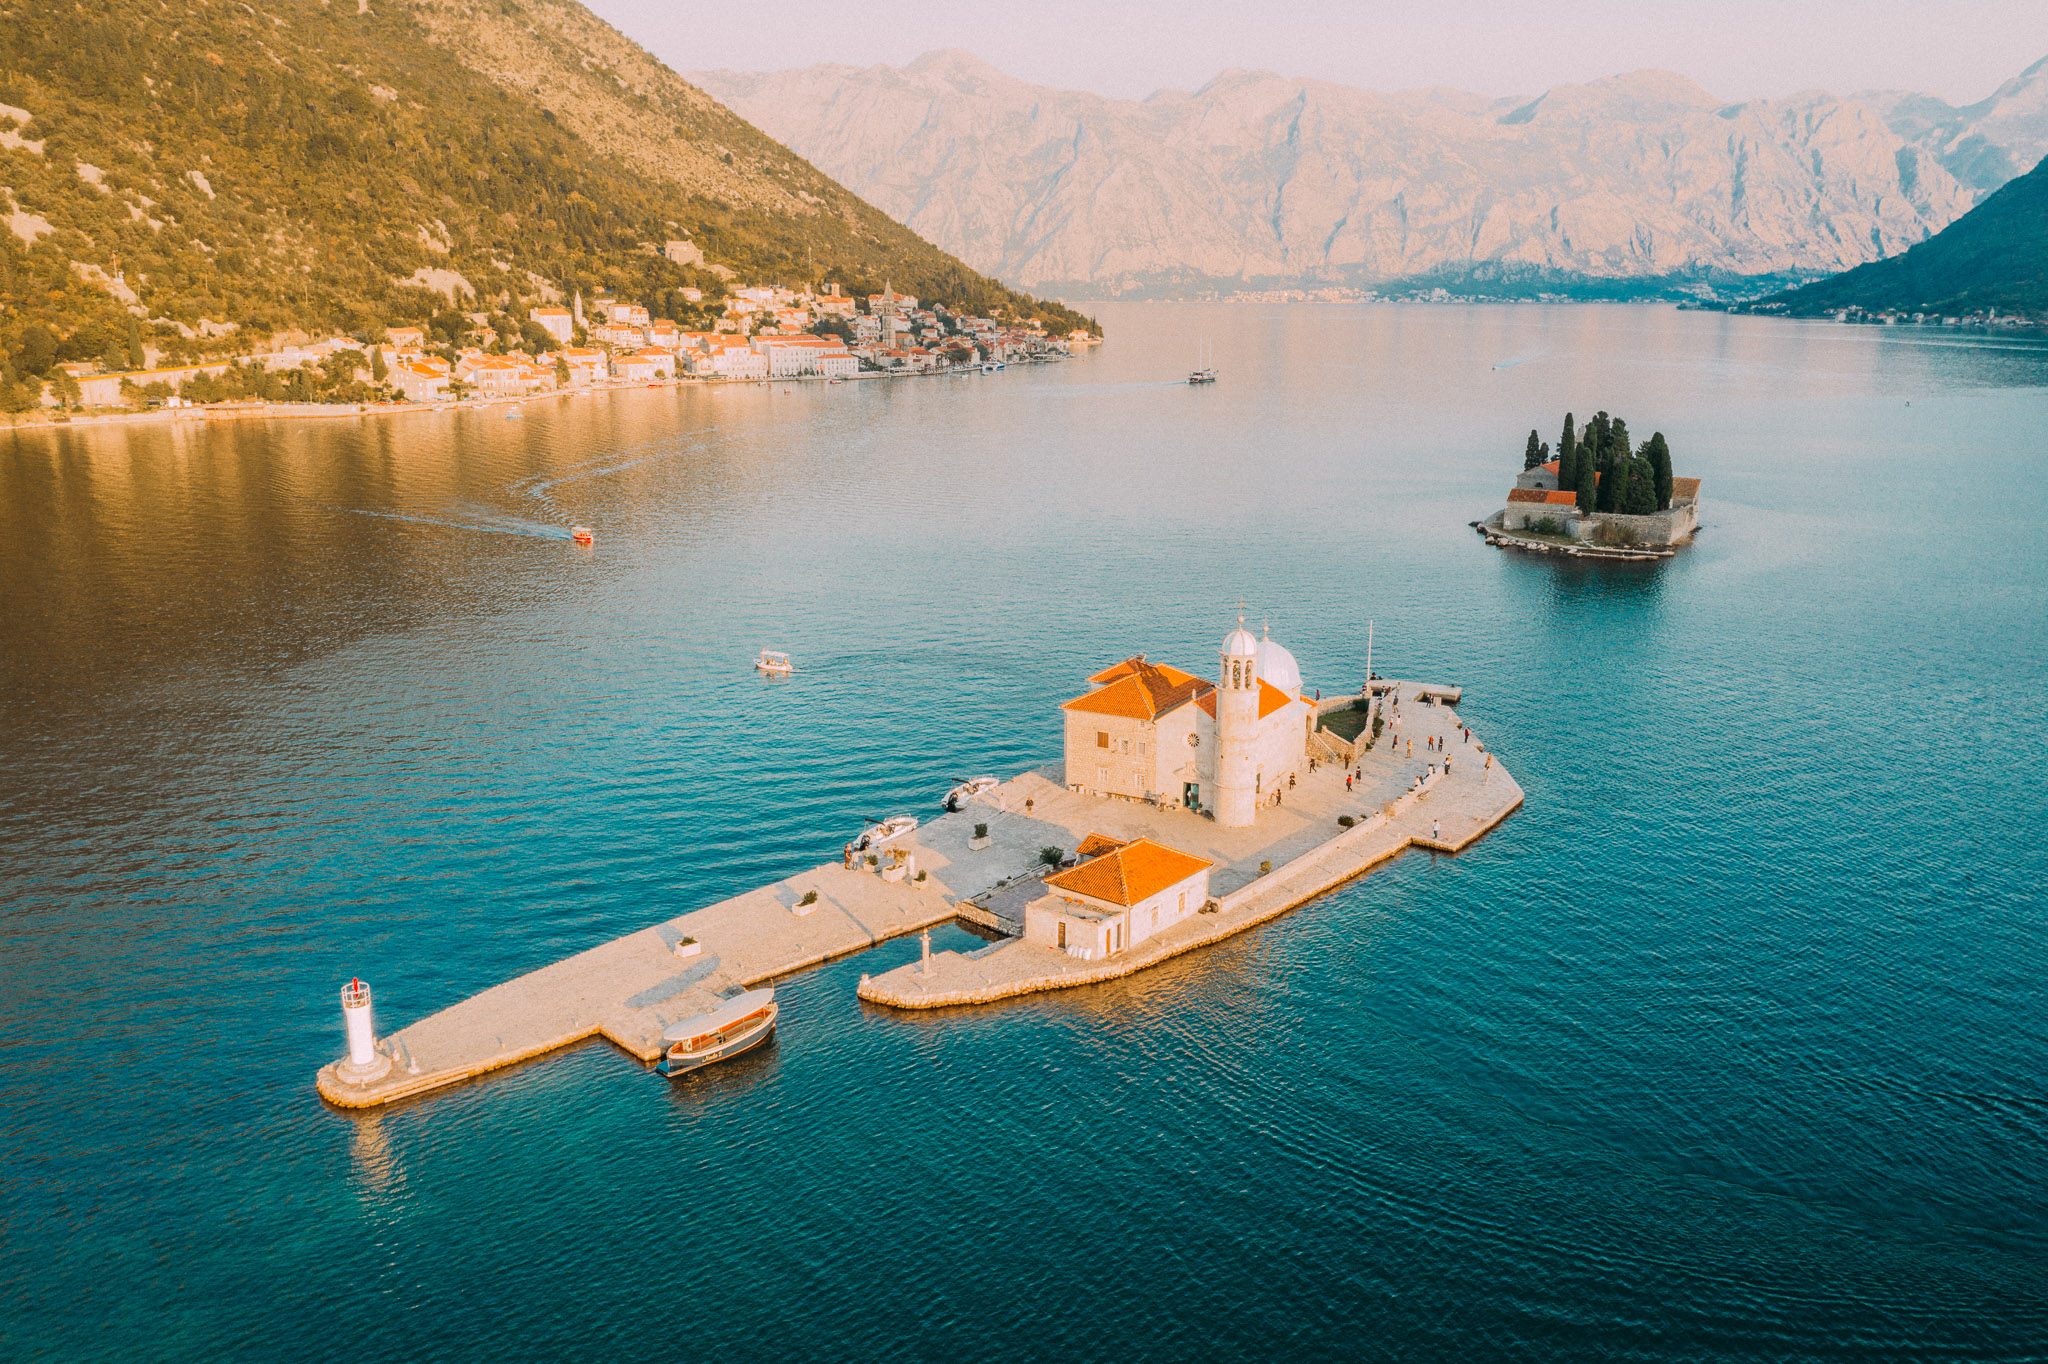
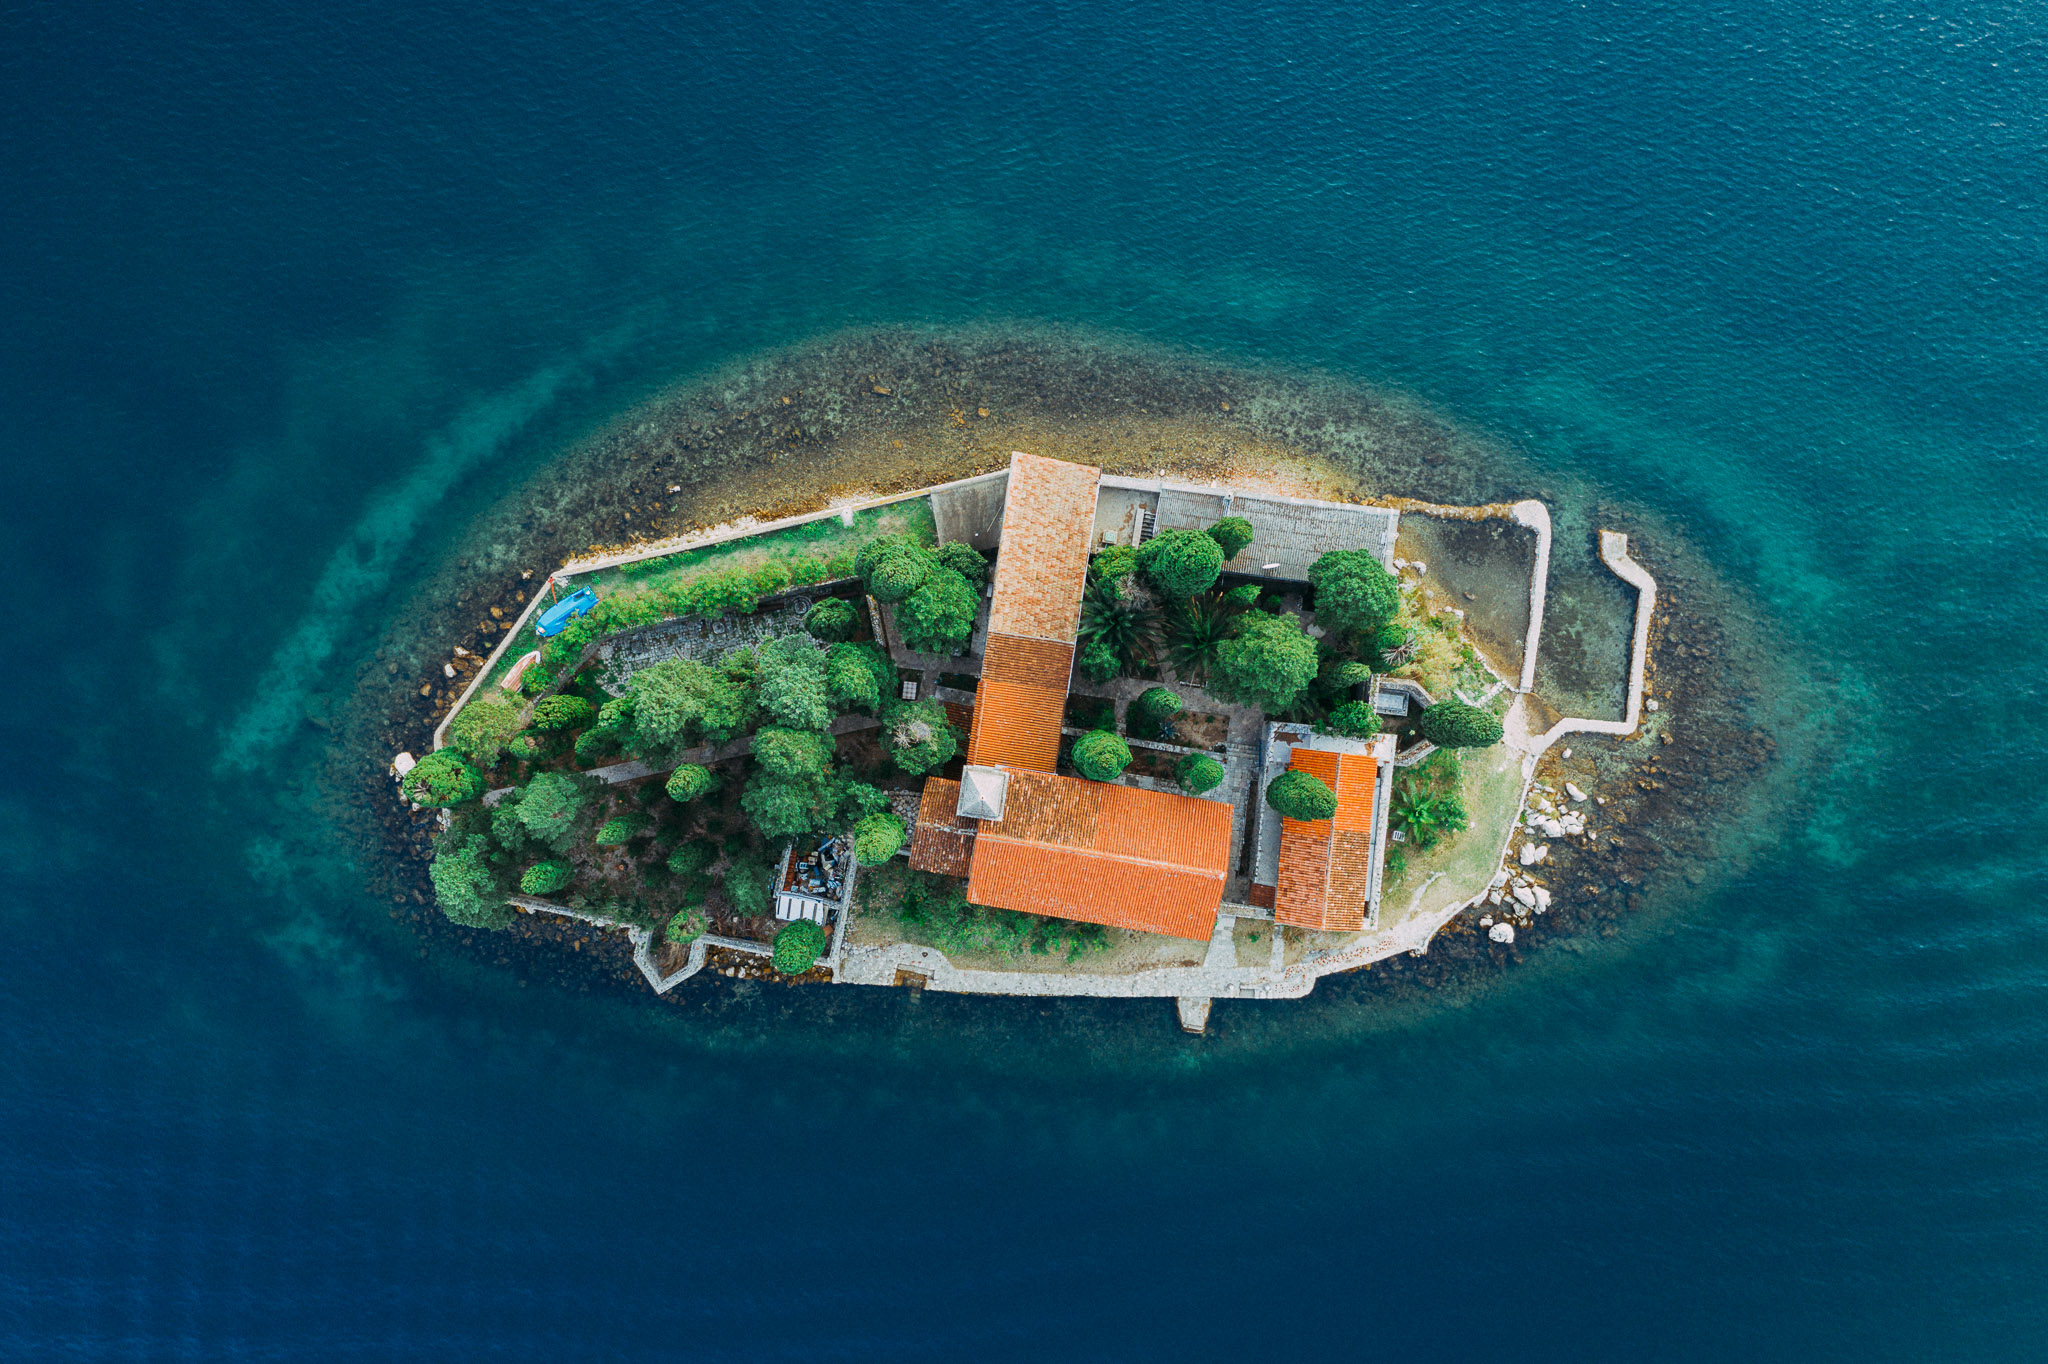
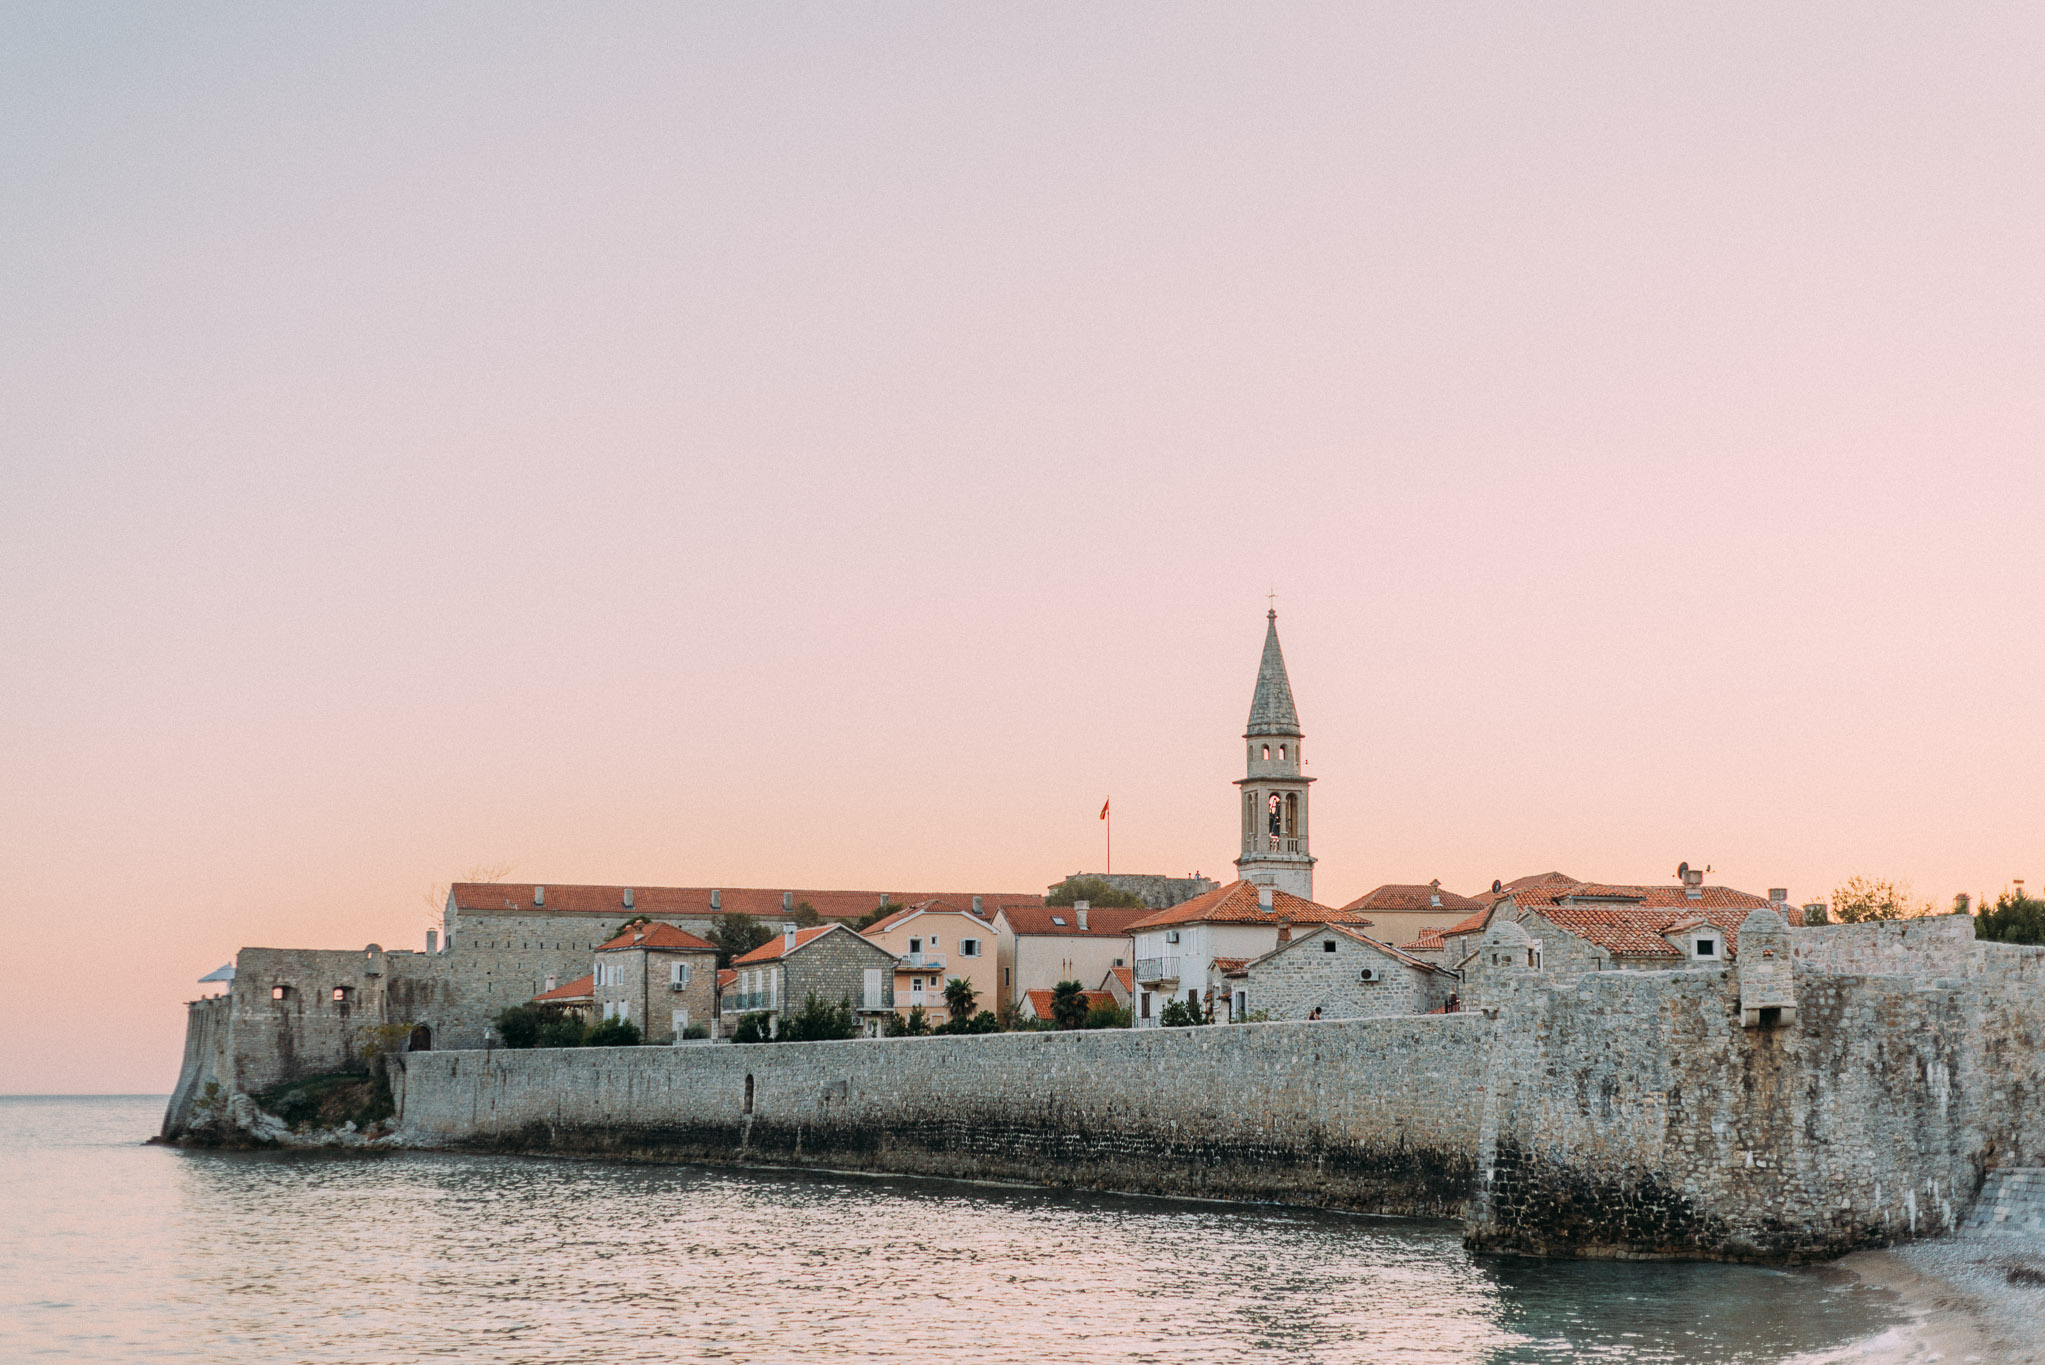
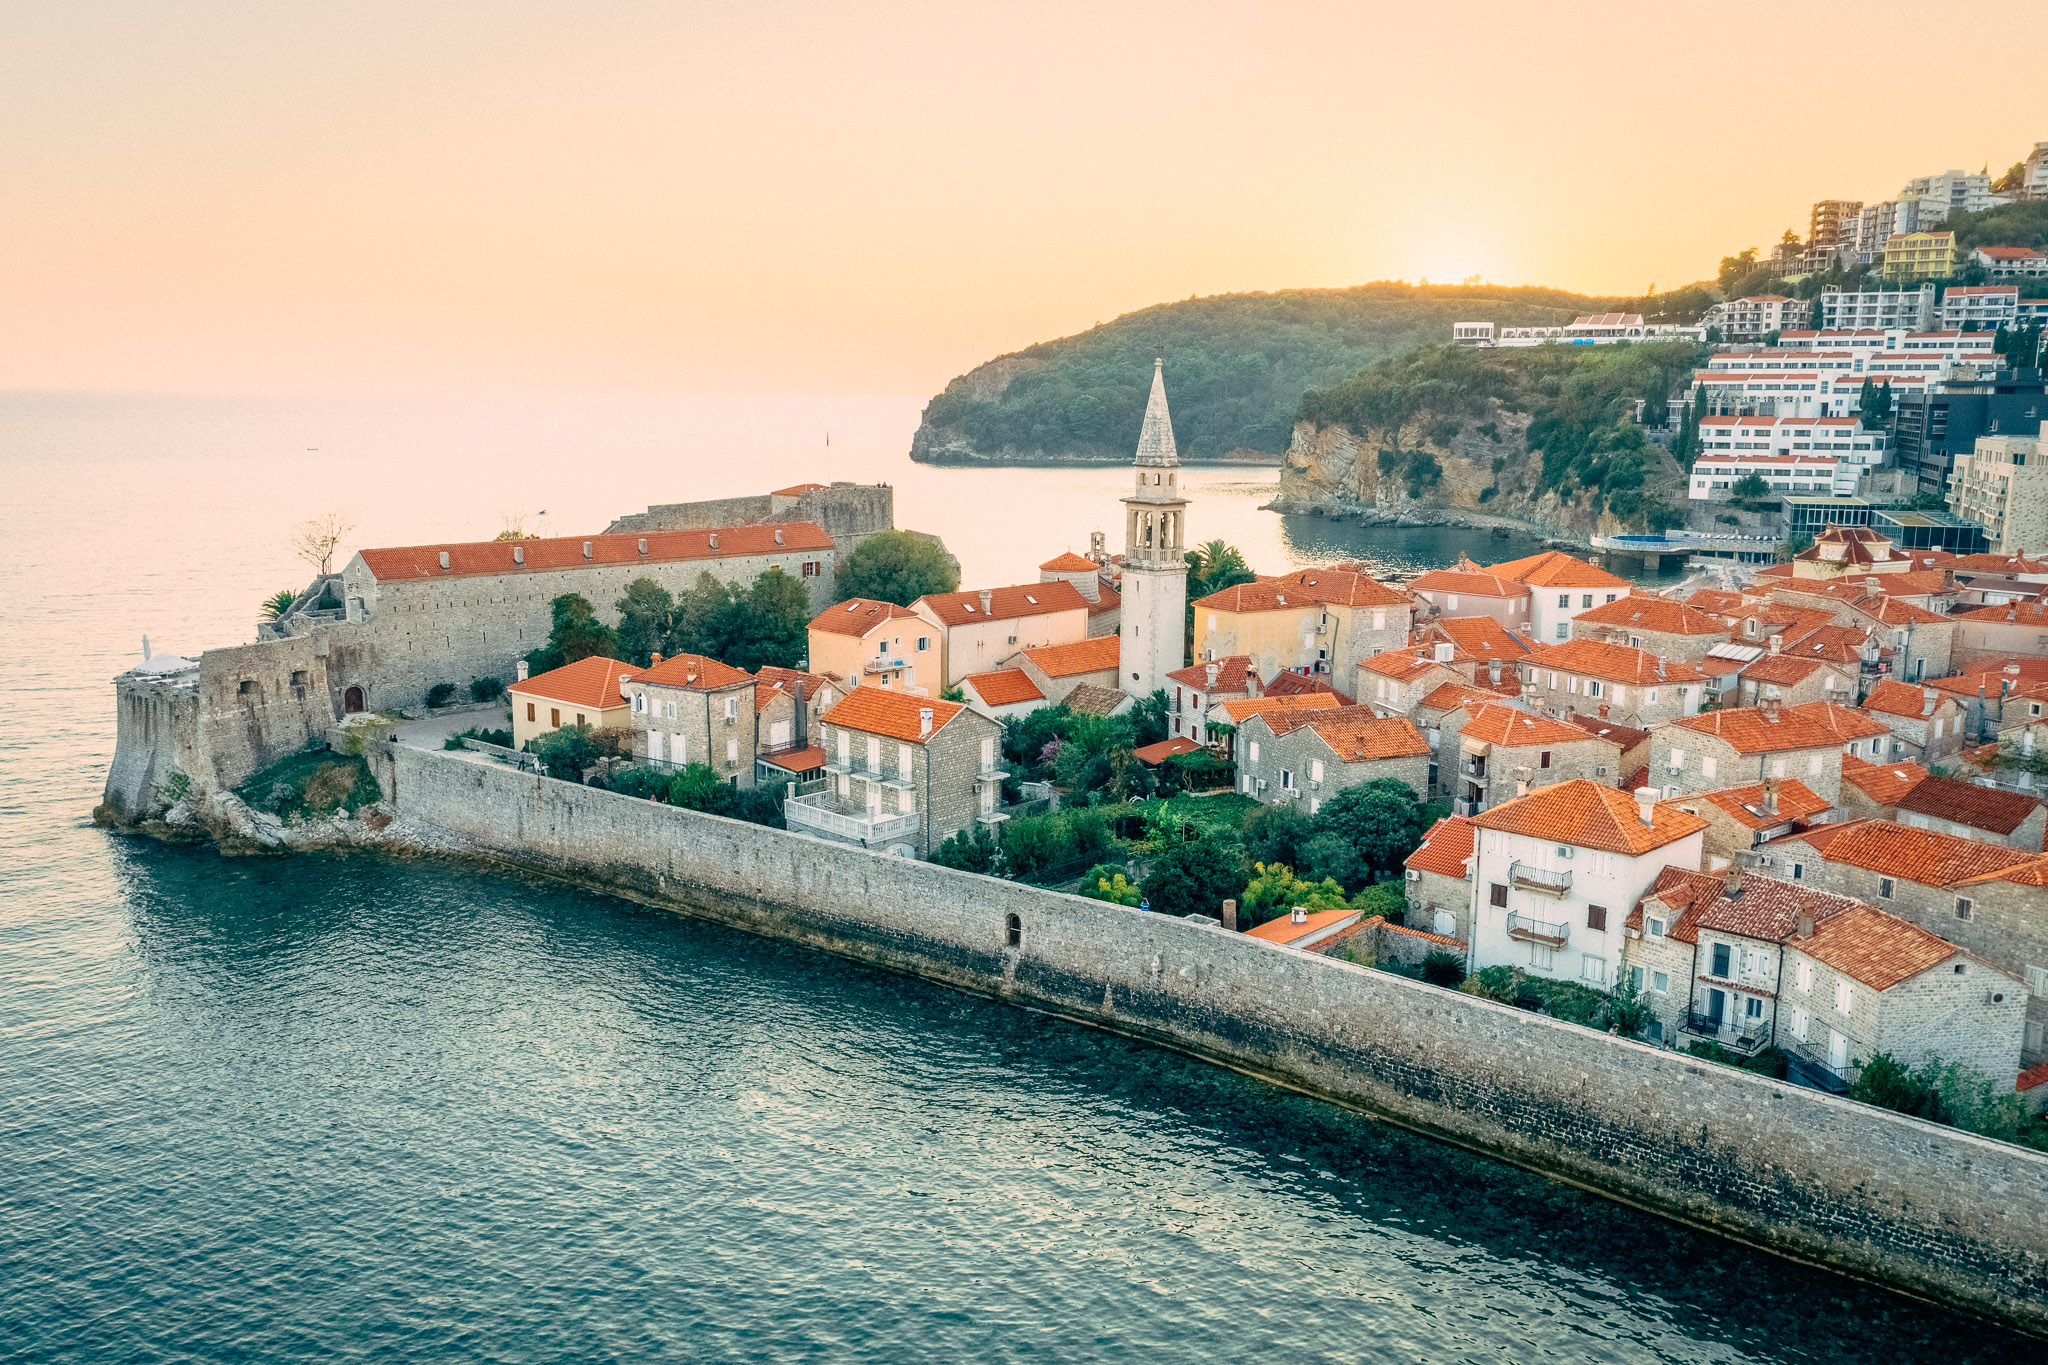
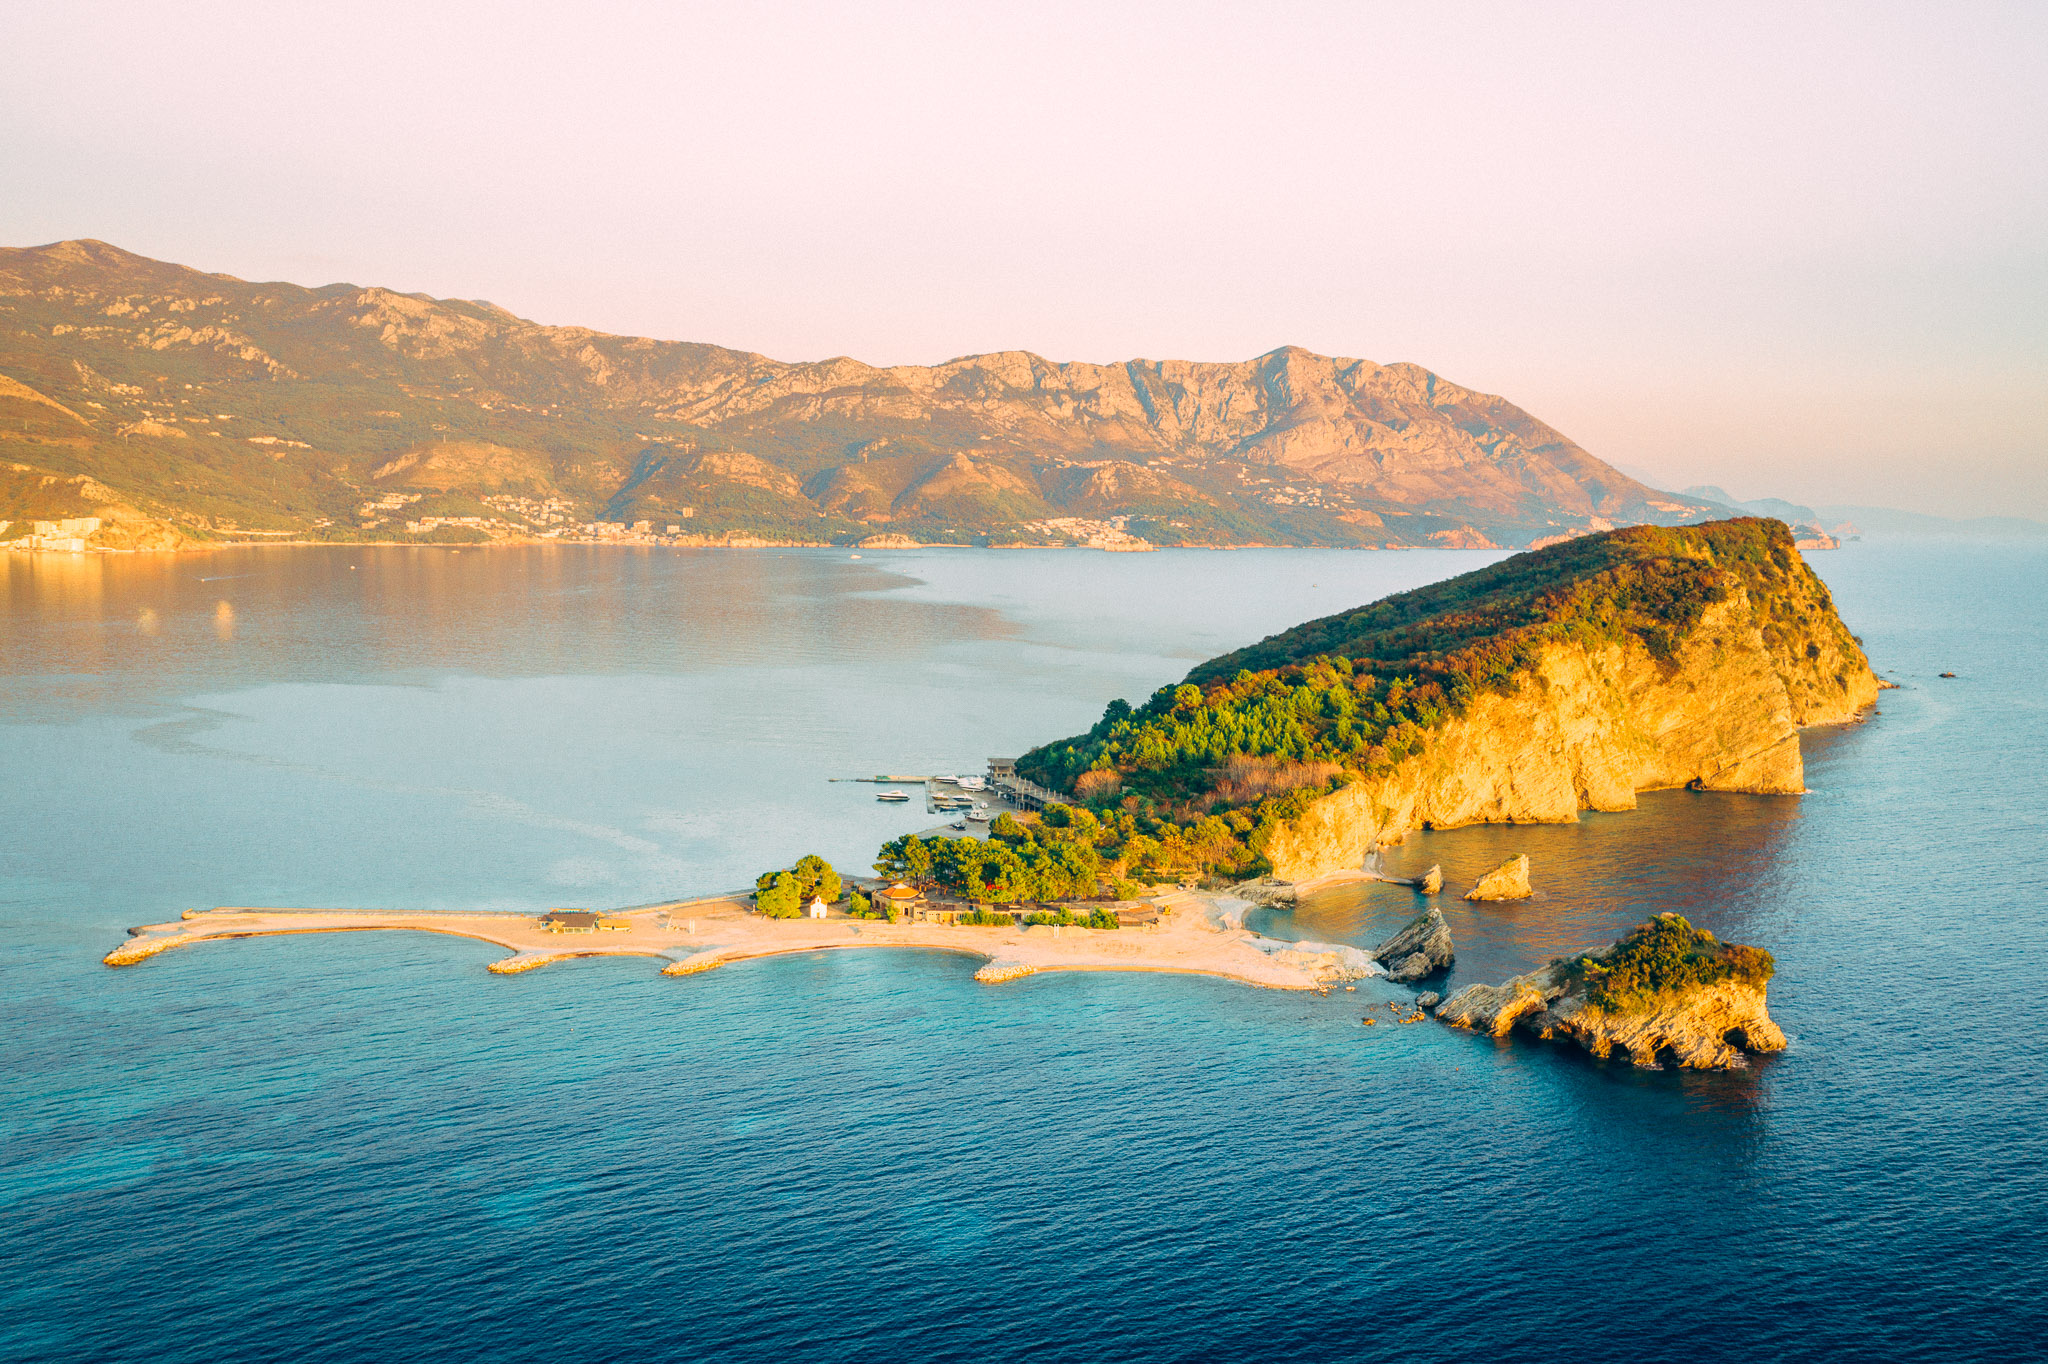
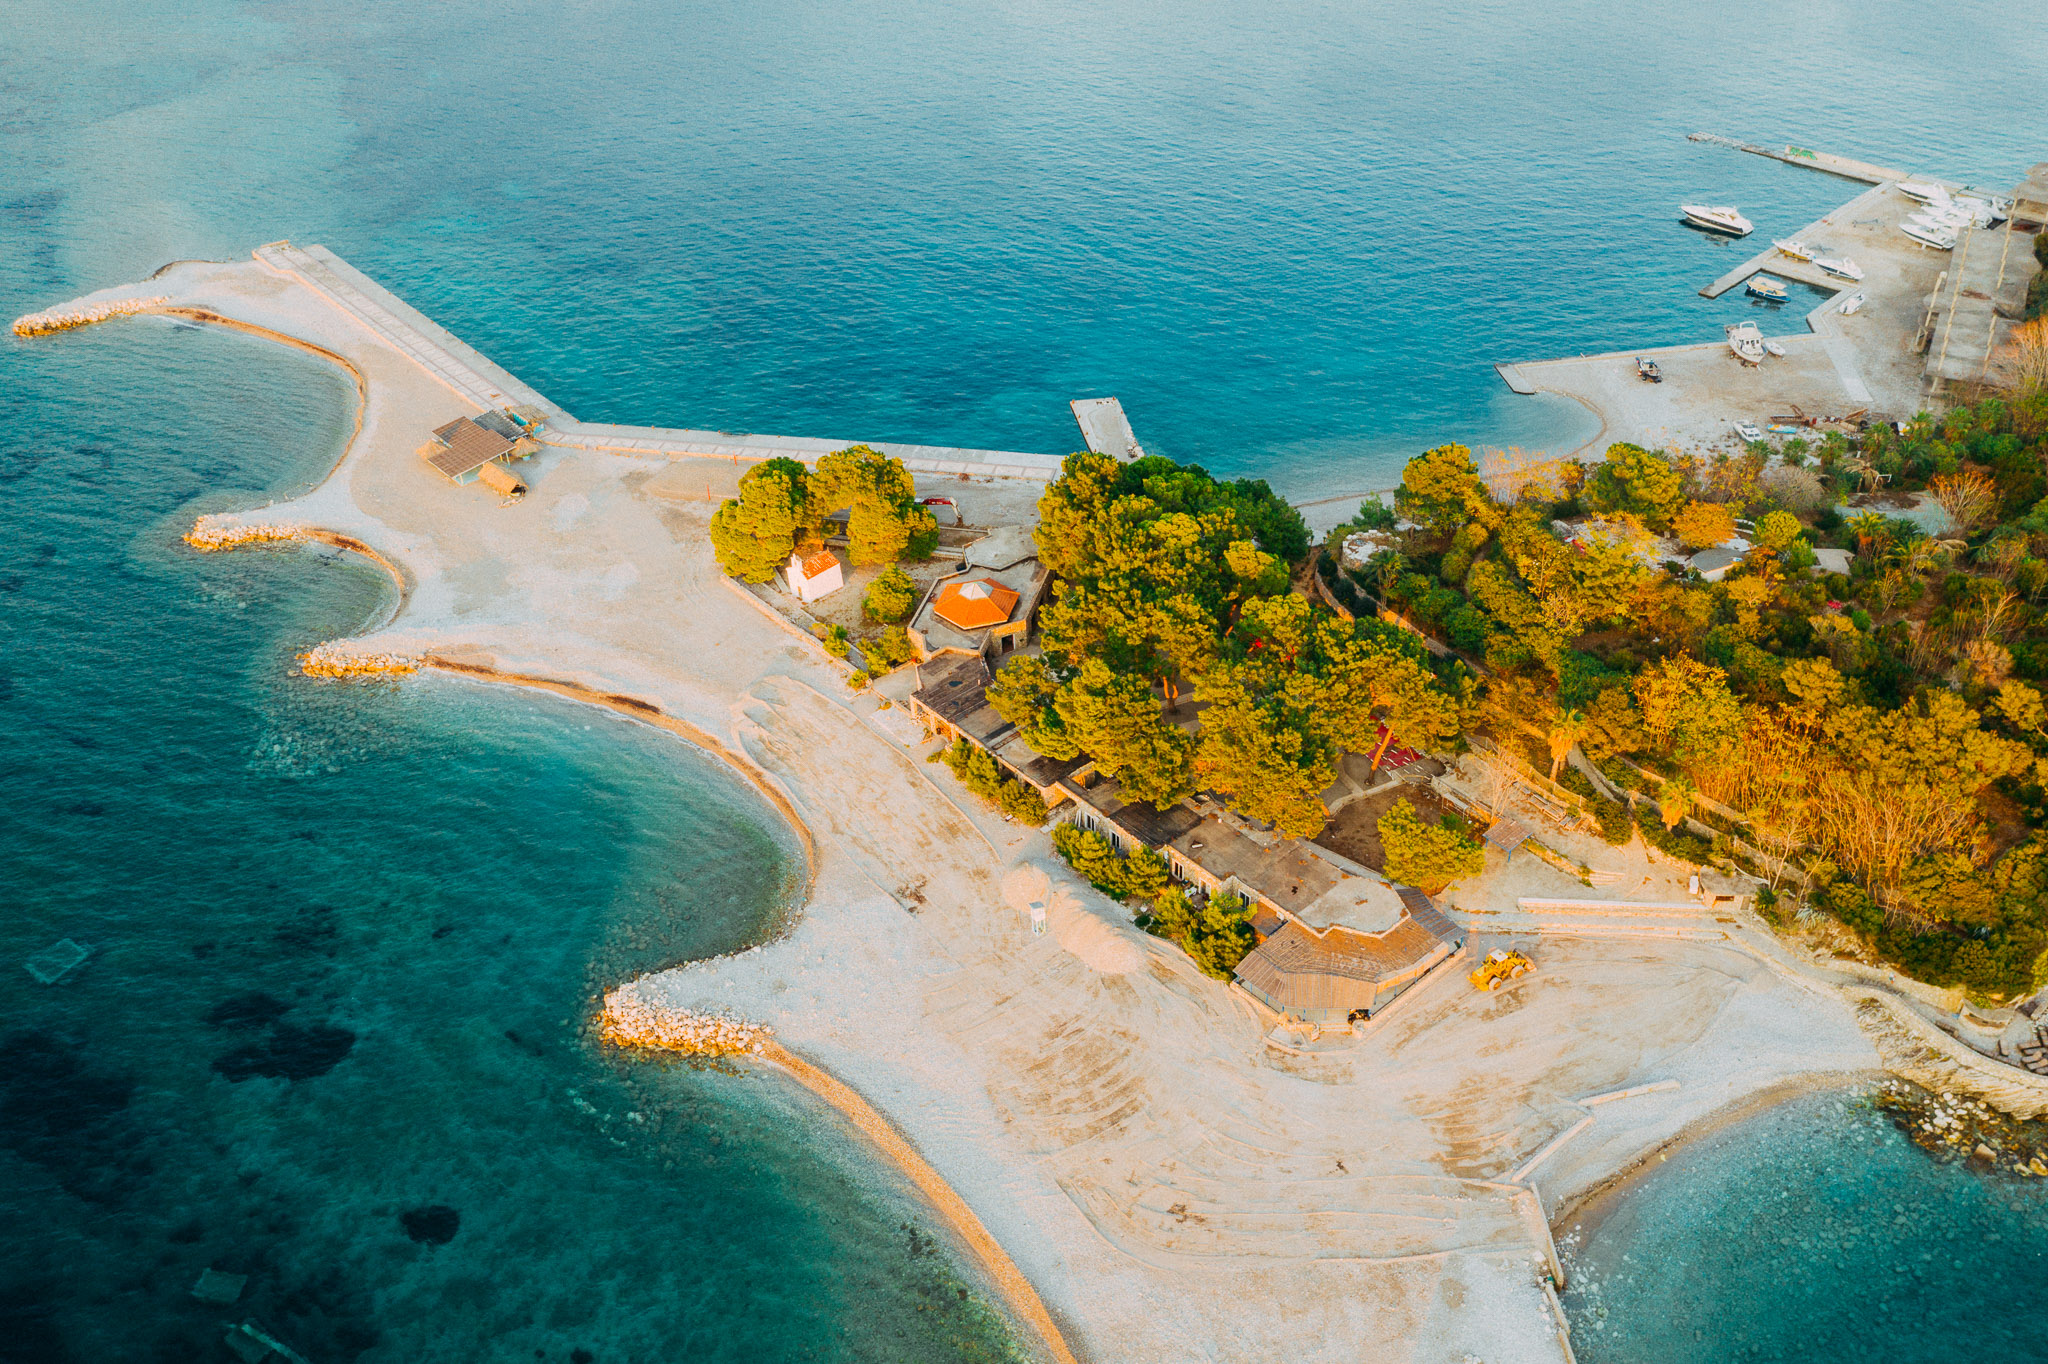
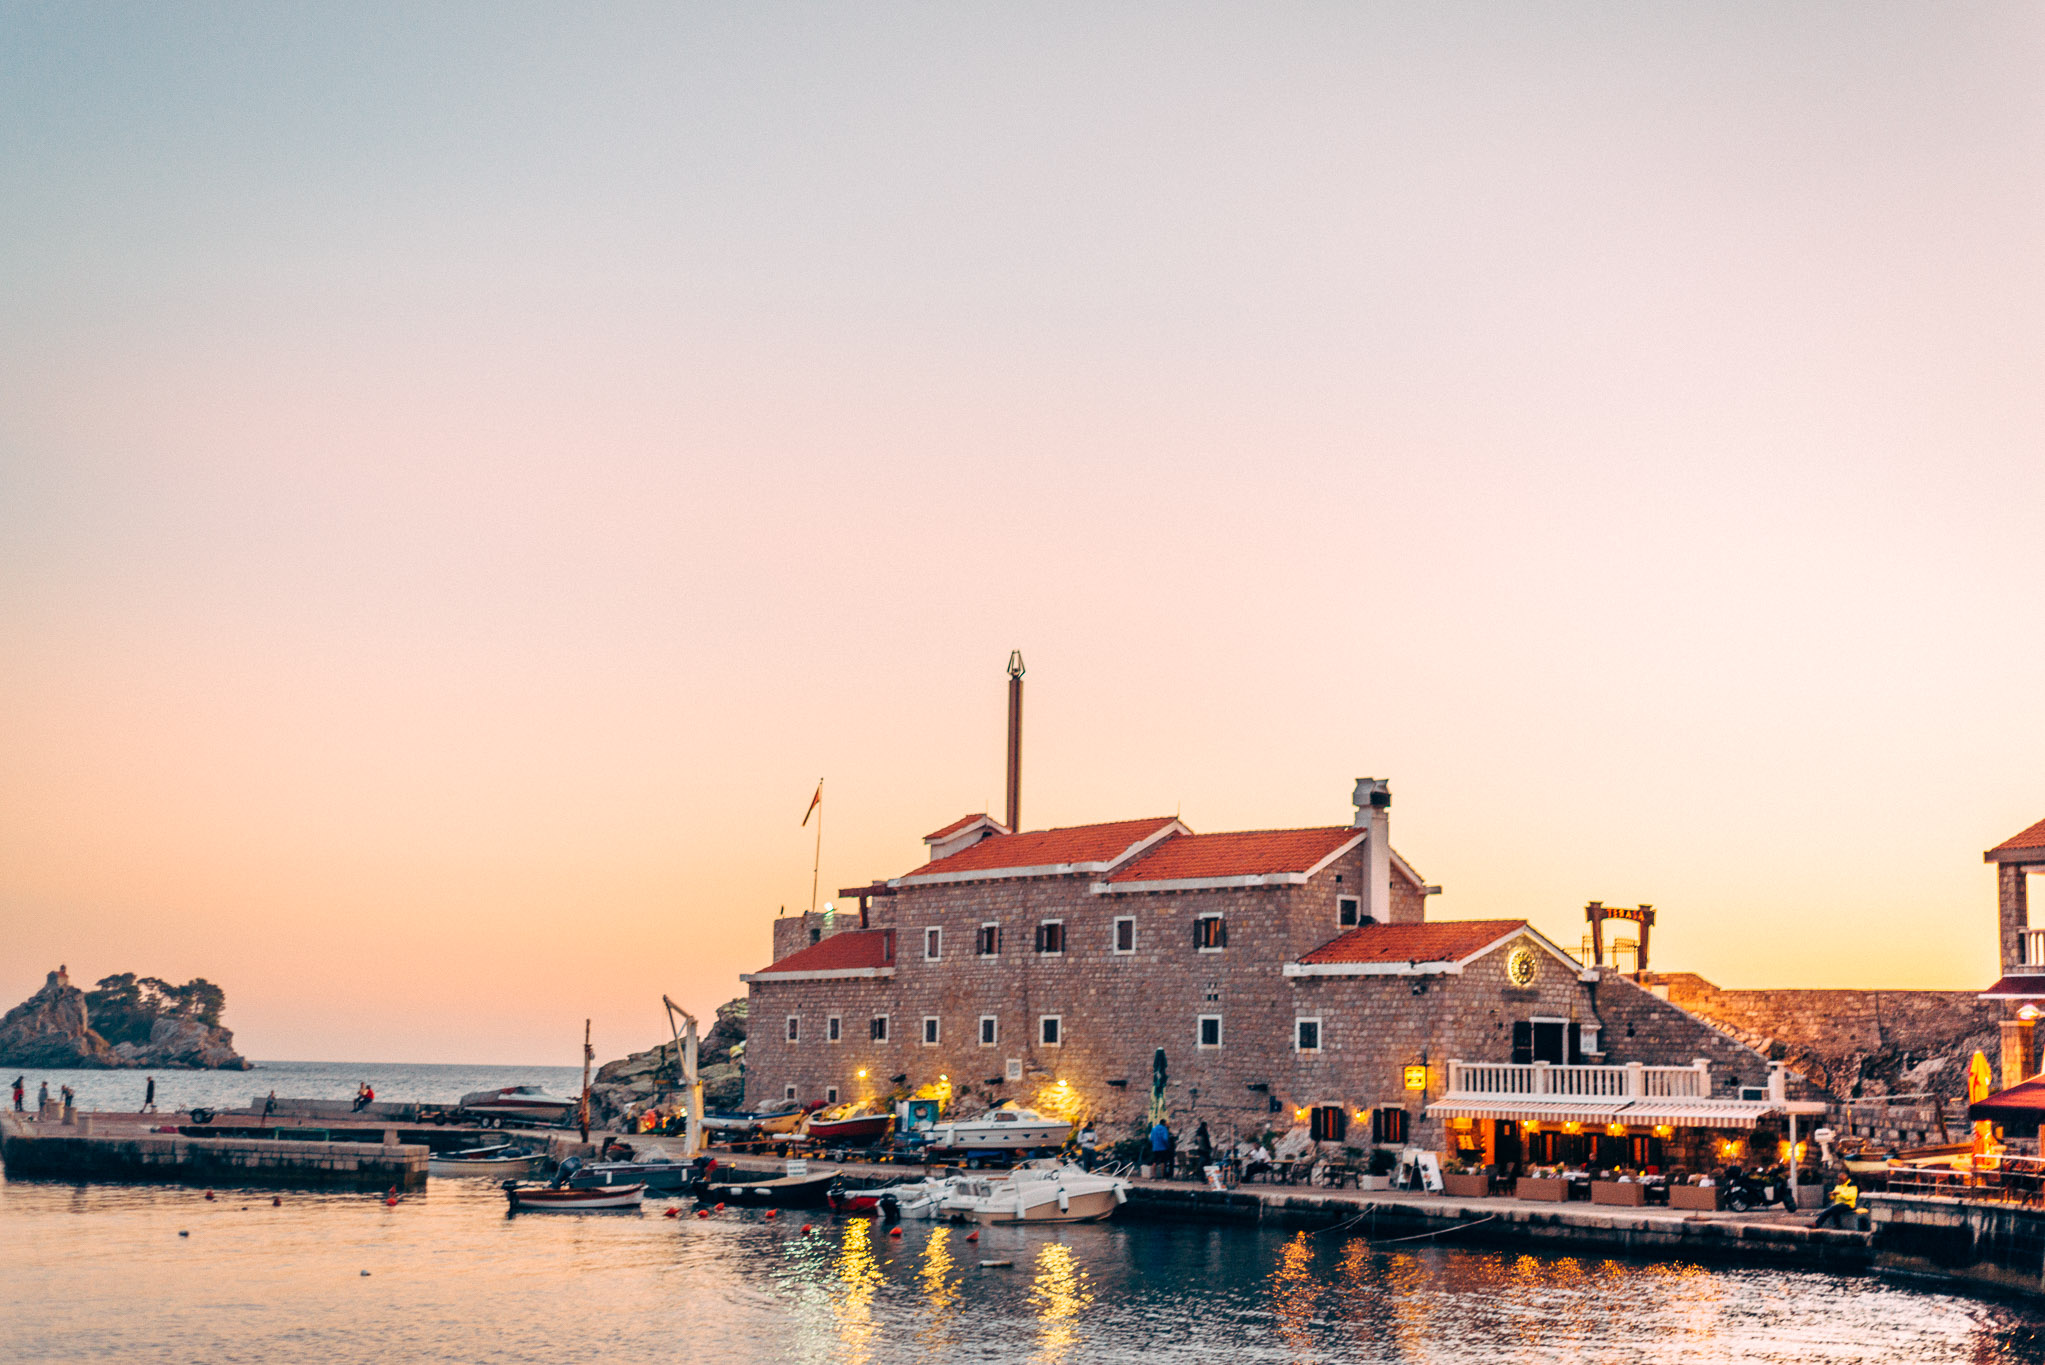
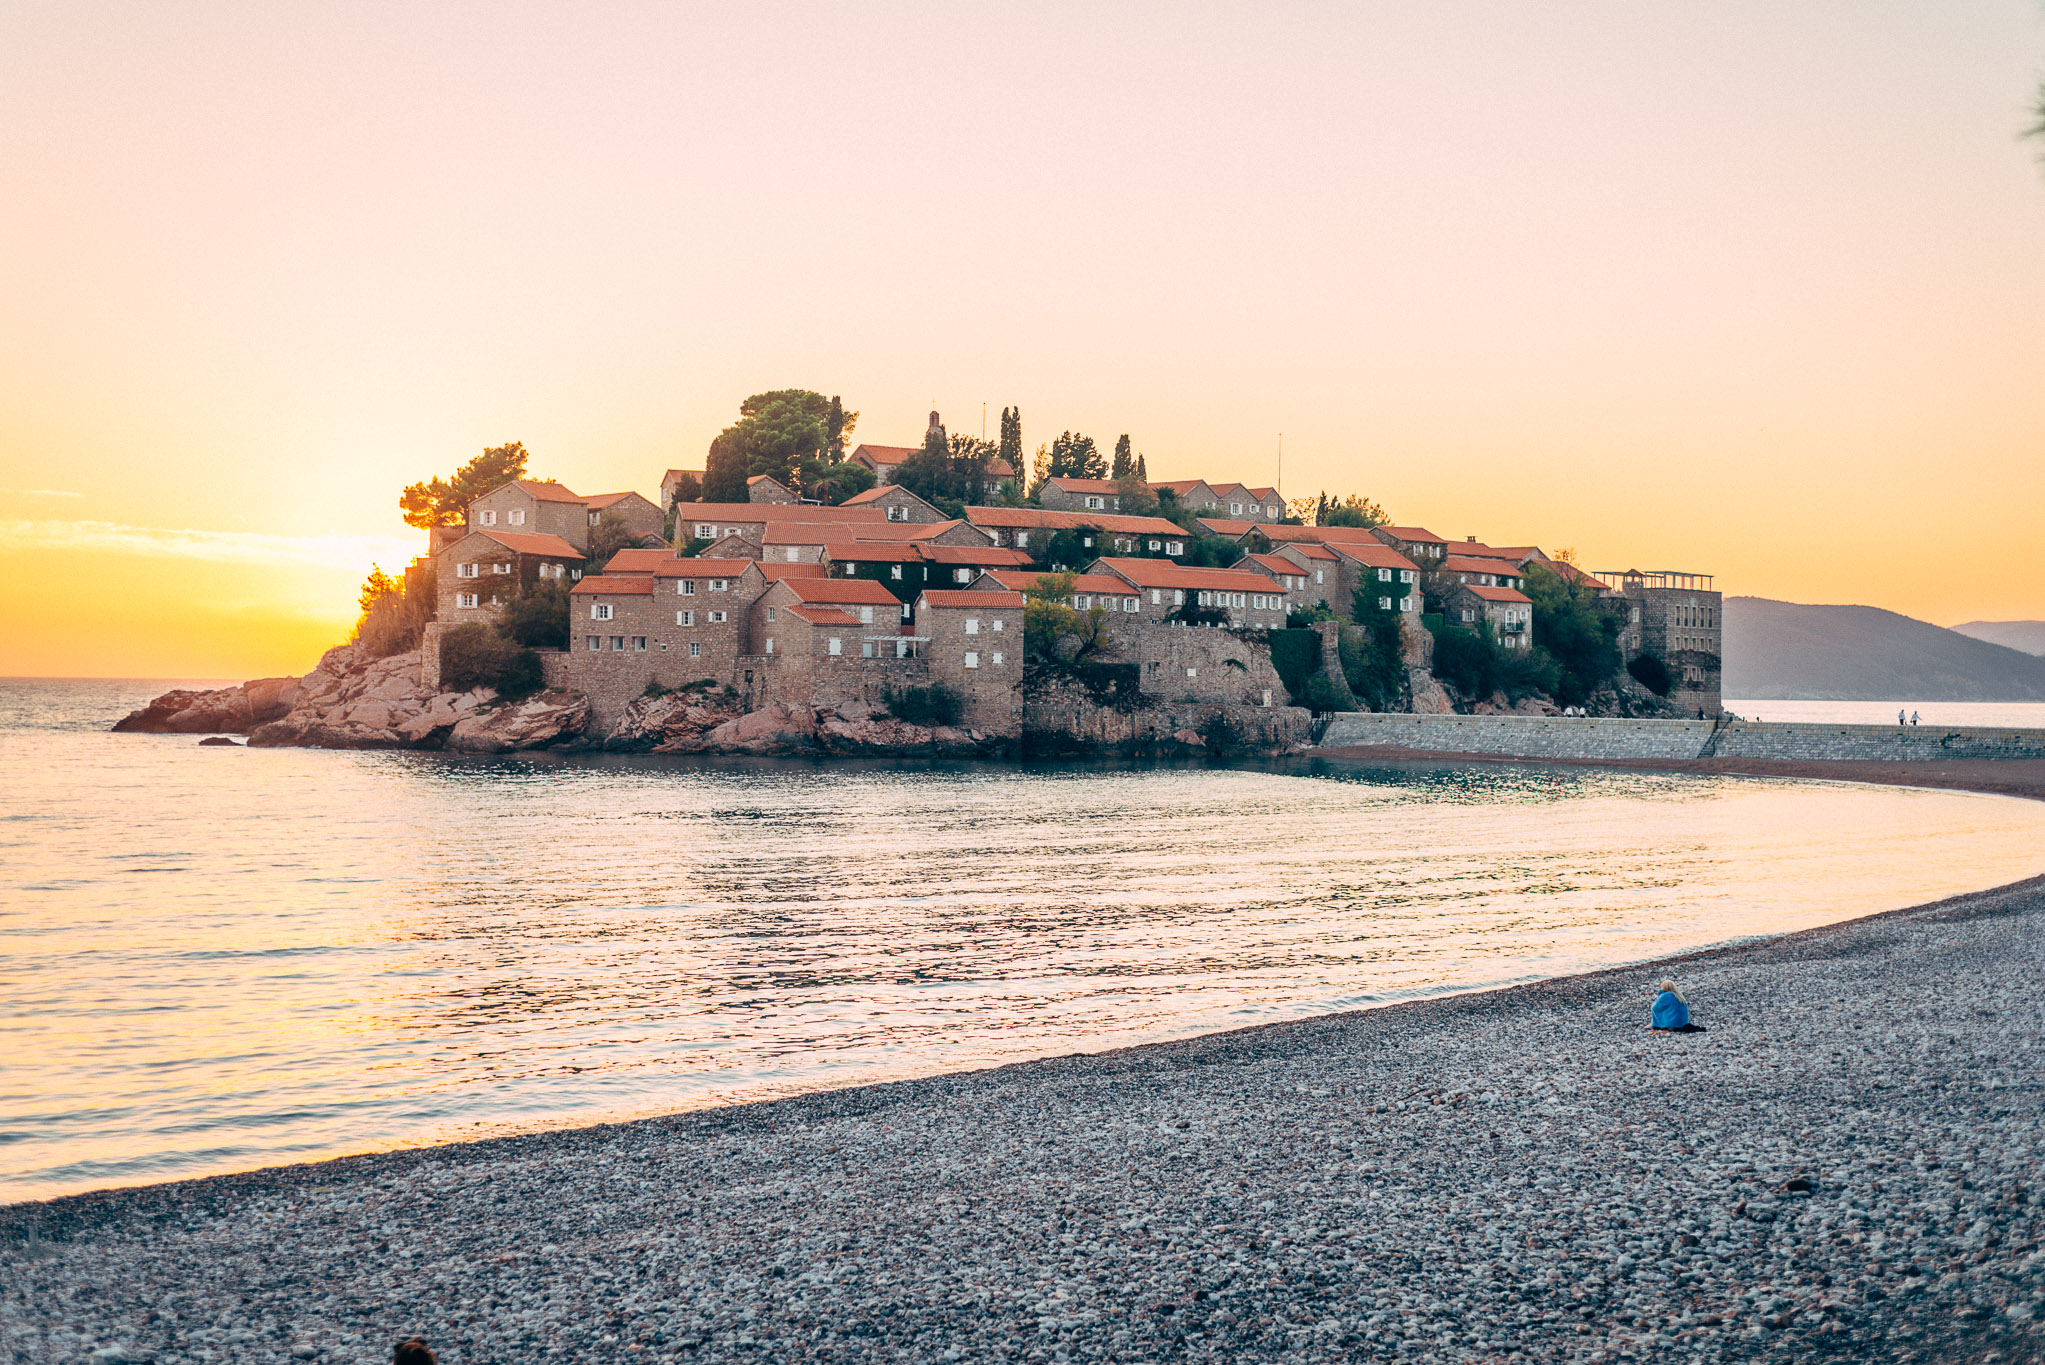
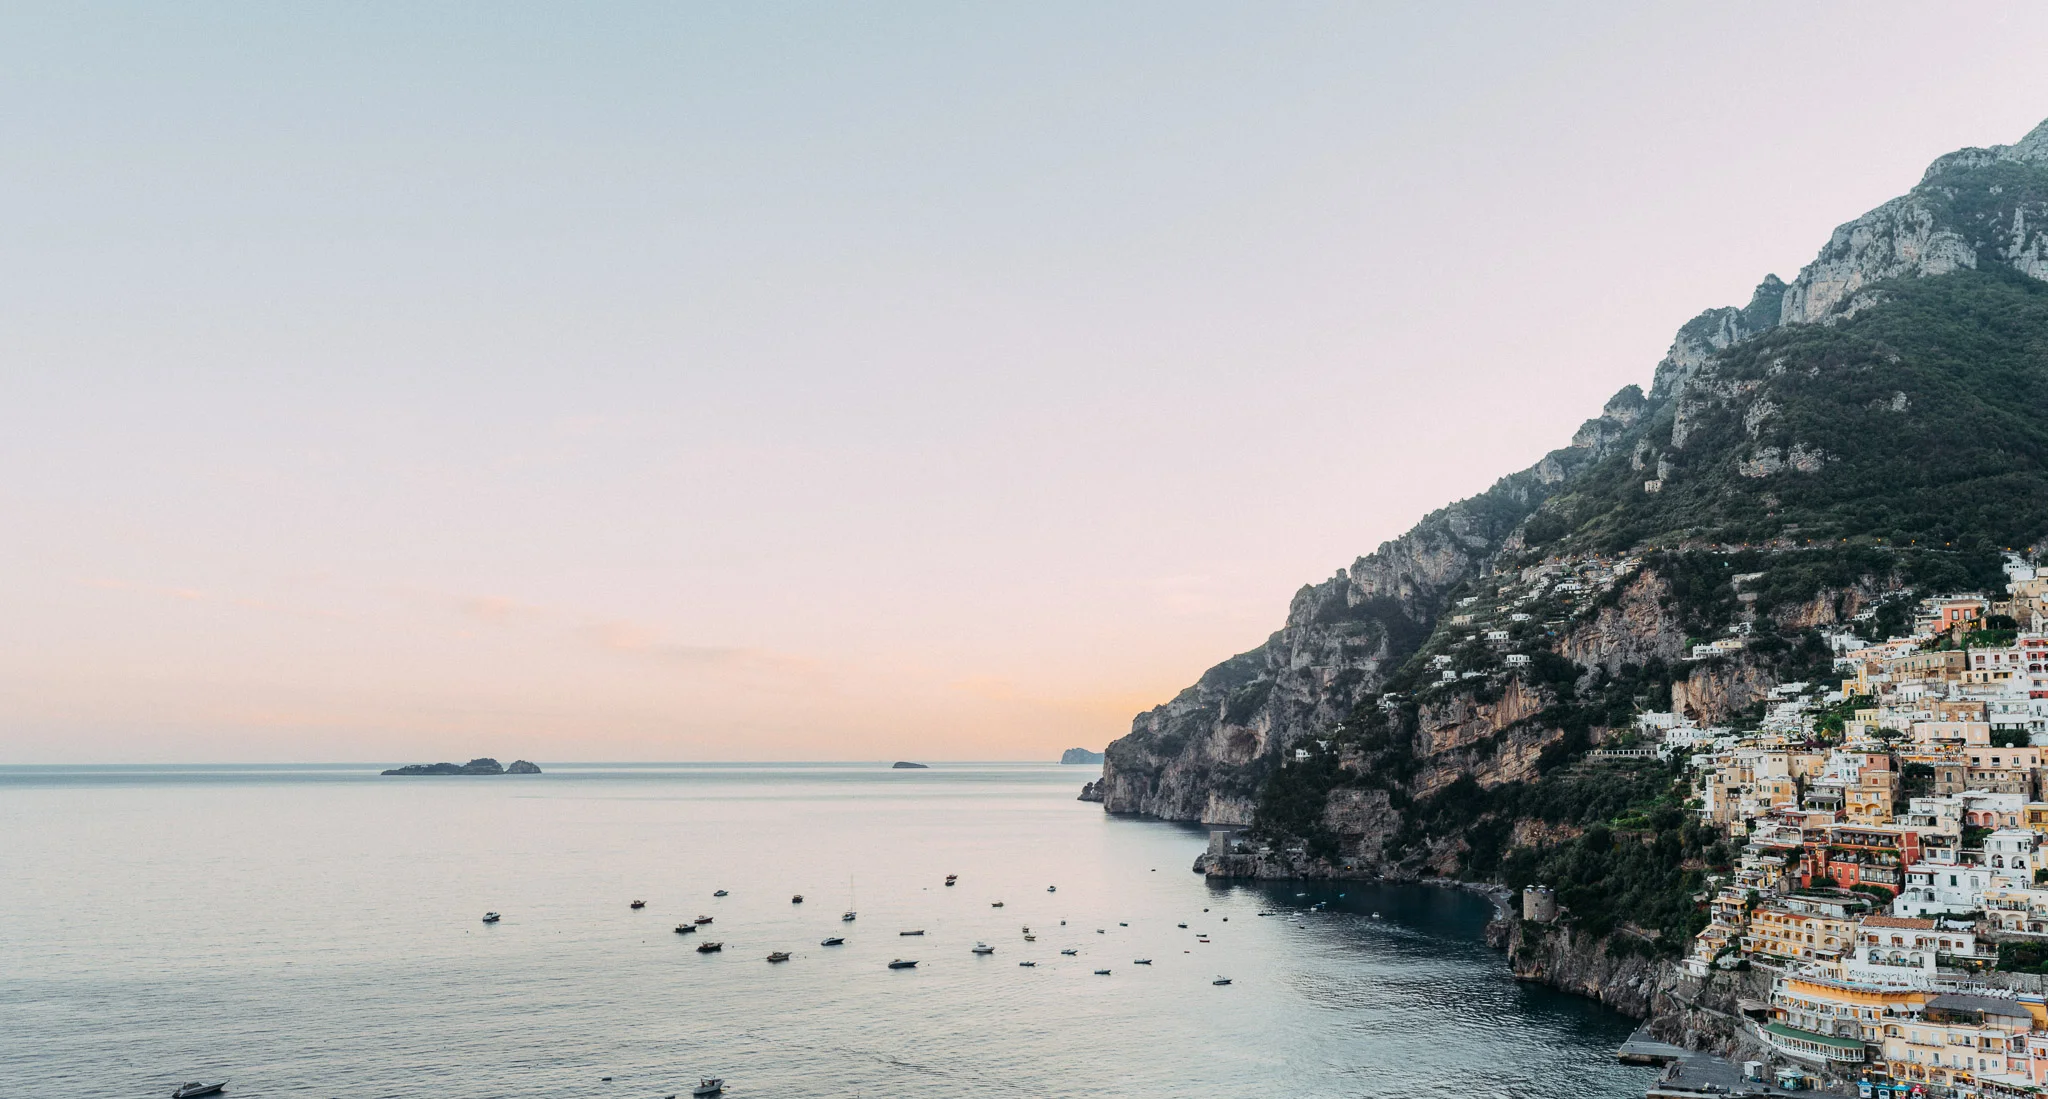
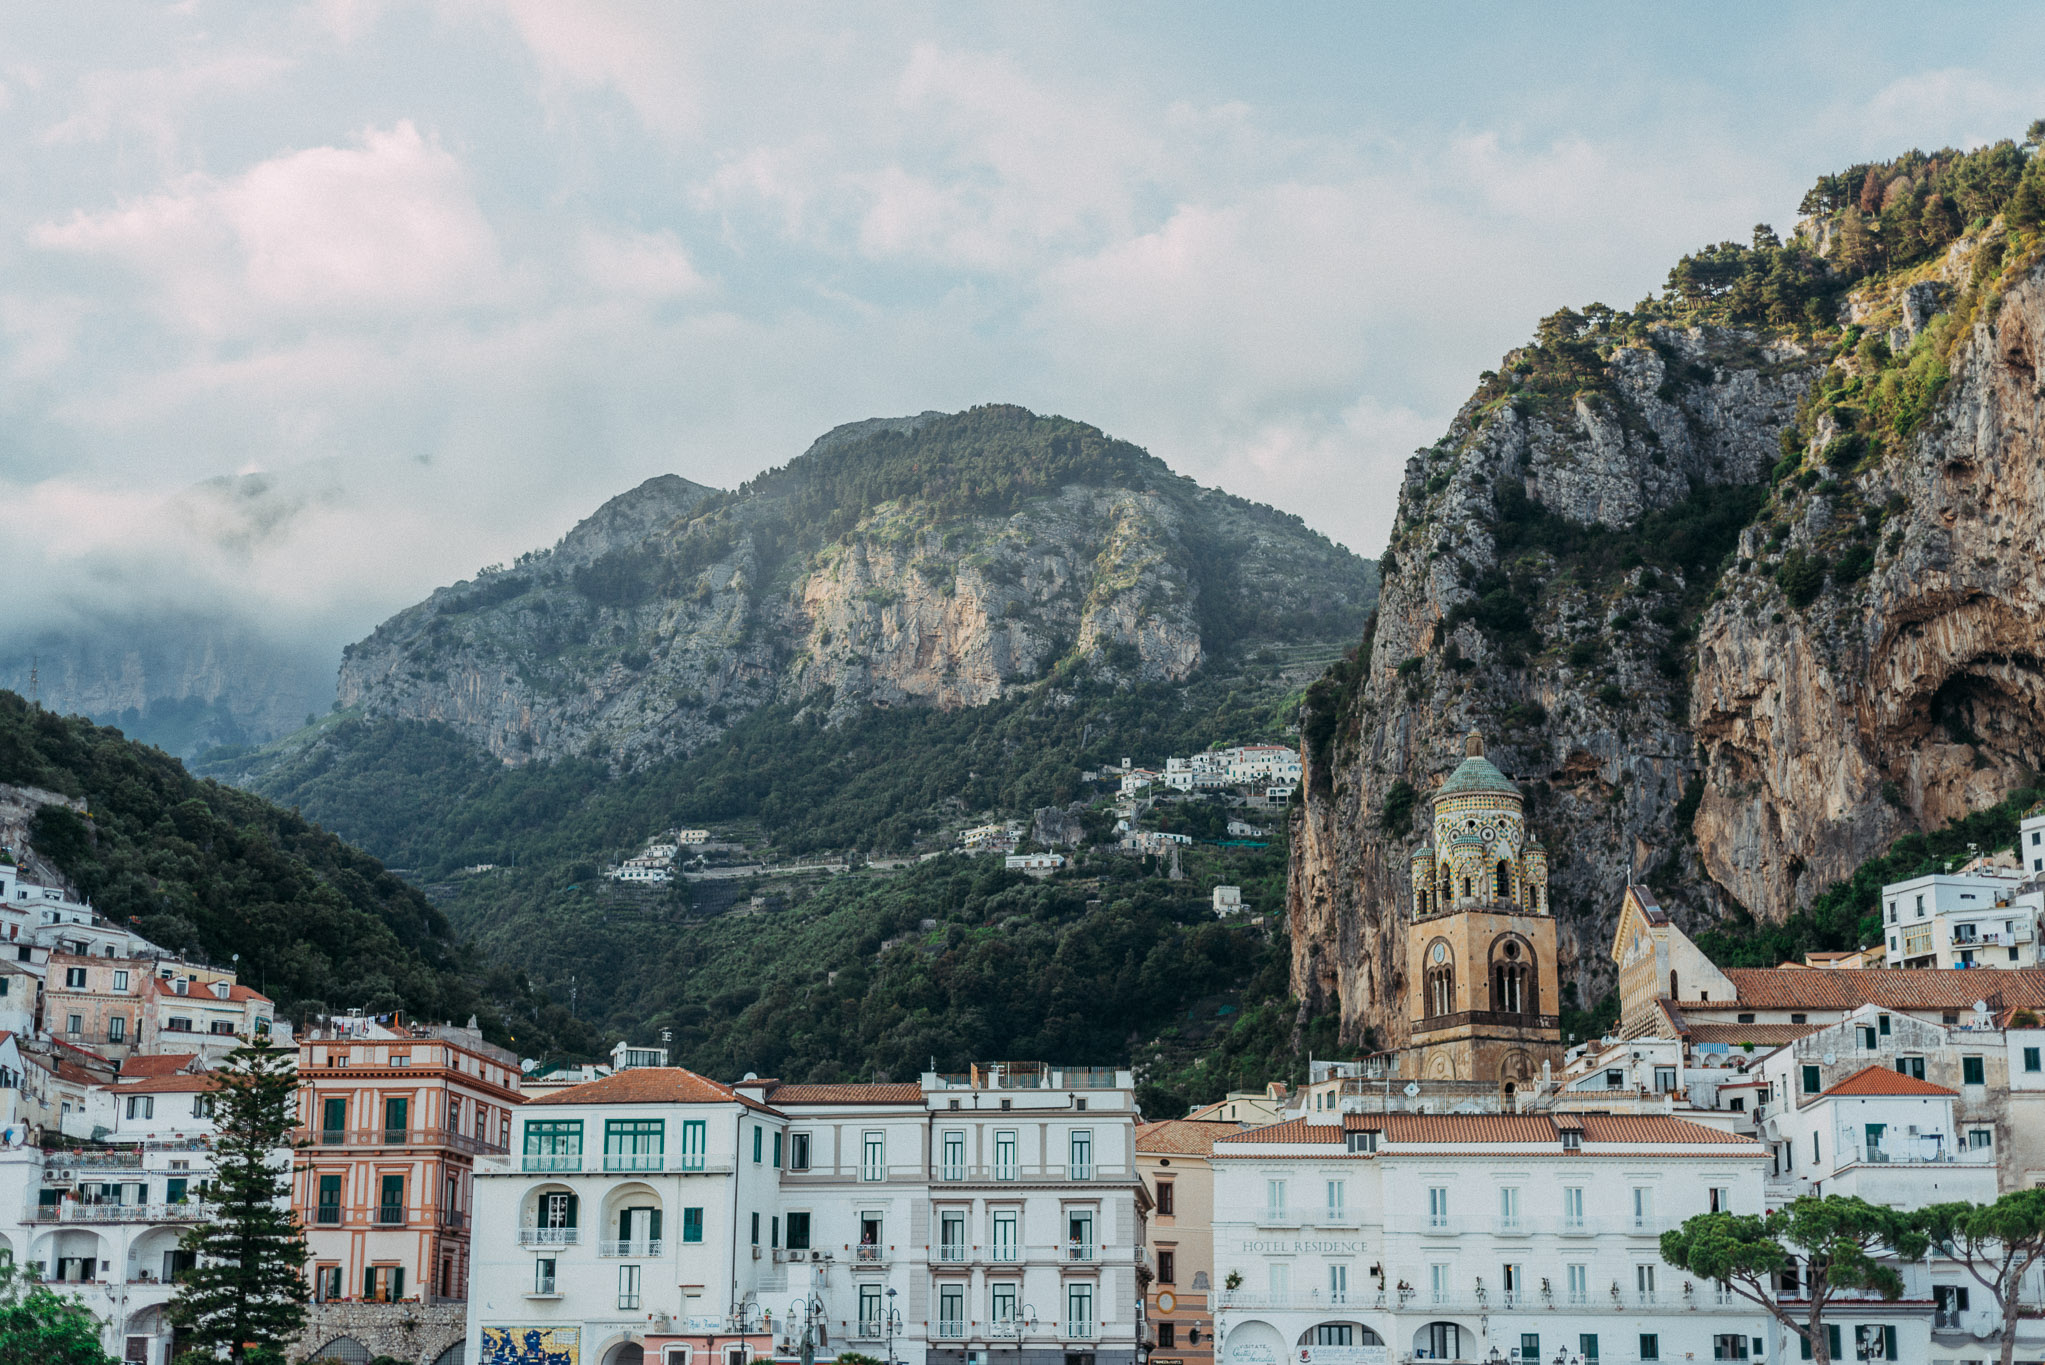
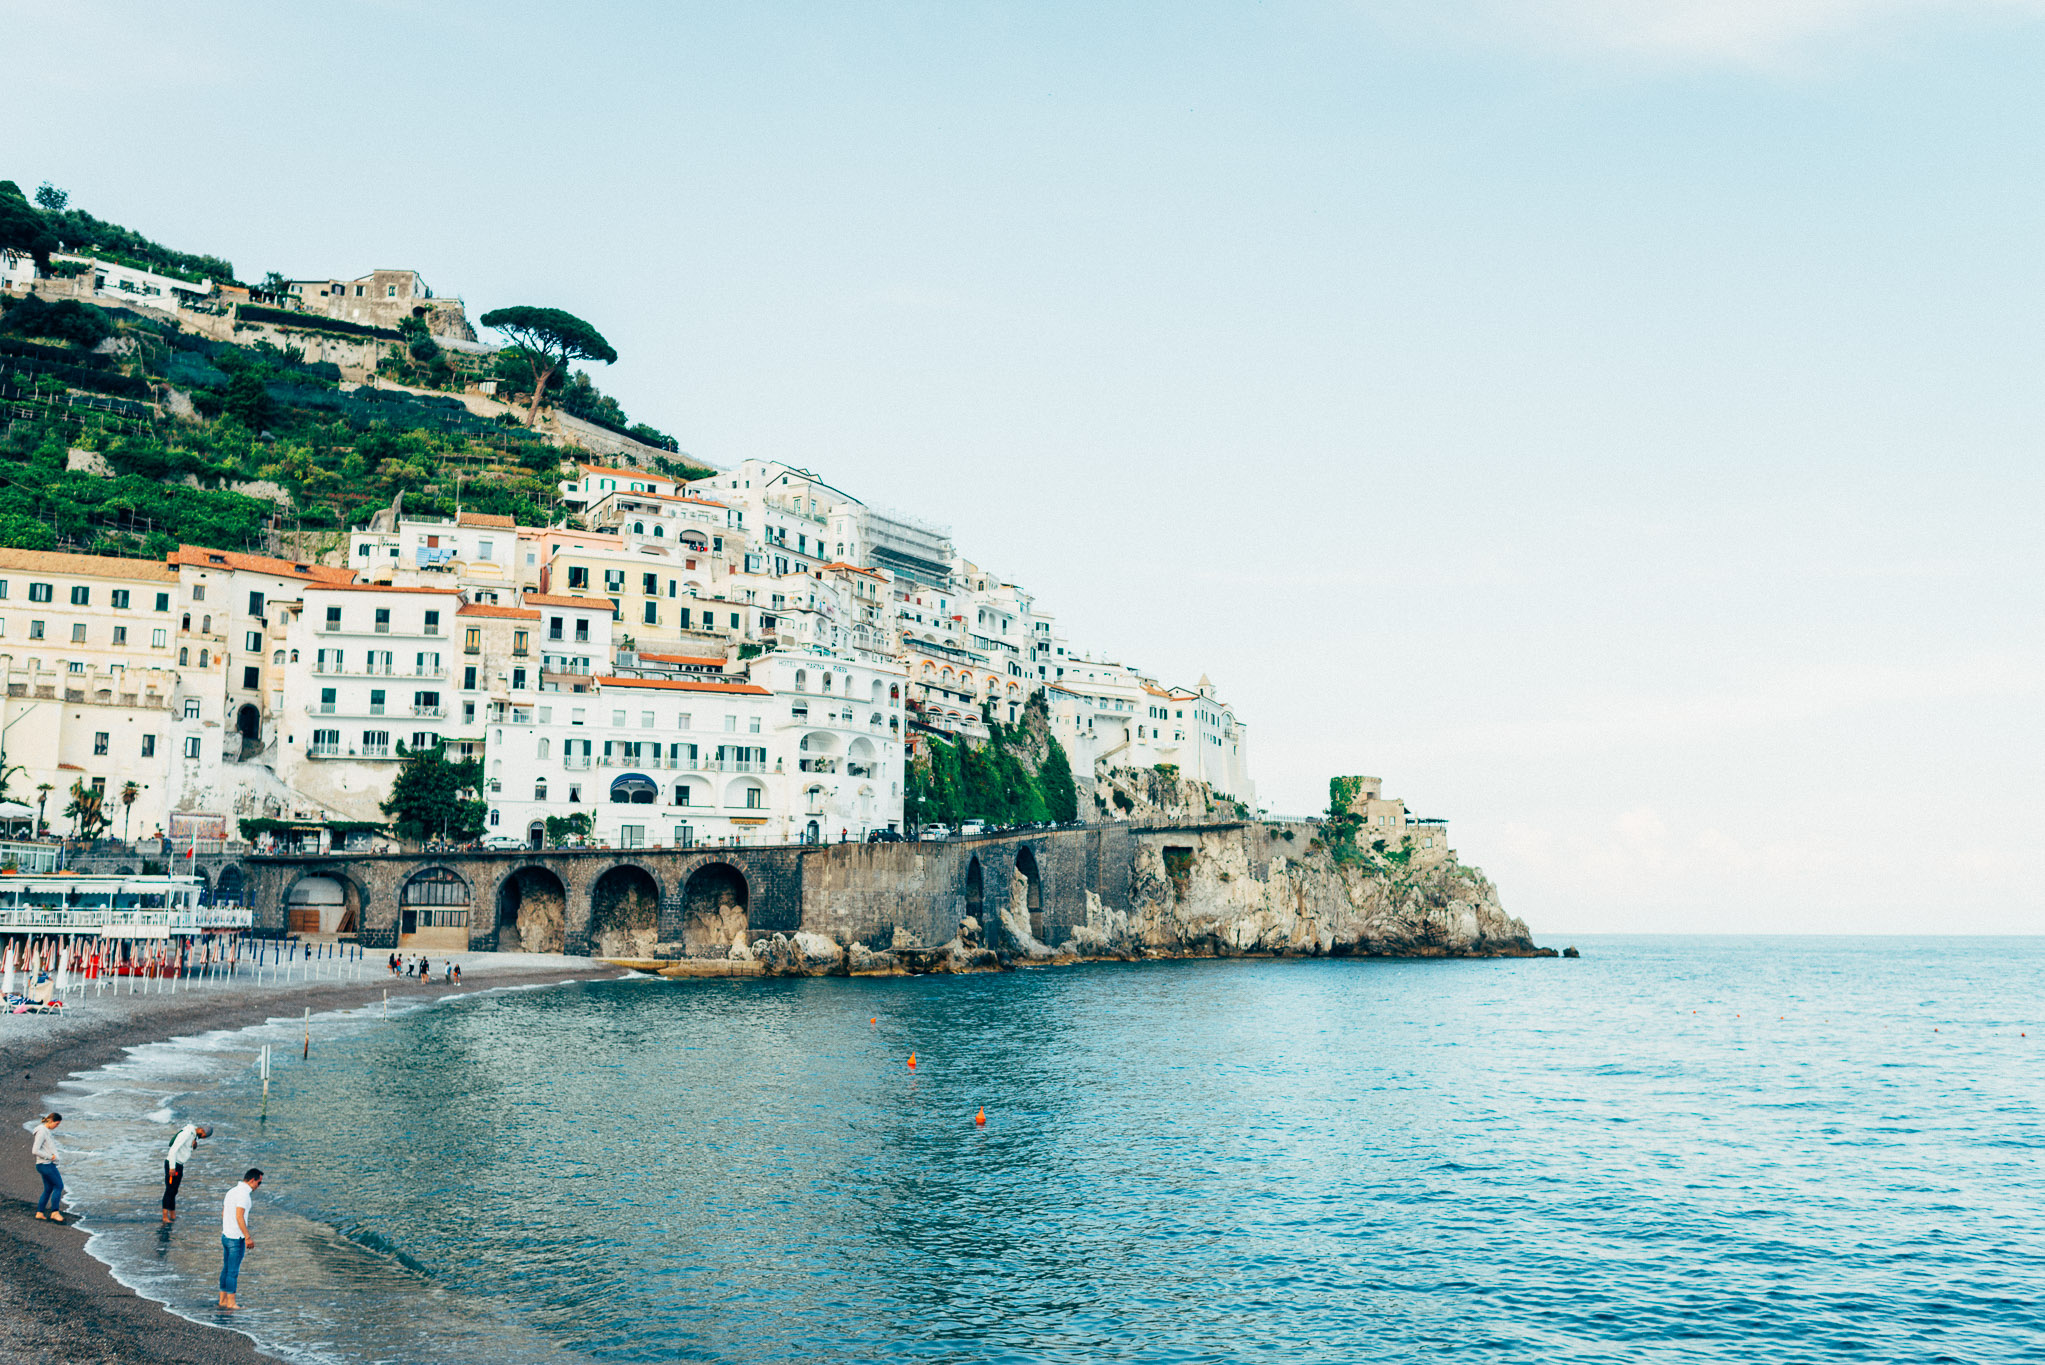
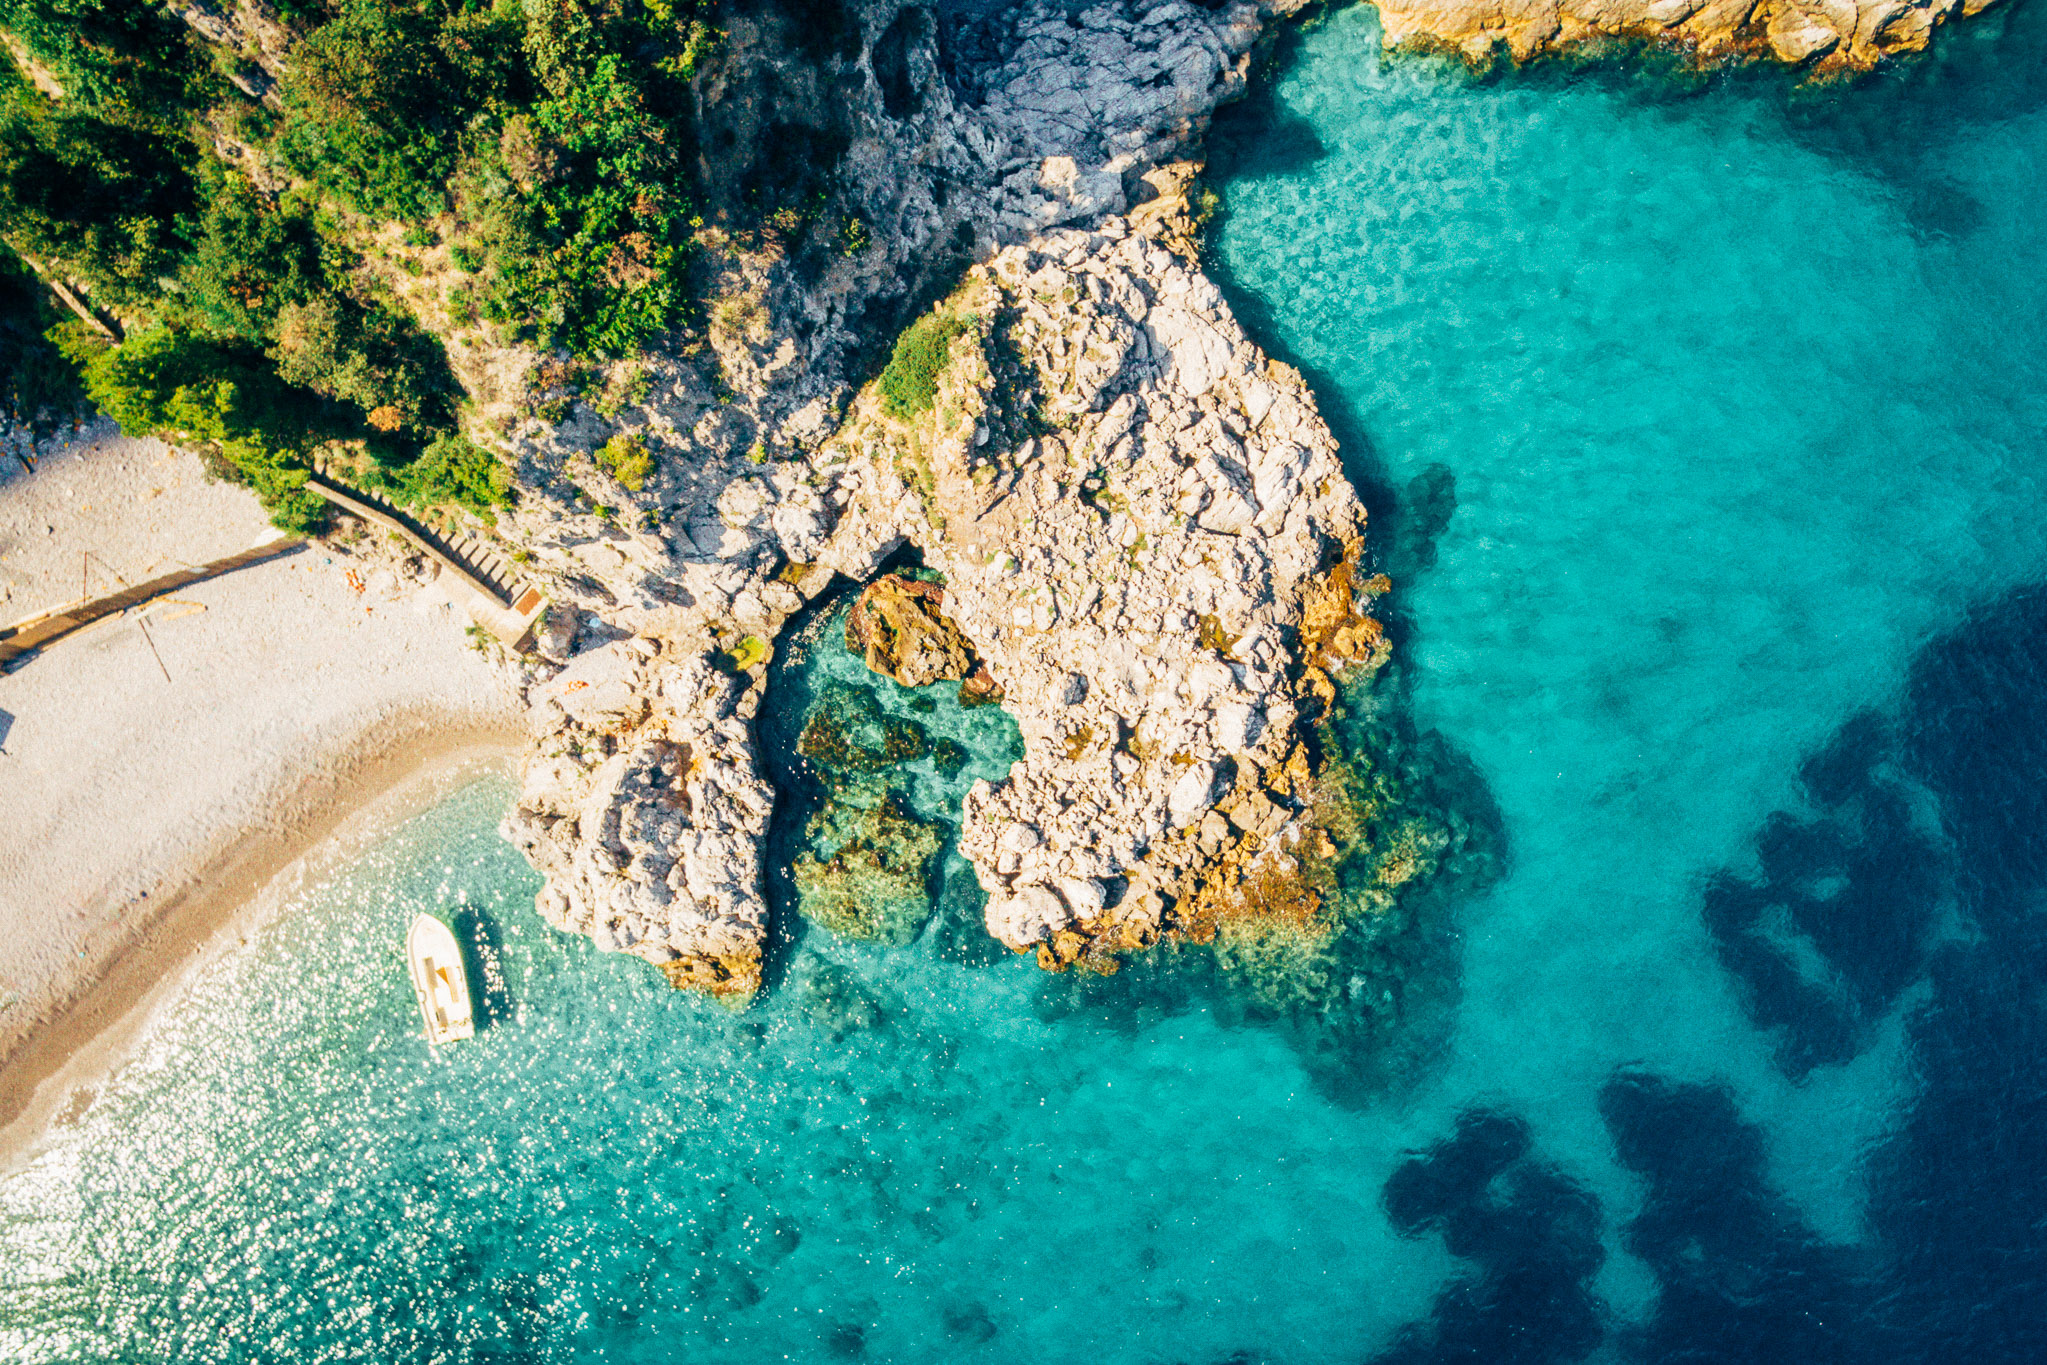
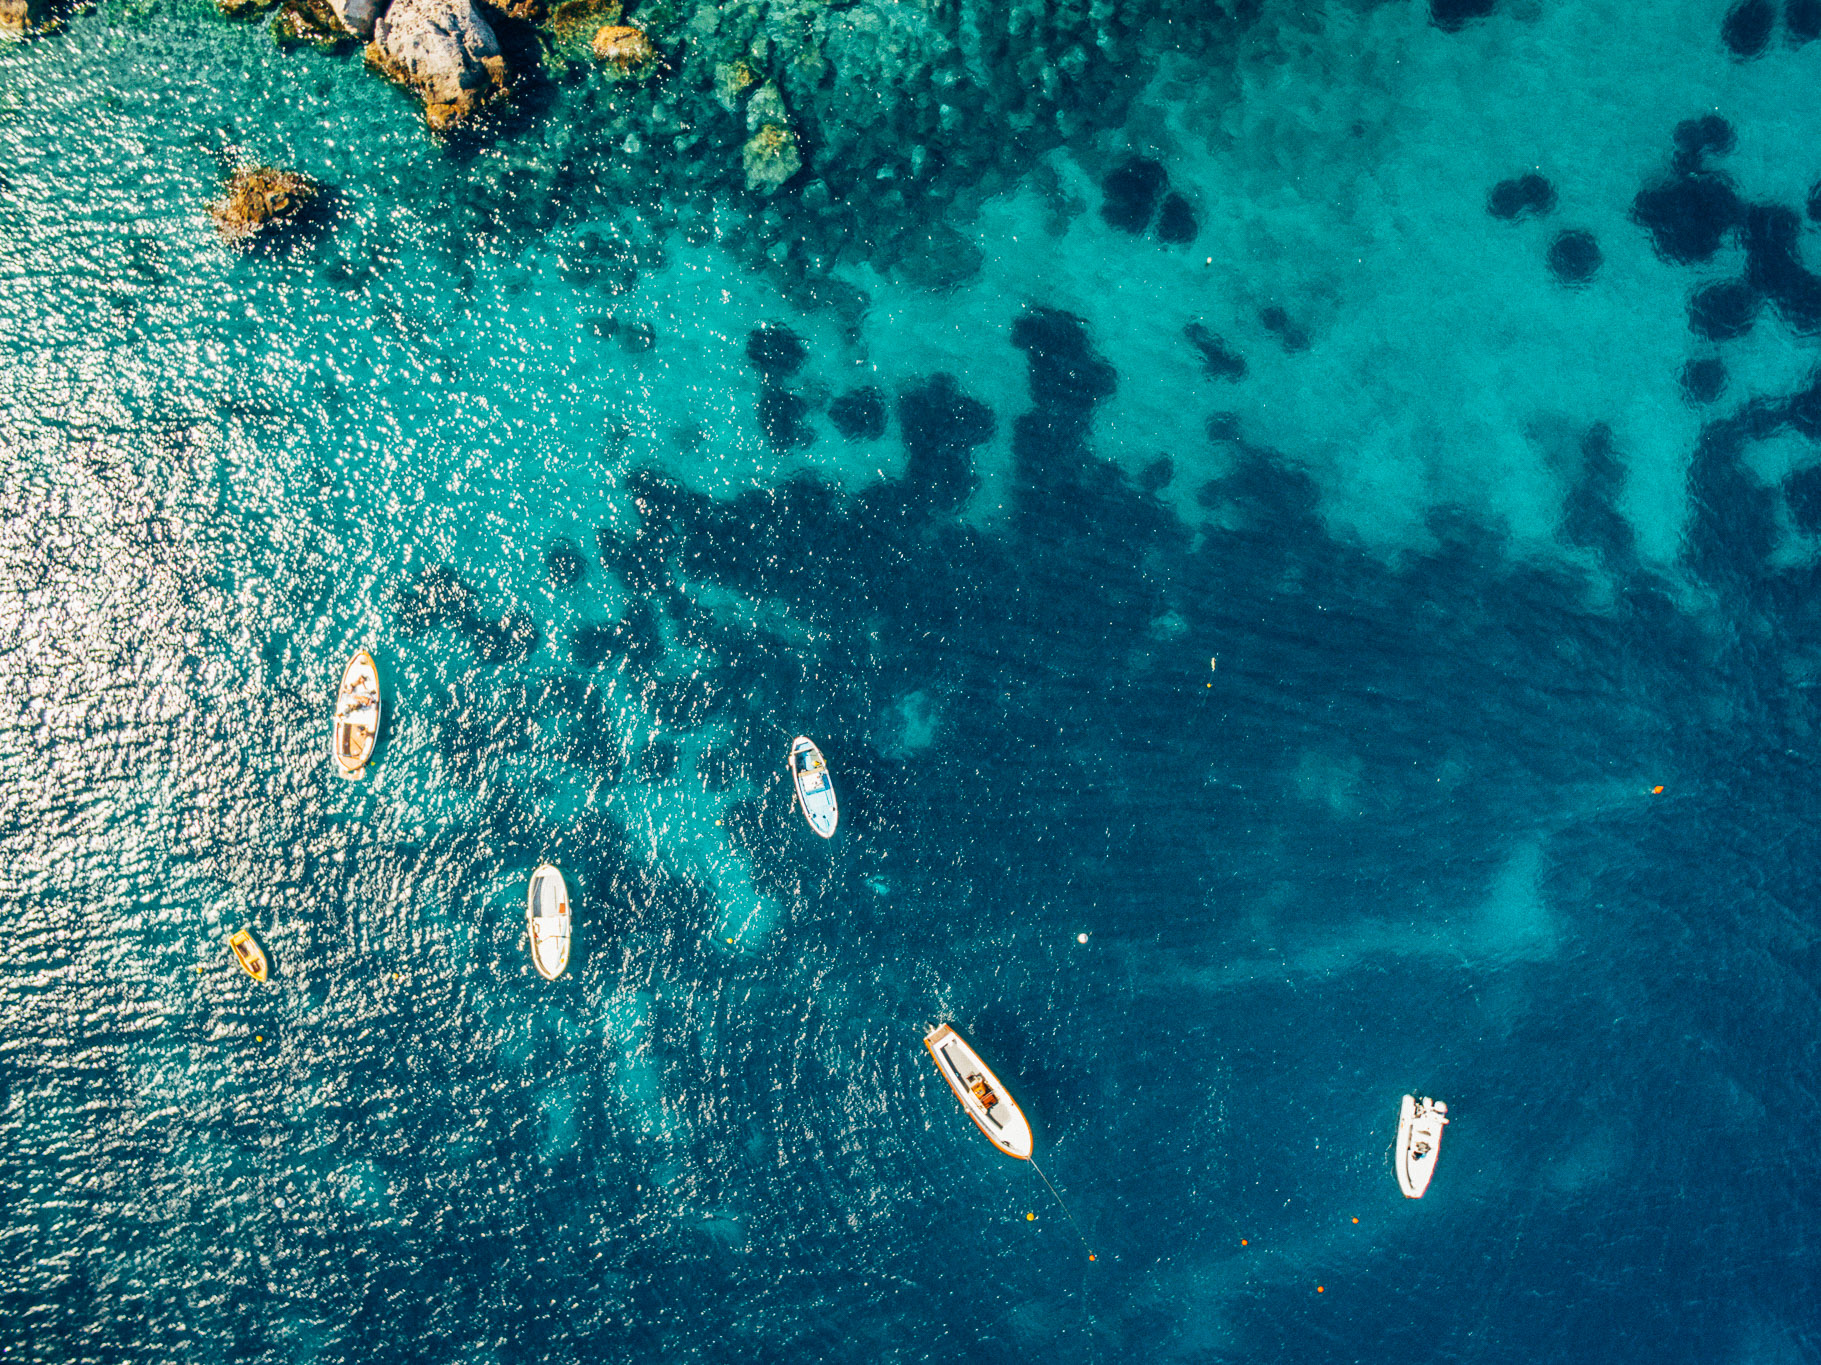
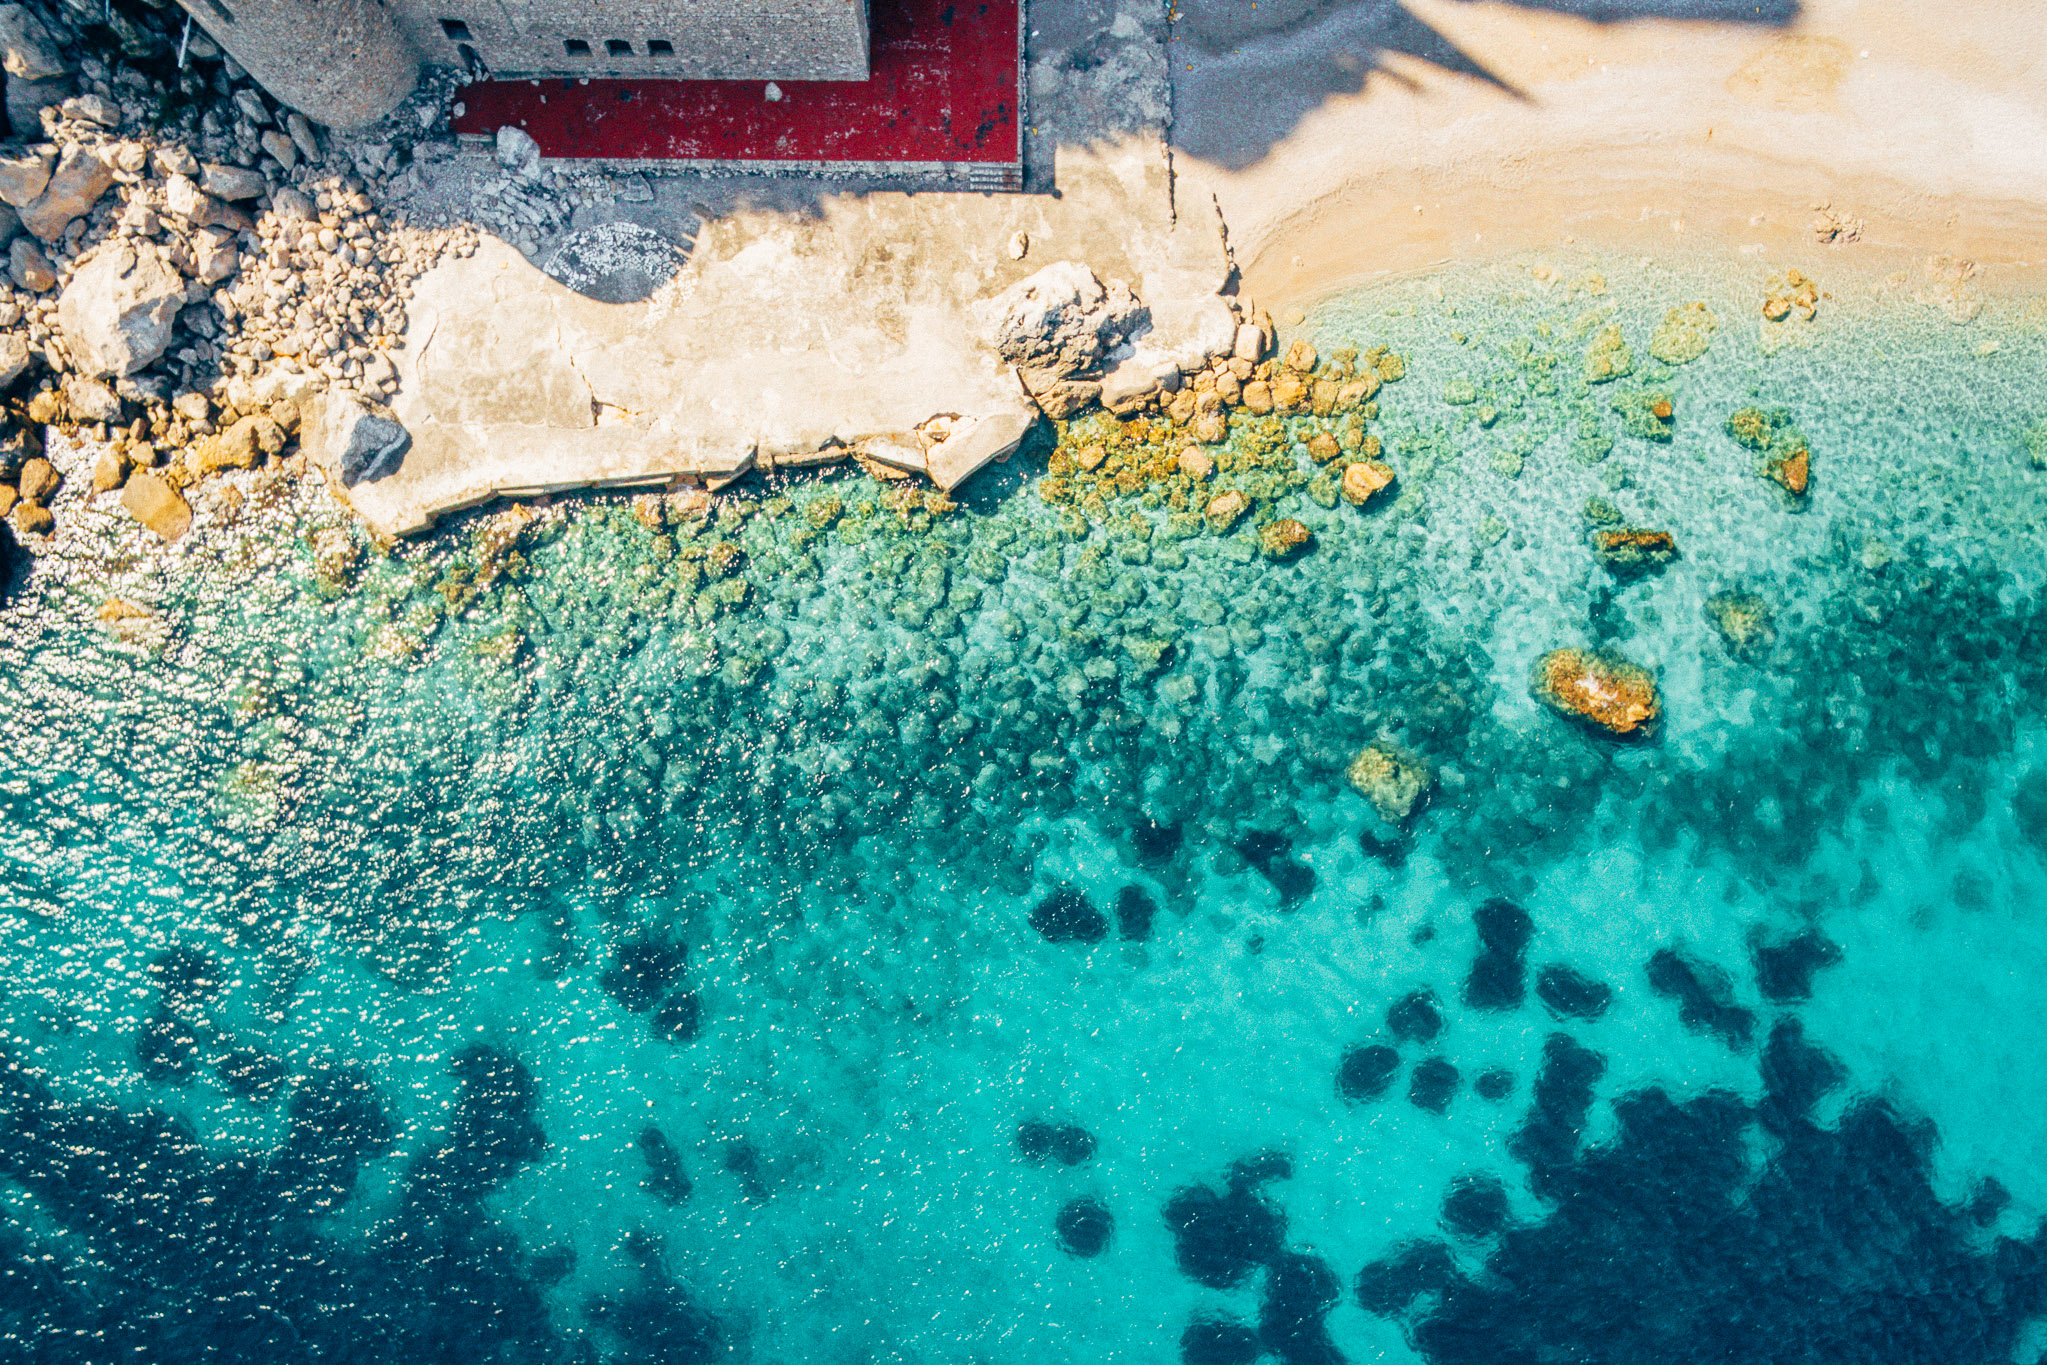
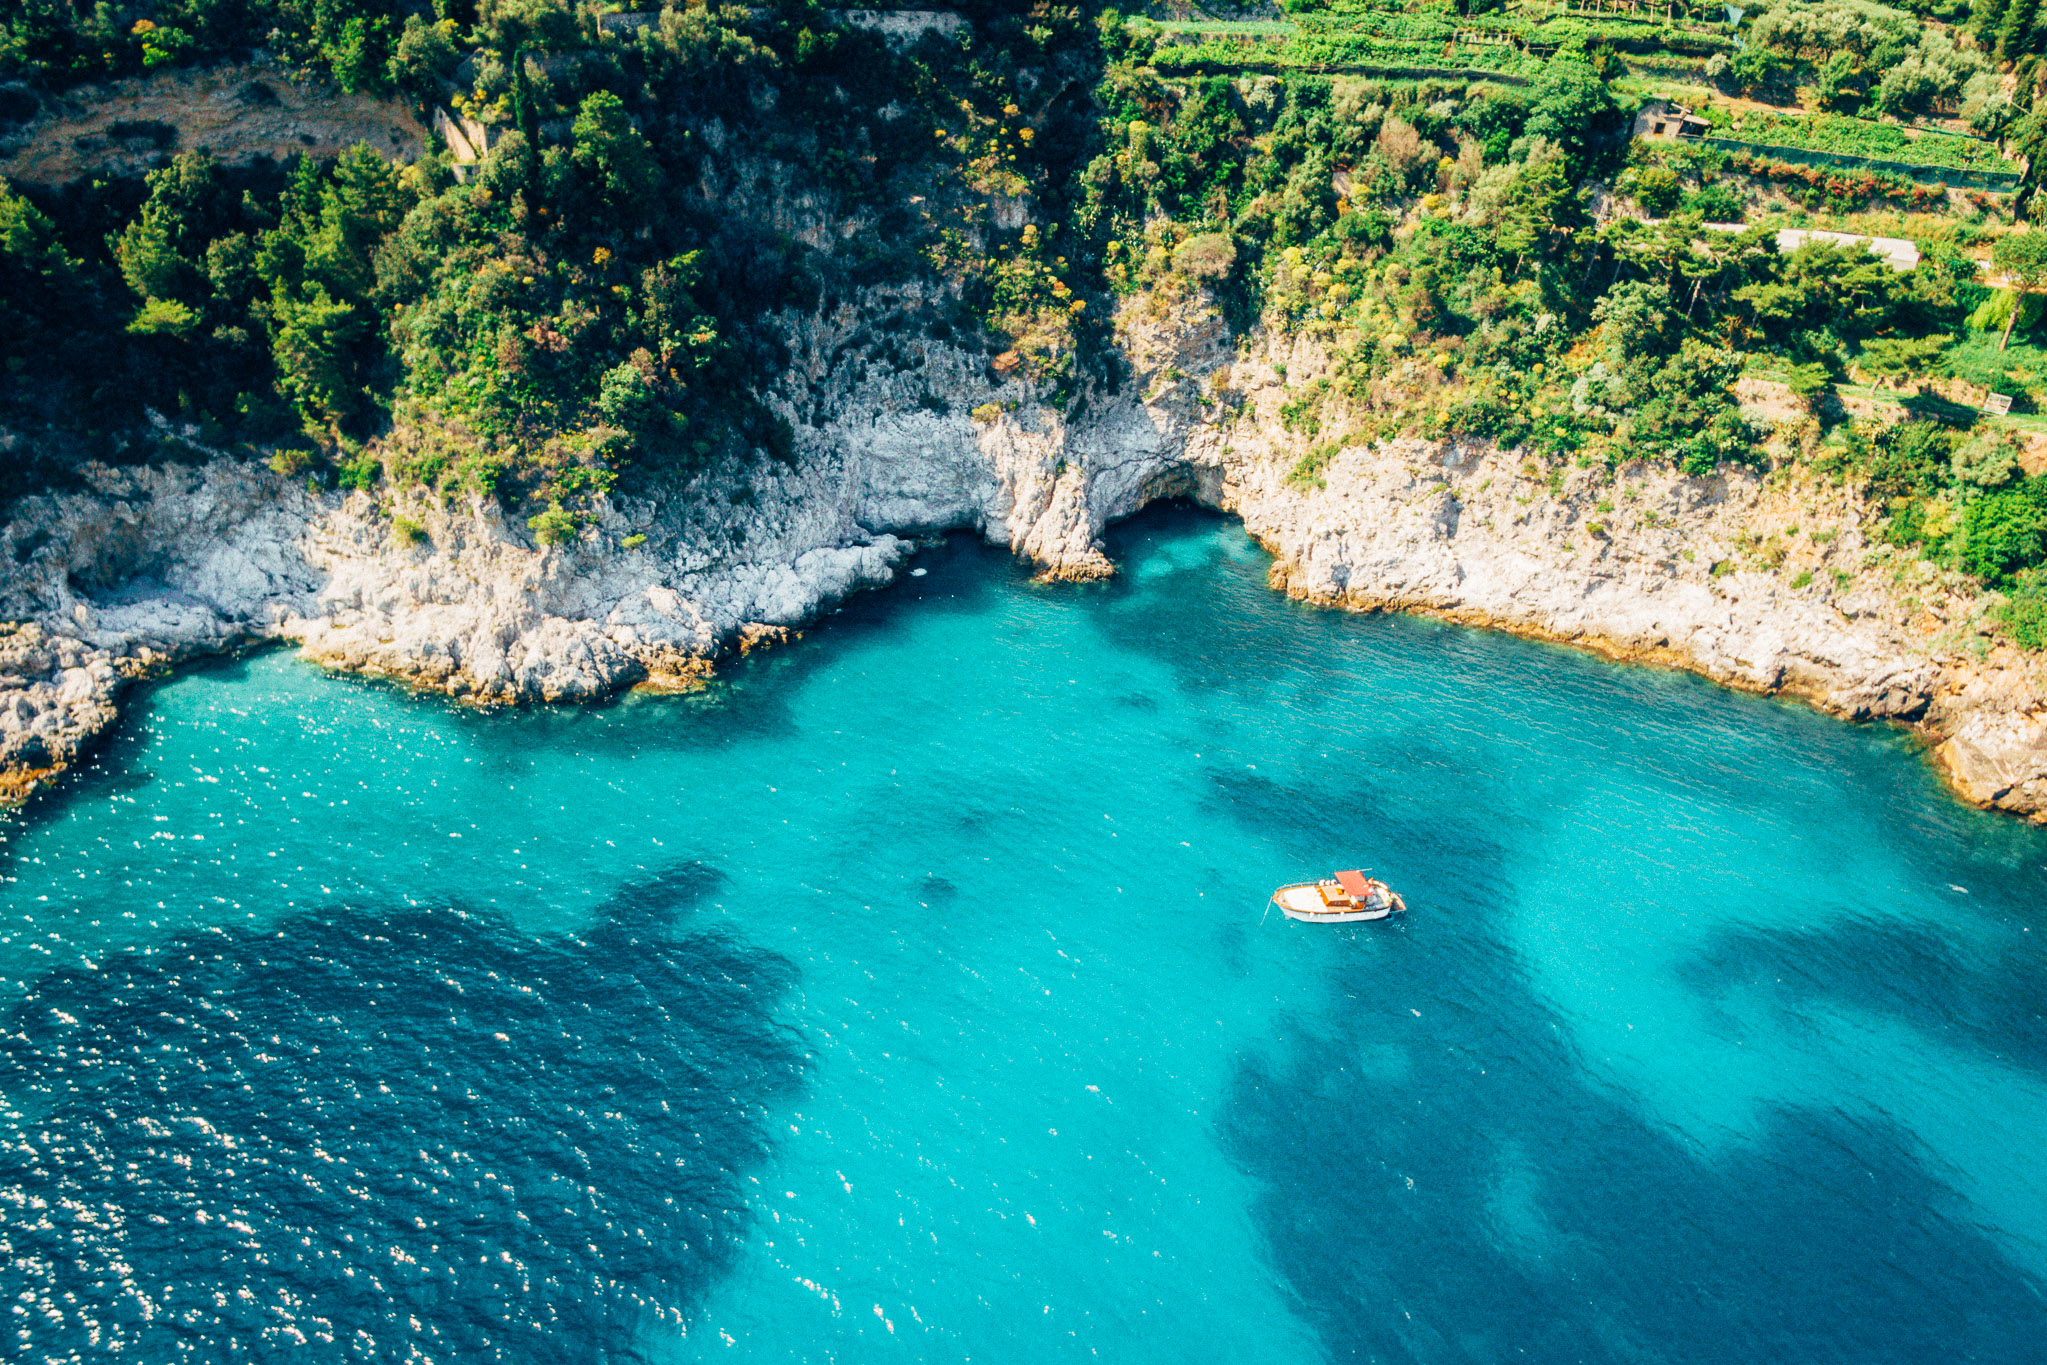
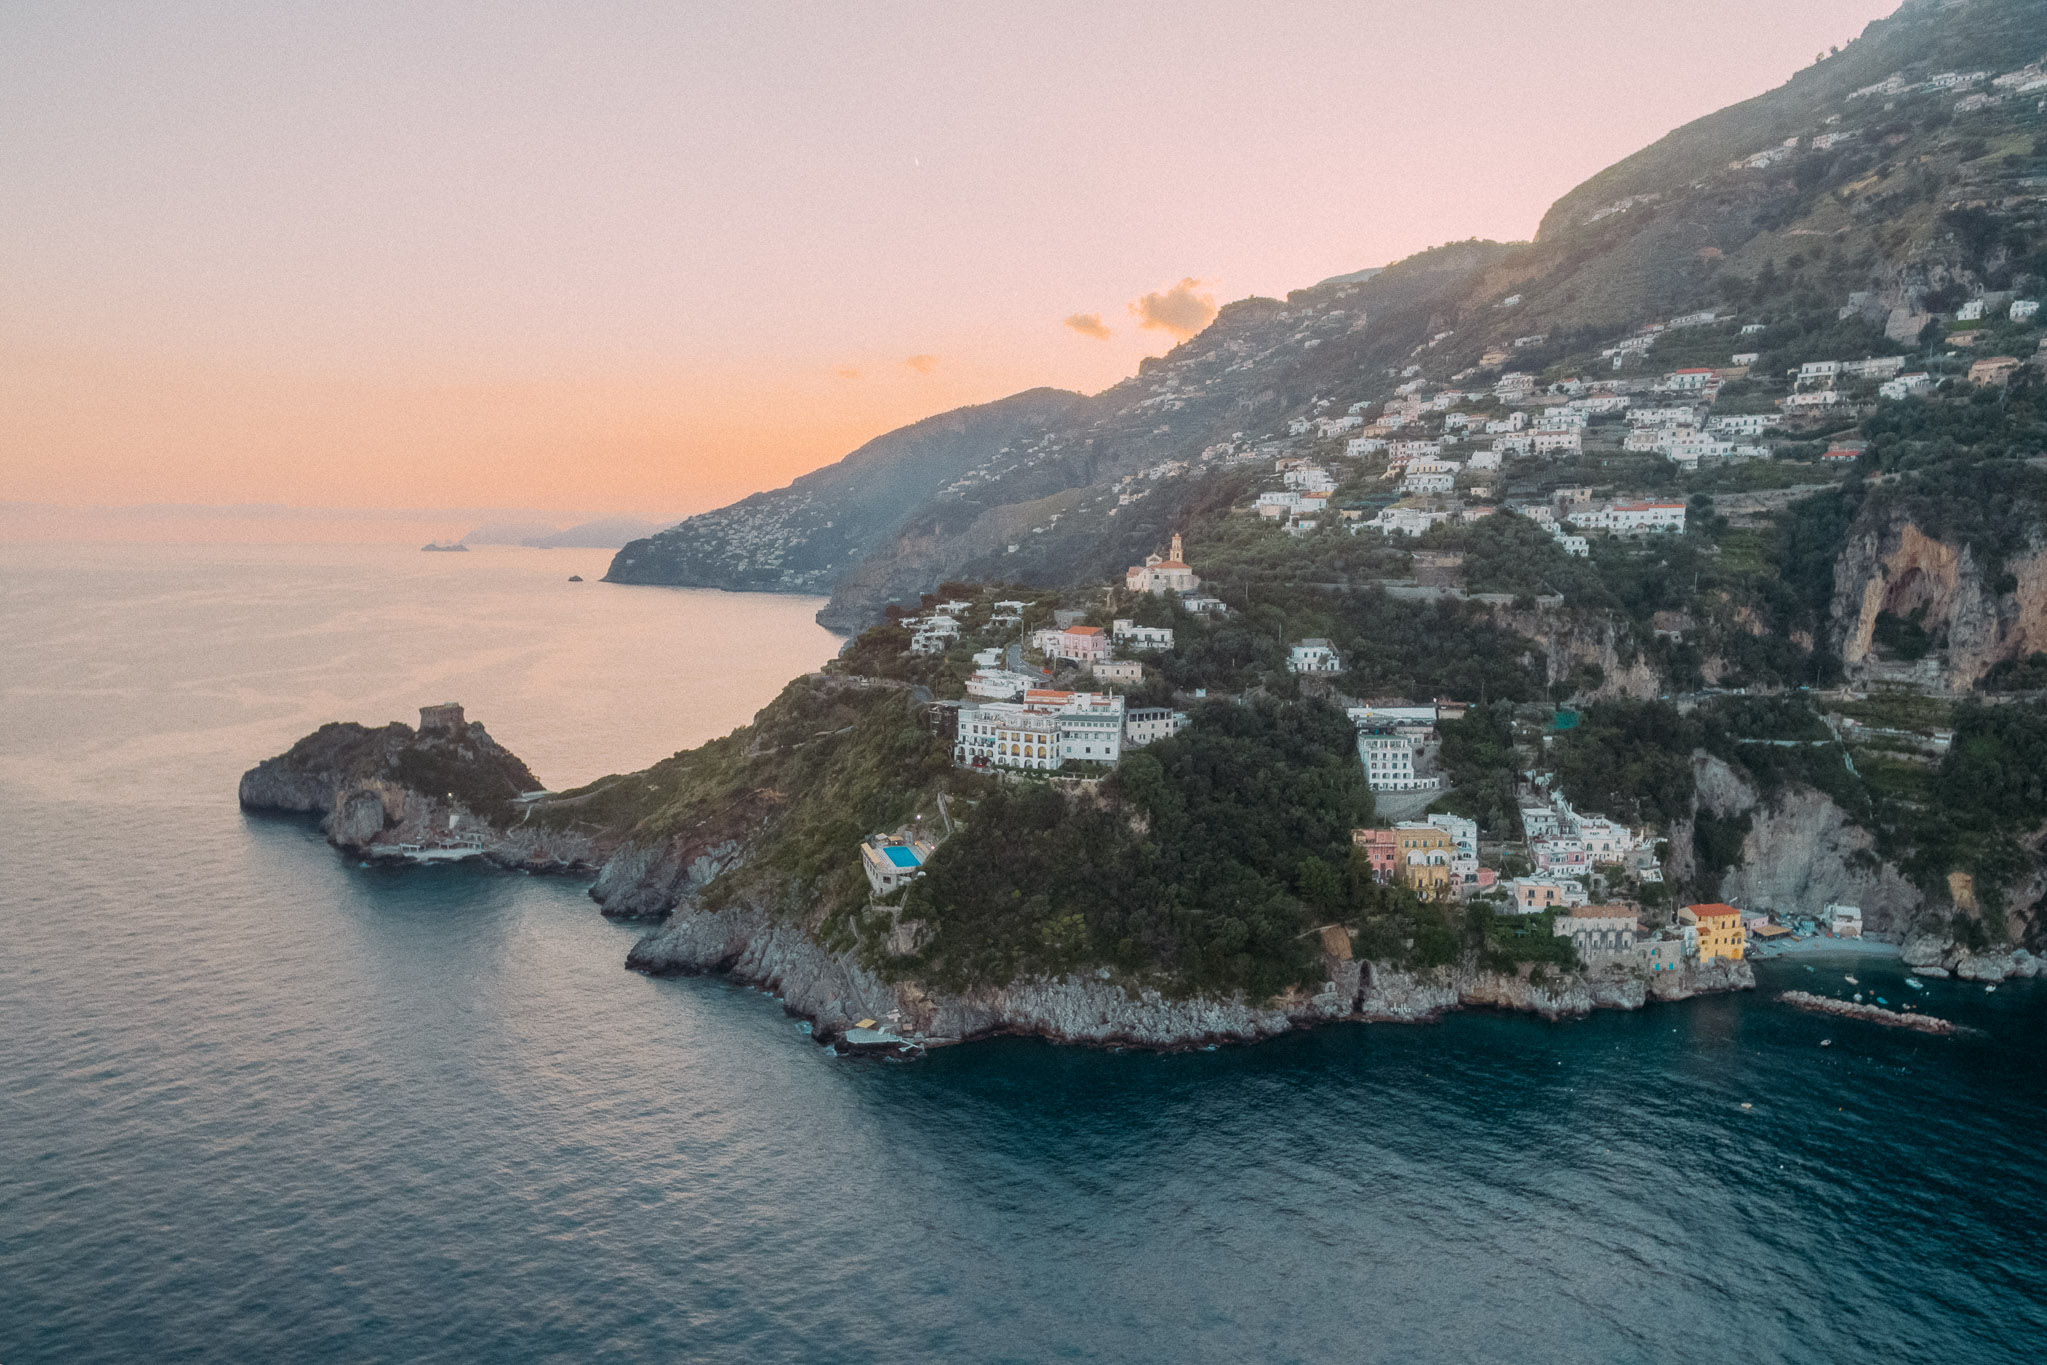
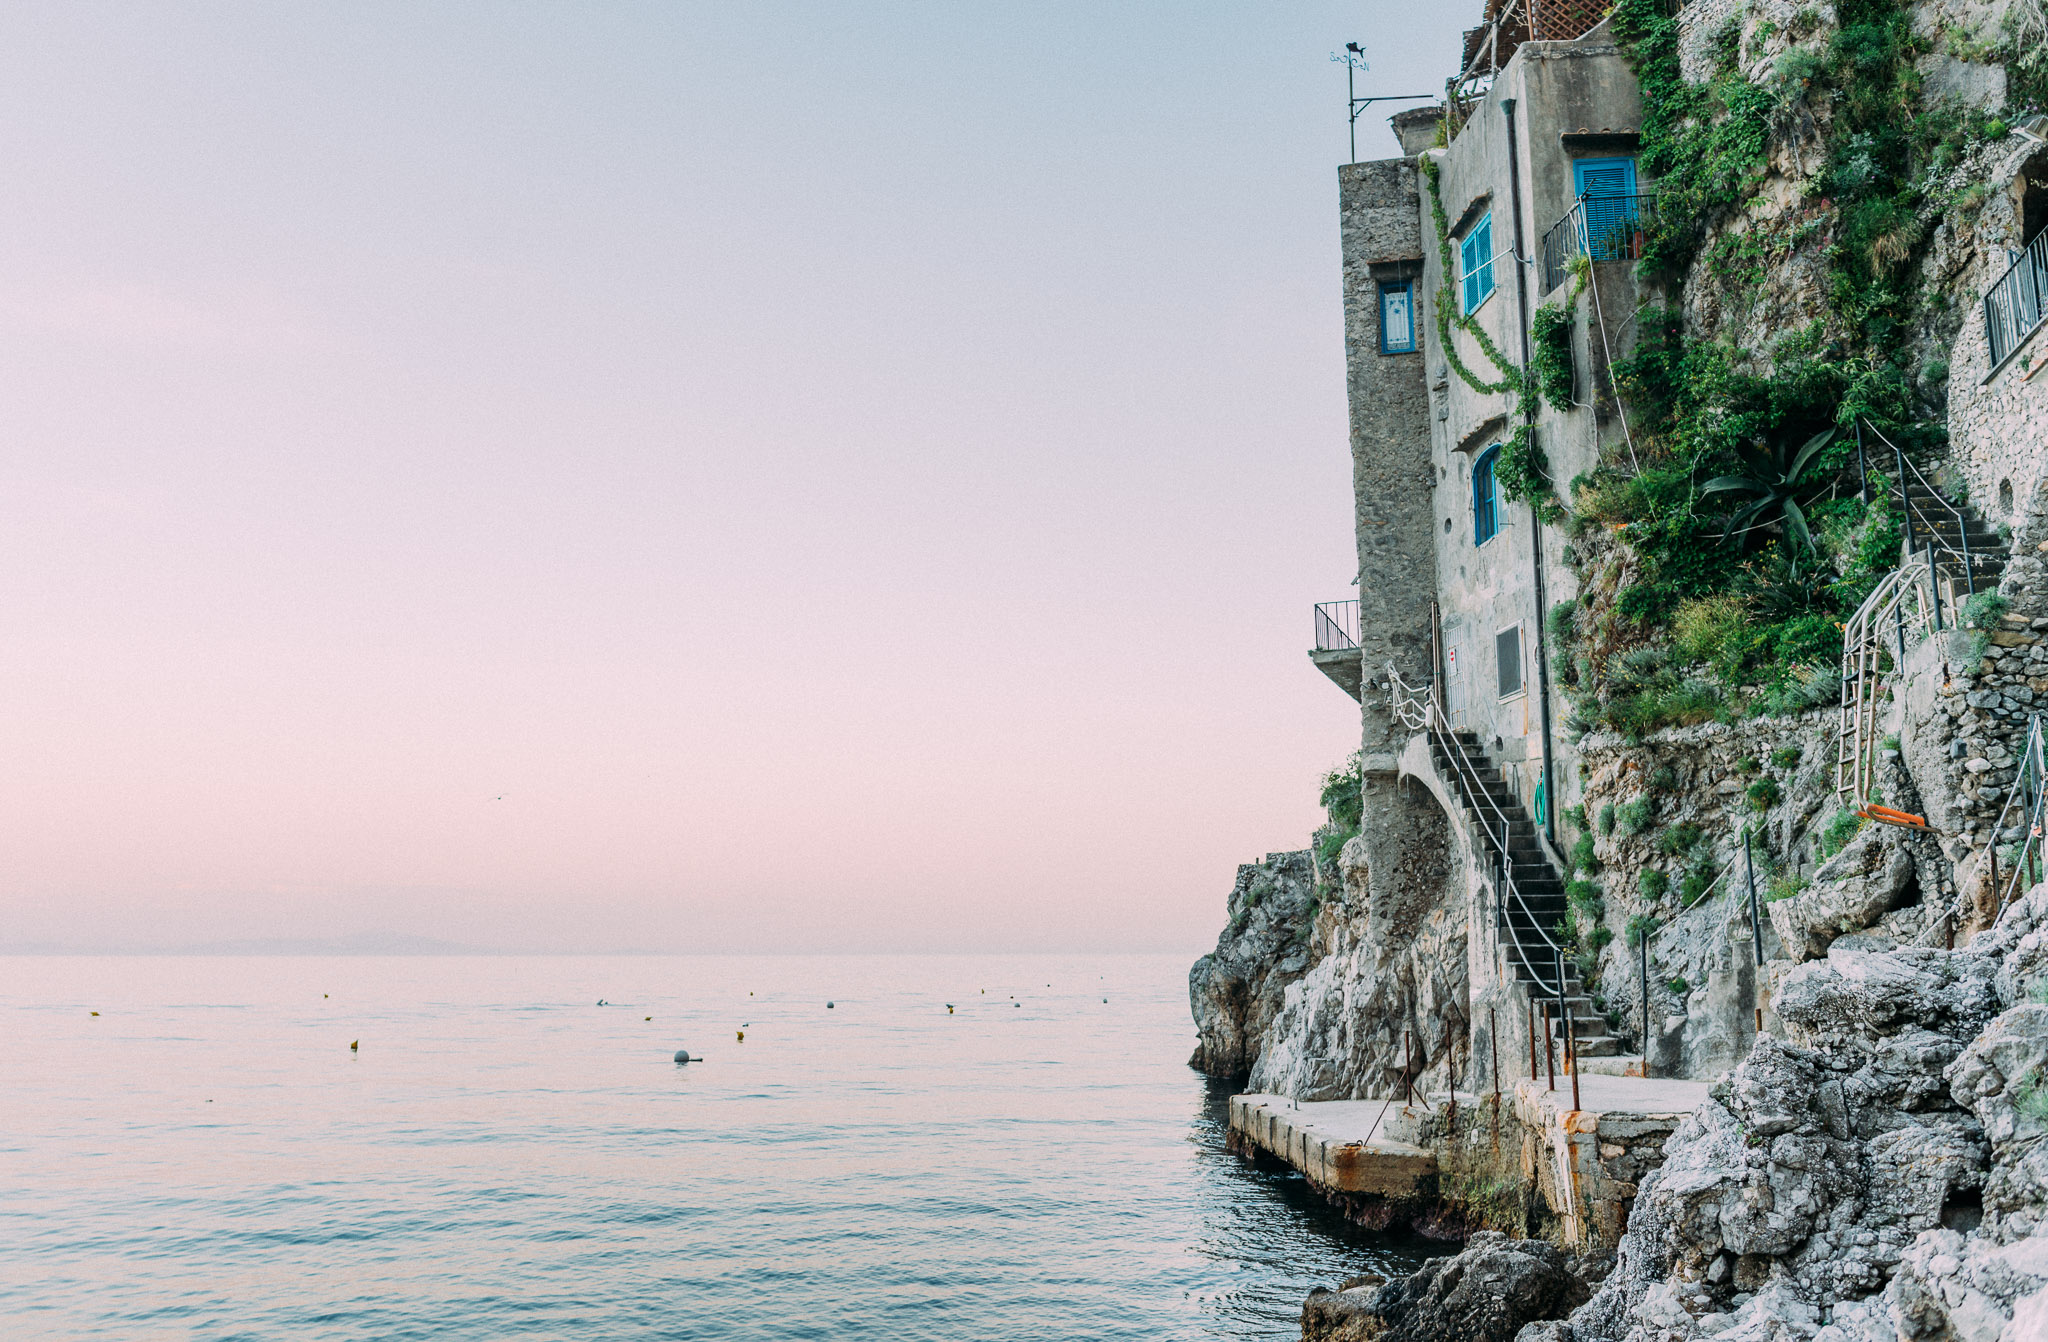
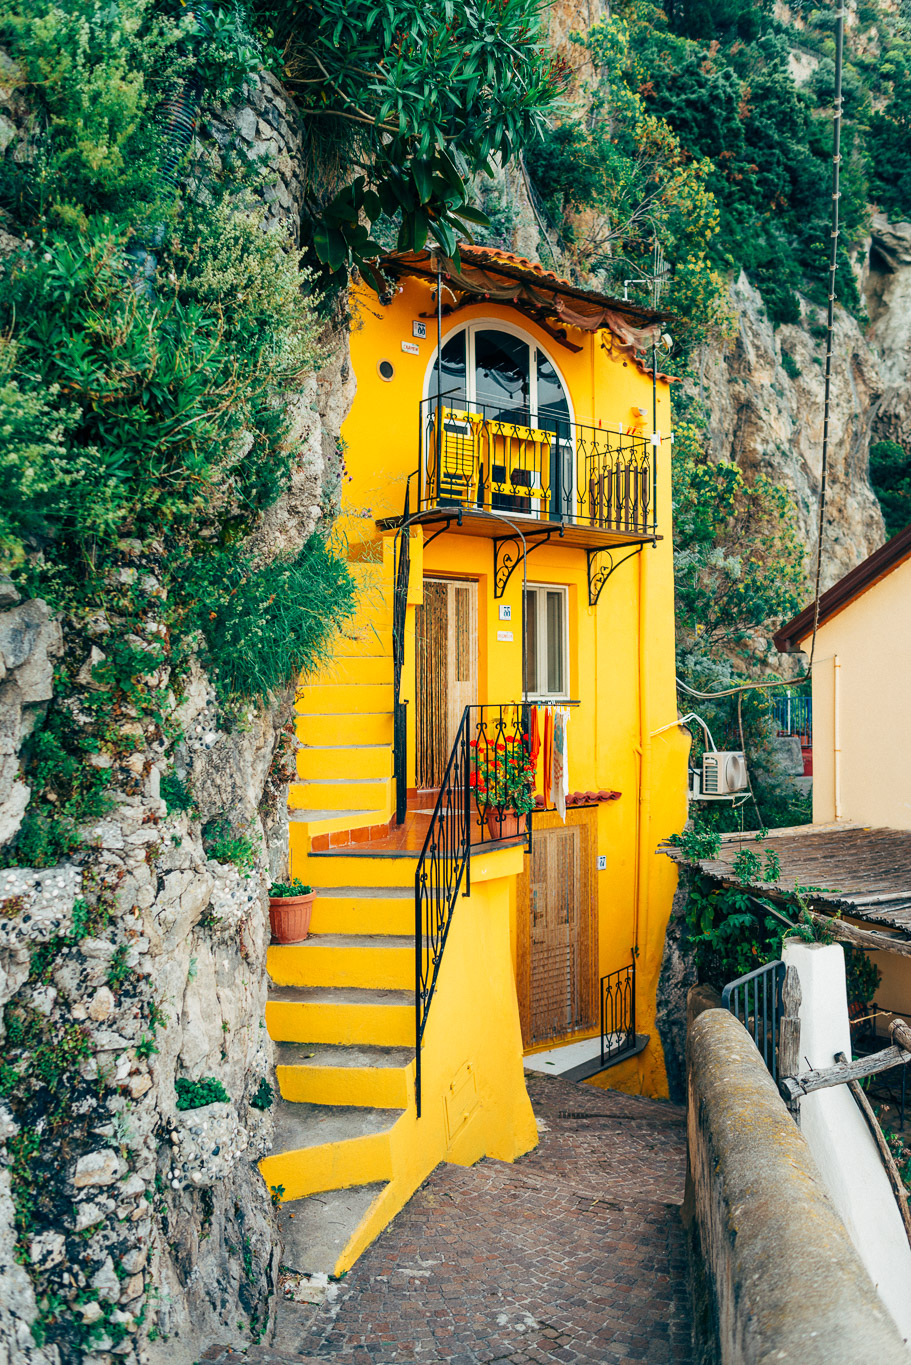
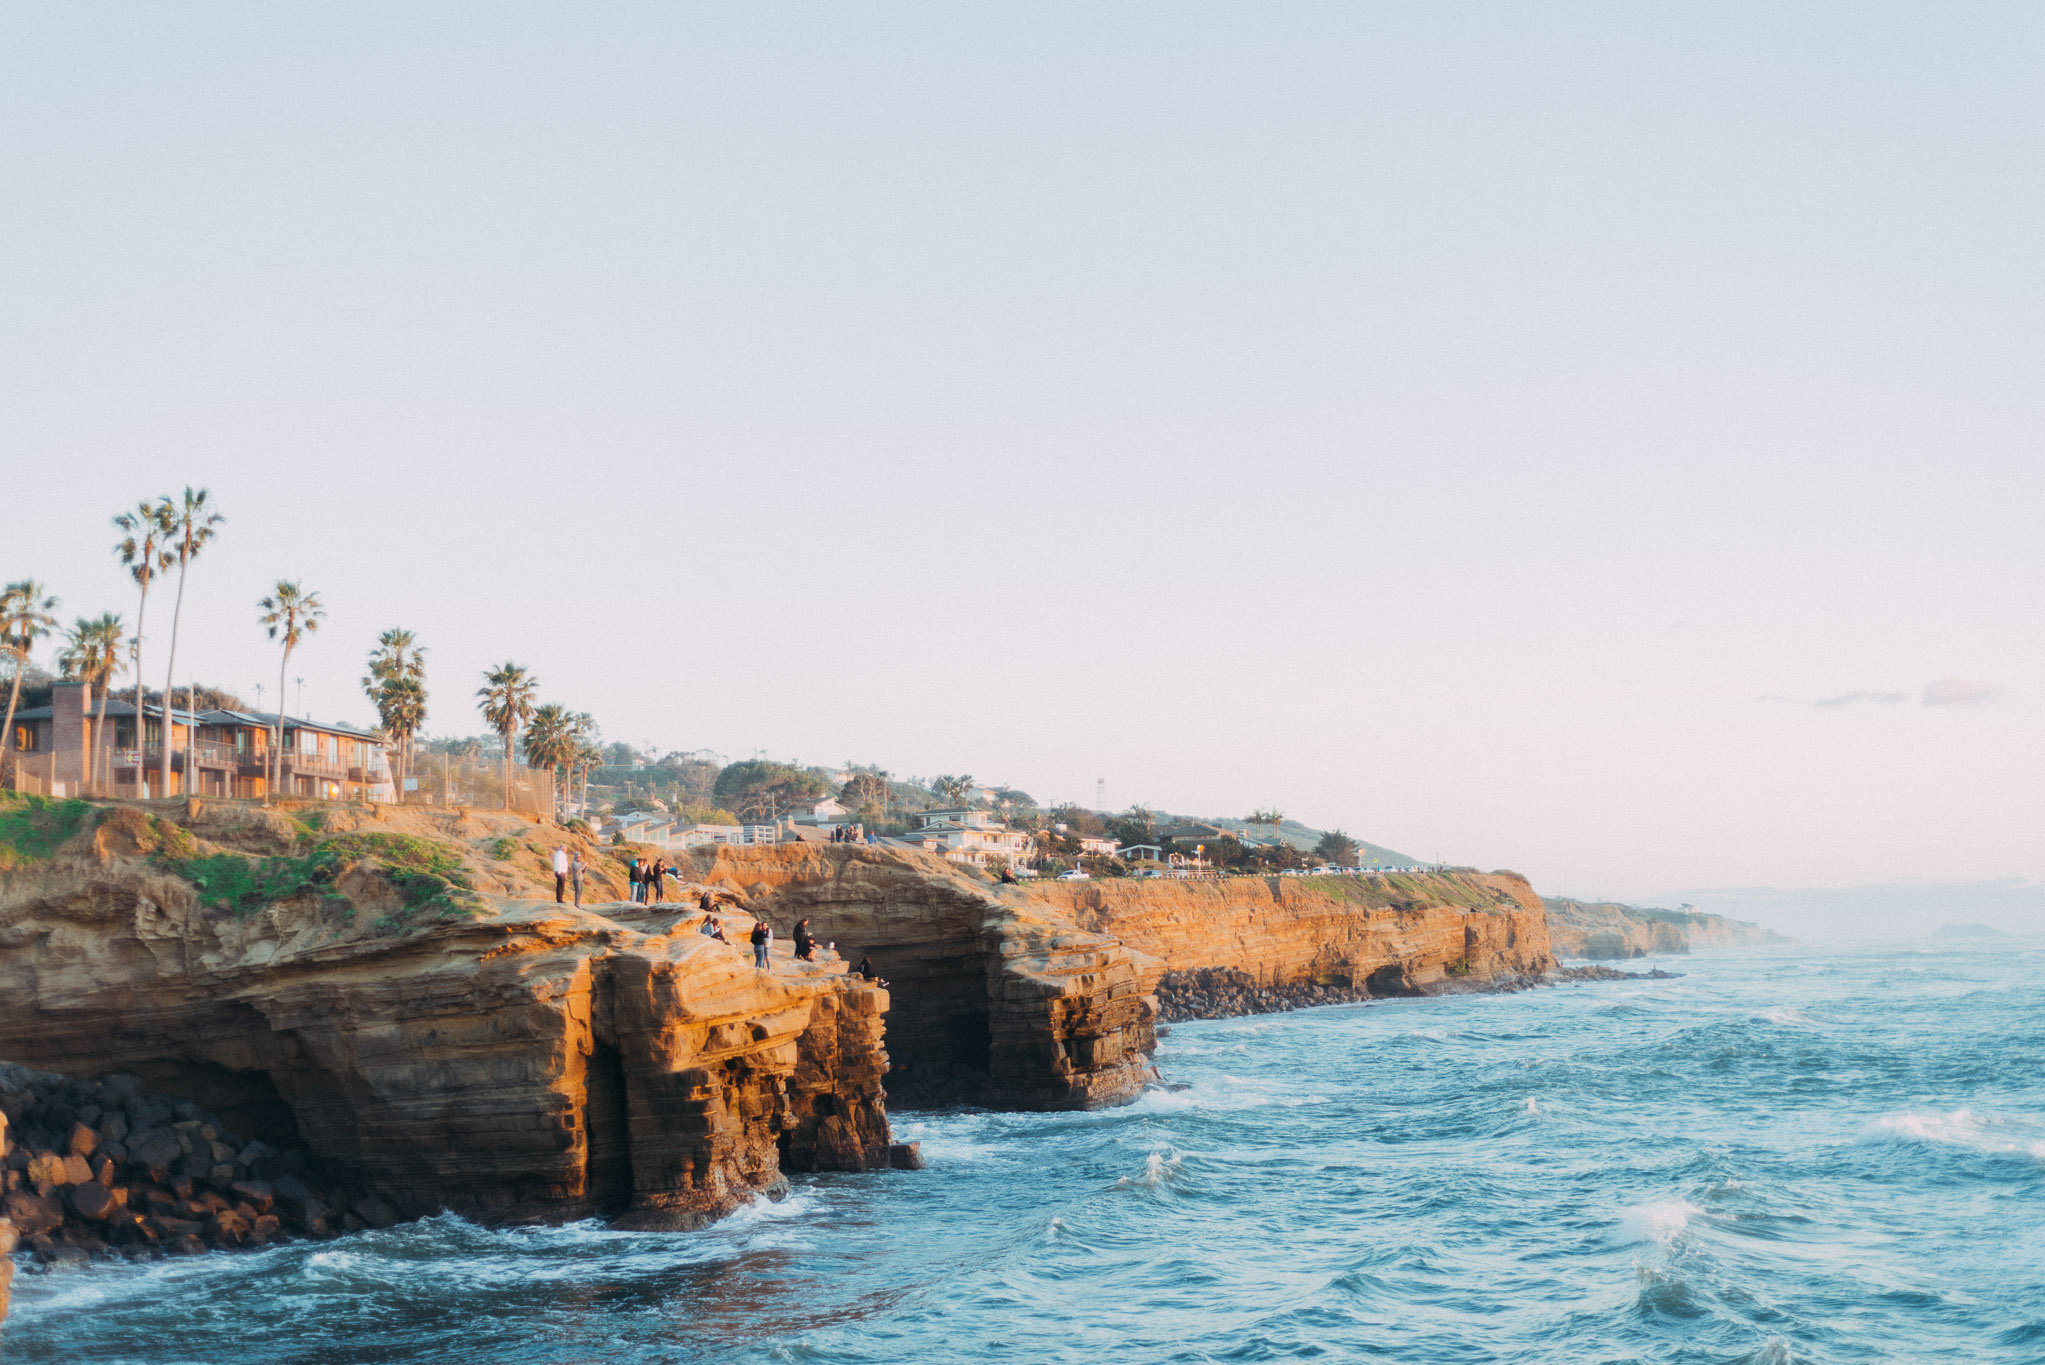
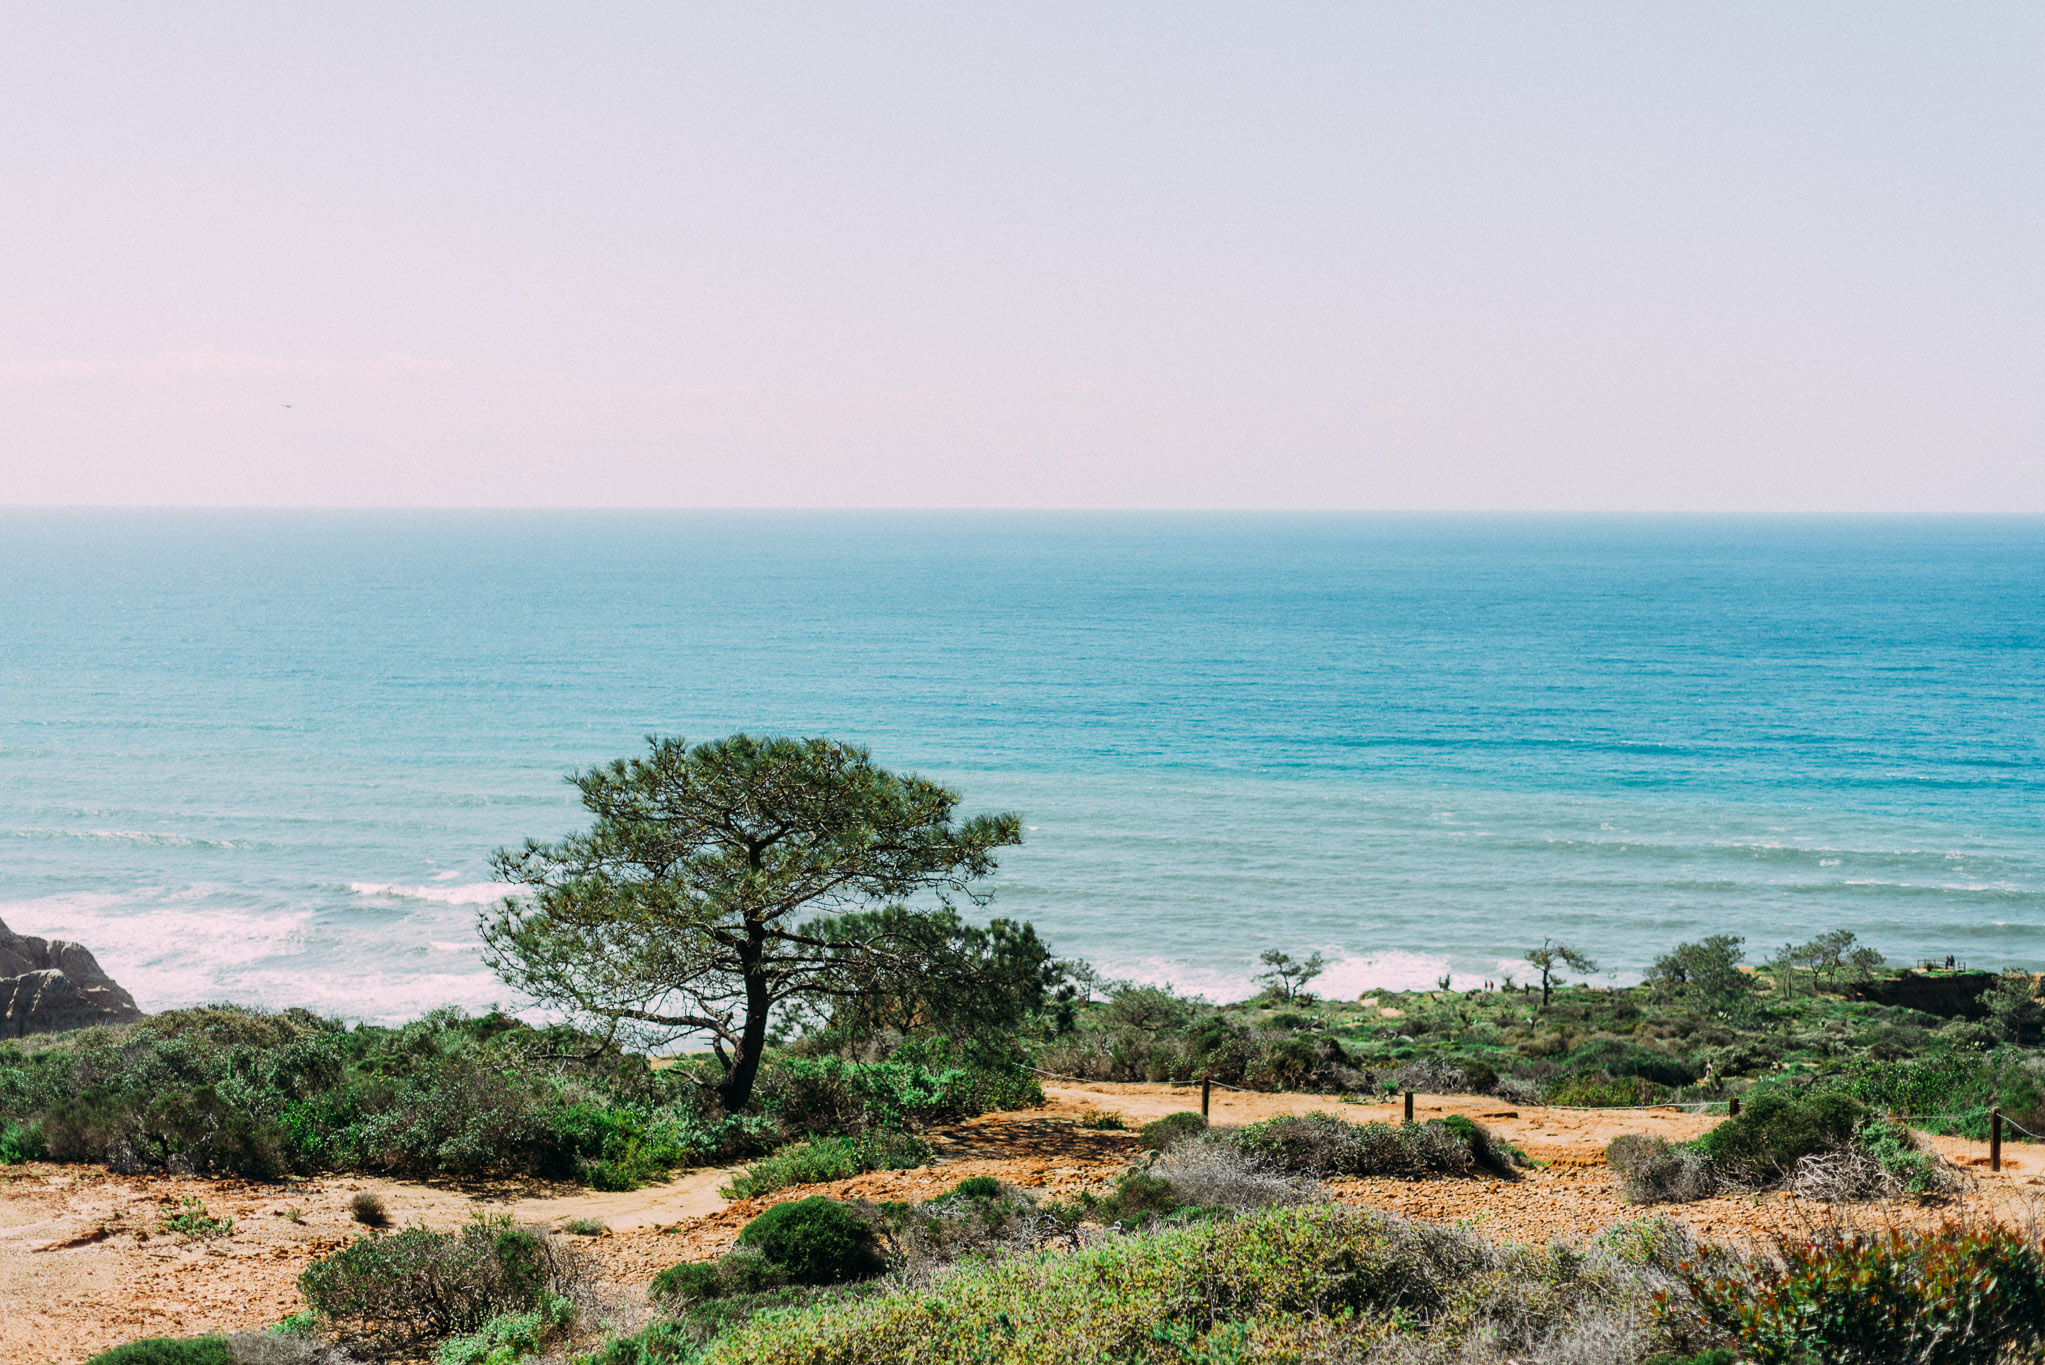
Ever since I launched my site in 2013 I have offered Fine Art Landscape Prints predominantly featuring the Irish landscape, but also some unique international regions also. I have been very humbled to have sold my work around the world and have great appreciation that my customers love to hang my work in their homes.

Utilising the finest Hahnemuehle PhotoRag 308 matte paper, my landscape prints render beautifully on this premium archival paper. The level of detail that is visible using archival inks on this medium is amazing and to be able to inspect the image either near or far in such a tangible manner is highly satisfying.

Hahnemuehle’s paper making history goes back over more than 430 years with the paper mill that it currently operates in was commissioned in 1584. They were the purveyors of the finest handmade writing and foolscap papers and today create the finest Fine Art Inkjet paper. When printing I utilise the Epson P800 printer for prints up to 18x12 inches and for larger sizes I use certified specialist printing labs. My workflow is calibrated and tested end to end to ensure the finest possible prints are made and they are rated to last up to 200 years without any colour degradation when hung in optimal conditions, this ensures your investment will be seen for generations.

If you are looking to enhance your home with beautiful Irish landscape prints, I have written a short guide to help you make the best choice for you:

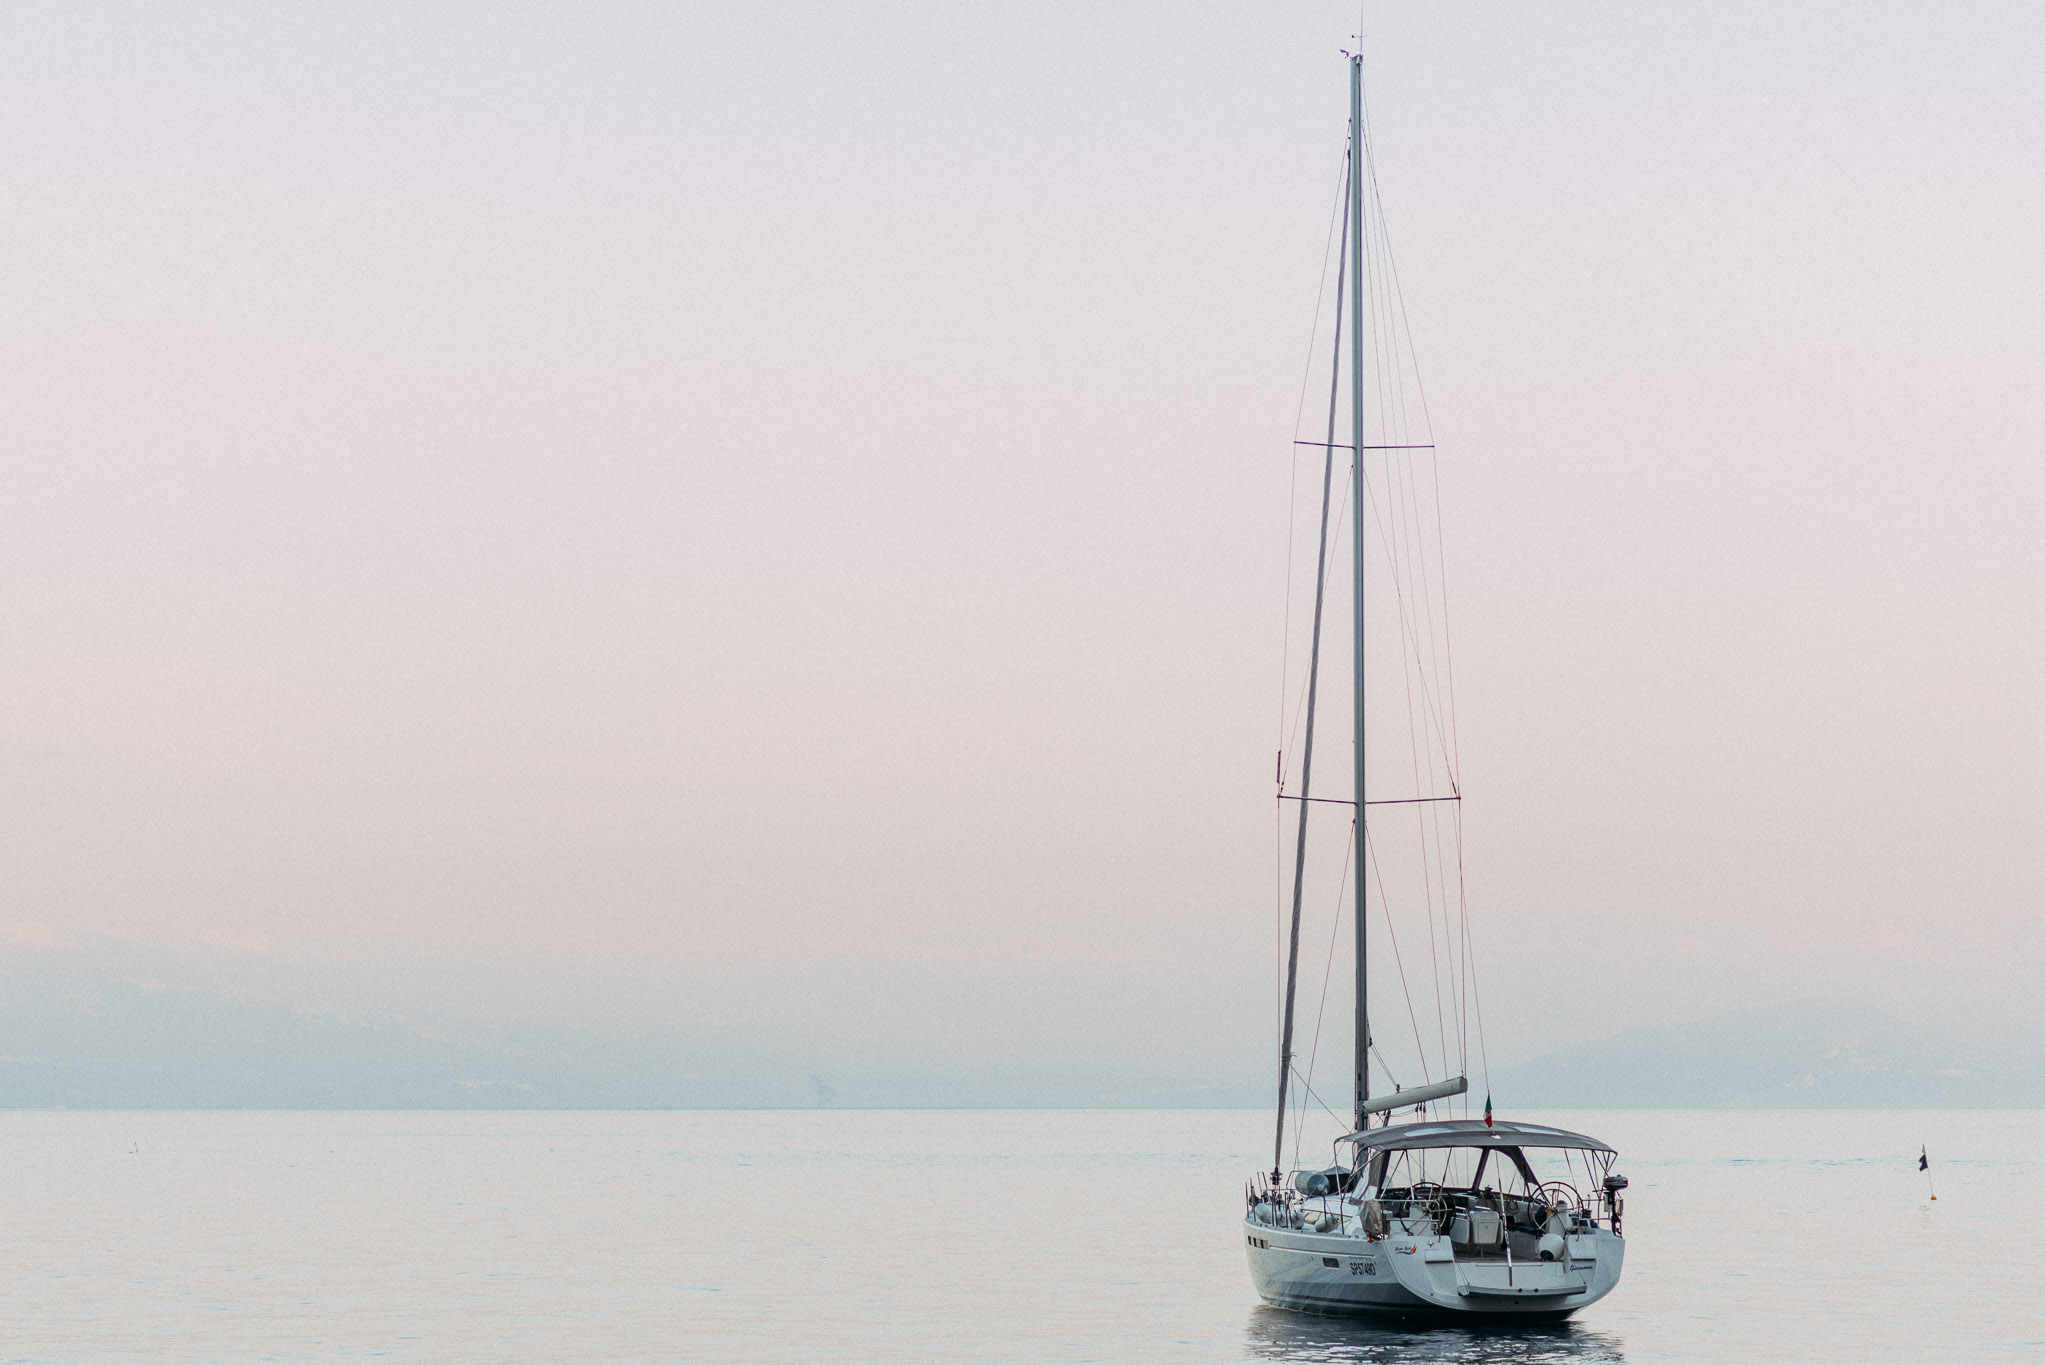
  1. Choose your preferred style: Irish landscape photography prints come in various styles, from vibrant and colourful images to more subdued colours. Consider your existing interior design aesthetic and personal preferences when selecting a style that suits your taste. Bright colourful spaces lend well to more vibrant photography, where as subtle more neutral toned rooms benefit from prints with subdued colours or black and white prints.

  2. Select the right size: Decide where you want to display your prints and measure the available space. Consider whether you want a single large statement piece or a collection of smaller prints to create a gallery wall. Popular sizes for landscape photography prints start at 8x10 inches but significantly larger artwork is available from me. Interior designer’s often advocate for artwork to ideally take up to 1/2 to 2/3rds of empty space on a blank wall. If placing above furniture like a couch, measure from the top of the coach to the top of the wall as follows:

    MAX ART WIDTH = WALL WIDTH X (2/3)

    MAX ART HEIGHT= WALL HEIGHT X (2/3)

    MIN ART WIDTH = WALL WIDTH X (1/2)

    MIN ART HEGHT = WALL HEIGHT X (1/2)

  3. Consider framing options: Once you have selected your prints, consider how you want to display them. Choose a premium frame that complements the style and colours of the print. My recommendation is to also use UV protective glass when getting your print framed as this will help the longevity of the print by working in tandem with the archival print process by maximising colour rendition many decades after purchase.

Irish landscape photography prints are a great way to bring the beauty of Ireland into your home for anyone in Ireland or internationally. I have found when my clients have followed this advice and chose the right prints, sizes, styles, and framing options, they have created a stunning display that enhances their home.

I hope this information has been useful to you as to how I ensure the highest quality pieces of artwork are created before they make it to their final destination. If you have any further questions or are interested in custom orders, I would be happy to discuss them here.

Comment

A Big Freeze

Comment

A Big Freeze

I wanted to refocus my efforts on posting smaller bodies or collections of work after having neglected my journal here for a prolonged period of time. Despite the significant gap since my last entry, my feeling that the work I have been shooting since then has become more refined & matured. And with that anecdotal information, I’d like to reflect back on a period of shooting just over a year ago in the December of 2022 when we had an incredible spell of perfect icy conditions that granted us the rare occurrence of hoar frost.

As is often the case when cold dry weather approaches, my interest is piqued at the possibility of working with these calm conditions to capture some beautiful imagery and what better conditions could be available than those granting us a significant coating of hoar frost across the country.

Over the course of a week I made three trips to locations relatively close to me that I considered would highlight these arctic conditions well. These were Coole Park outside of Gort, Co. Galway, Cong in Co. Mayo and the ever serene Burren National Park Co. Clare. I have admired the landscape imagery of other photographers who were fortunate to not only experience hoar frost in their locations, but often paired with incredible landscapes.

With cold, calm conditions comes the additional potential of fog and on all three occasions, I was fortunate to encounter it in each of the locations whilst shooting. The first location was Cong, in Co. Mayo which features a beautiful small woodland next to the rushing Cong River. The icy conditions made for crisp images in the shade while the morning sun began to illuminate and create a layer of mist that would begin to rise from the water’s gradually warming surface.

As I have found on a few occasions when trying to capture fog within woodlands, that the deeper one finds themselves within them, the less likely the fog emerges, and so I tended to stray by their perimeter to increase my chances of encountering fog. Gradually emerging along the banks of the river I was greeted with a wide range of striking forms that had been enveloped by the stark winter trees. A subtle variety of cool tones and colours adorned the river bank and my chances to make the most of a variety of compositions was always my priority before or if they were to vanish before me!

My venture to Coole Park in the same conditions was equally met with awe as the significant hoar frost coverage truly transformed the place into a winter wonderland. The stillness and silence in the air was cathartic and being one of less than 5 people I met over the 4 hours I spent photographing meant the solitary nature of my experience was incredibly serene.

There were numerous interesting smaller scenes that I would encounter; trees frozen into the soil from lying bodies of water, or shards of ice that created intriguing forms as they froze around the base of tree stumps creating abstract patterns. These conditions are rare but the photographic opportunity to explore them creatively was a pleasure.

Perhaps my most fruitful of each of the trips was spent in the Burren National Park. For reasons I am still to understand, I have found the Burren has been one of the most consistent locations that if fog is predicted, it will occur, and on this particular morning, it was a creative blessing. With the sub-zero conditions the Burren was a playground of photographic opportunities. Fractal abstract patterns along the lakes edge, lone trees drifting in and out of the fog and hoar frost coated reeds all presented beautiful subjects to compose and work with as there was no frustration with constantly changing weather and lighting conditions.

As many landscape photographers will attest to, typically we may only experience maybe an hour or 2 at the most of optimum conditions that we capture our subject of choice in the best light, and even then, for optimum success of a worthy image, that means committing to one or two compositions. This particular morning grated me an amazing 6 hours of photography, something I could not believe but was appreciative of as the conditions remained perfect even till after I left but alas, hunger got the better of me!

Ultimately the incredible hoar frost conditions have since become one of my favourite to work within as more than anything, their stability with zero winds means time to approach our work can be more considered. I have become stressed when the sometimes panic-activated phase of trying to capture beautiful imagery that can overwhelm us when the lighting conditions are quickly fading and we are without a worthwhile subject, composed pleasingly means we might not walk away with something to be proud of. And although sometimes that is not the overall intention of going out with the camera, and the outdoors experience is superior to the captured moment, it’s reassuring to know that when the next coating of hoar frost occurs, I’ll be equally if not more so excited to venture out and capture the Irish landscape.

Comment

A Landscape Photographer's Multi-Day Equipment Kit Part 2.

Comment

A Landscape Photographer's Multi-Day Equipment Kit Part 2.

In my previous post I wrote about the type of equipment that keeps you warm, dry & comfortable when out in the field. This next segment will go over all the gear I utilise when out camping on location to make the most of sunsets and the following morning’s sunrise with a hope of some astro photography in between.

Sleep

PJ Rankin_Drop in the Ocean-2.jpg

MSR HUBBA HUBBA NX 2

I will probably end up stating the importance of most of the items in this list, but I think it’s fair to say that your tent choice definitely will determine the level of comfort of your overnight trip and should not be skimped on! I have been using the MSR Hubba Hubba NX2 for a few years now and it really is an excellent tent for its size and weight. My previous North Face Tadpole tent packs down to the same size and weight roughly in a pack and while it certainly was brilliant at holding its own against strong winds, the liveability space was significantly less when used with two people which often occurs. so after owning it for 15 years, it was time to migrate to an updated model. The MSR is plenty spacious for 2 people, including all my photo equipment, and whatever else I need can rest out in either of the 2 porches. Highly recommended.

This image from 2008 was the most intense, vivid sunset I have ever seen in my life brought on by gale force winds. The Northface Tadpole held her own camping on this Co. Mayo beach, even if it was a little cosy with the extra gear.

This image from 2008 was the most intense, vivid sunset I have ever seen in my life brought on by gale force winds. The Northface Tadpole held her own camping on this Co. Mayo beach, even if it was a little cosy with the extra gear.

the-north-face-blue-kazoo-regular.jpg

The North Face Blue Kazoo

I have owned this sleeping bag for 15 years now at this stage and it has proven itself to keep me warm in all Irish camping conditions on freezing cold nights in the winter, and barely thrown over me on warm summer camps. It’s 650 Down Fill provides great warmth while being able to be cinched down very small in my pack due to it’s excellent stuff sack. It seems the newer model comes in at a warmer fill power but this has never let me down.

apibiz9t6__29718.1593680682.jpg

Thermarest Neoair

X-Therm

Until 9 years ago I had been either hauling a horrible yoga mat or forgoing anything under me at all while camping. Wanting to infinitely increase my comfort, my extensive research led me to stumble across the excellent company, Thermarest. Enter the X-Therm. I have never regretted anything sooner than realising I should have bought one early into my first camping forays. The level of comfort and added warmth provided by these inflatable pads greatly improves your night’s sleep and only packs down to the size of a Nalgene bottle.

sea-to-summit-aeros-premium-pillow-regular.jpg

Sea to Summit Aeros Pillow

This small luxury item made a really big difference to my camp comfort when I picked it up 3 years ago. As I am not of the ultralight community, where every gram counts on a traverse, I was happy enough to trade out lumpy fleece’s or jackets as a stand in for something more dedicated to the task at little space consuming expense. Inflate it to your desired firmness, it takes maybe 3 full breaths to maximum capacity and it packs down smaller than a pair of socks, really a no-brainer!

Cook

The convenient basis for any form of hot meal starts with a compact stove. I have numerous now at this stage but had originally started back in 2006 with an MSR Whisperlite. Although relatively bulky, it provides a lower centre of gravity compared to more modern compact stoves which I prefer but due to it’s size I have now retired it to only simple car camping trips. Plus, it unfortunately isn’t the easiest to get access to the required fuel here in Ireland. I followed this up with my purchase of the original pocket rocket back in 2013 and it freed up a significant amount of space in my bag which I was grateful for, it’s approximately the size of a small salt shaker and has better than expected simmer control. As I typically camp with my girlfriend we tend to have multiple stoves on the go and so when I picked up the Pocket Rocket Deluxe with the added bonus of a built in igniter it allowed for a pretty capable diminutive cooking set up. The last ‘gadget’ I use is the canister stand, it spreads the load of the cooking set up to make it more stable due to its wider footprint, ultra light and handy.

1000.jpg

GSI Microdualist

This has definitely been one of the best camping buys in my arsenal. It might not be the most minimalist but it certainly provides the most convenience in such a concise form. 2 cups, 2 bowls, 2 sporks and a pot with convenient strainer for either tea or draining boiled water. Plus I can organise it to contain one of the gas canisters to make it even more compact and space saving. The neoprene sleeves around the cups make for a touch of comfort when supping back a hot cup on frosty mornings overlooking a mountainside.

Water is entirely essential when you are miles away from a nearby road or trusted water source so I tend to bring a good supply. I have a hydration bladder that came with an older day pack which stores approximately 2 litres of water. However, this particular design is a PITA to fill conveniently and models offered by Osprey seem a much better option if buying one specifically. I’ll predominantly use this for any cooking purposes and the sleeve sits directly into a compartment at the base of my pack. I then use the Lifestraw bottle which is very durable and if I run out, can collect water from any source out in the wild and the replaceable filter unit will sterilise and remove any contaminants while drinking. I’ve found this method to be the most streamlined so far without solely relying on accessing and treating water on location while carrying a small amount of water weight in the pack.

the-north-face-terra-40-mountaineering-backpack.jpg

The North Face Terra 40

Everything I use on an overnight trip packs down into this 40 litre rucksack. It has been an excellent purchase and has really stood the test of time with all of my nights camping out in rugged terrain. I bought this back in 2006 and it still works perfect. However, like any camera bag, my needs are changing and adapting and I may move into something a touch larger to be the ultimate single bag carry all.


I hope this gave you a helpful breakdown of wild camping comfort to practice your landscape photography, or just up your camping game in general! If you have any further interest in techniques or ideas for your set up, just comment below, I’d like to hear your thoughts, questions or suggestions!

Comment

A Landscape Photographer's Multi-Day Equipment Kit Part 1.

Comment

A Landscape Photographer's Multi-Day Equipment Kit Part 1.

Happy New Year everyone and here’s to 2021 on being significantly better than the last. Something I have been meaning to write for a while now, has been a kit list of sorts that I find essential for both comfort and protection when I head out into the elements any time of year to photograph the landscape. I will note immediately this article will be omitting camera equipment from this particular list as everyone has their preferred systems and this piece focusses on what I would consider a summary or refinement of all my years experience camping in remote/wild locations to capture the landscape. Nothing will deter you from your photography faster than being ill prepared for inclement weather, particularly when you are far away from the even the safe haven of your car or any other form of basic shelter. One caveat that I will mention is I am of the buy once/cry once philosophy, so while some of these items can be considered expensive, just note they are more than likely a 1 in 10 year purchase timeframe at a minimum and I do tend to take advantage of sales/rewards points where possible. Without further ado….

Outer Layers

I have found over the years that what I wear, greatly impacts my level of comfort (and endurance) to how long I can be out photographing for. My fascination and ultimately admiration for technical wear began approximately 15 years ago when I worked in an outdoor store in Belfast. Reading through the literature of the accompanying brochures for all the high end technical wear for summiting mountains or camping in remote locations gave a deeper understanding as to how this equipment can protect you but also the material science behind it which I believe is more justifiable in cost to keep you warm and dry than splashing out on an expensive suit because of a brand name. Here are my recommendations.

arcteryx-beta-ar-jacket-men-s-matador-30.jpg

Arc’teryx Beta AR

Approximately 15 years ago when working at the previously mentioned outdoor specialist store, I took advantage of the (very) generous staff discounts on North Face equipment. I picked up a summit series Gore-Tex jacket and from then on realised the importance of the fabric technology within. Unfortunately due to some of the lining wearing away, the cuff straps disintegrating and the jacket being well worn I upgraded to my current waterproof shell, the Arc’teryx Beta AR. While significantly lighter than the North Face jacket I owned previously, this shell has been bombproof. I have sustained 5/6 hours solid in lashing rain and storm force winds off the Donegal coast and this kept me bone dry. The jacket features Gore-Tex pro fabric which is their top of the line waterproofing technology and all the seams are sealed. Waterproof zips, adjustable cuffs and a very generous hood helps shield you from the elements, it’s tailored nicely but certainly leaves ample room to layer up, I highly recommend it.

BK.jpg

Patagonia Powder Bowl Pants

Another staple in my protection from the elements are my Patagonia Powder Bowl pants. While these are technically snowboarding pants, their Gore Tex fabric and slightly soft inner lining means I can wear these comfortably on warmer days on their own and be sure to be protected. They also feature handy lace hooks and my favourite thing about them is their ventilation zips down the sides for dumping excess heat during more strenuous hikes. There are lighter alternatives on the market but I tend not to worry about gram counting where it compromises effectiveness.

irYDYTEjNCjPMtc667exgP-2560-80.jpg

Salomon Quest 4d 3 GTX

As you can imagine by now the GTX yet again stands for Gore Tex and I have had these boots for a number of years now and have always been happy with their performance. These are very light weight as far as my experience with boots go and most importantly have always kept my feet dry when hiking across the Irish bog land. The grip is excellent and it feels very secure on unstable terrain, they have saved me from some serious sprains on numerous occasions when the terrain underfoot has given way unexpectedly.

Insulation

The key for dressing for the elements appropriately is based on the tried and tested layering system consisting of a base layer/insulation/shell. This flexibility allows you to add or remove layers as necessary depending on level of activity and as those of us know with a heavy pack full of equipment, this is essential. However, I do have a variety of these as unfortunately there is not a do-everything piece due to the wide temperature range here in Ireland.

280020-00-d-563281.jpg

Rab Valiance Jacket

Rab Valiance Jacket

My ultimate winter jacket here in Ireland, is the Valiance. It is filled with a hydrophobic down, the warmest warmth to weight ratio insulation material that also is moisture resistant. While I won’t get into the pros and cons of down vs synthetic, this new hydrophobic process adds further resistance to protecting the down whilst also reassuring you it will not clump up and fail to keep you warm. While this jacket is considered waterproof, I would not feel as confident that it could keep me as dry as my Beta AR. I do find it an excellent compromise to keeping me dry and toasty in the wet Irish winter. I have found it’s biggest benefits is not only is it incredibly warm and feels like you are wrapped in a duvet, but that it packs down to the size of a grapefruit, perfect for stowing in the pack and adding plenty of warmth at the end of the day on location.

1020678-n0.jpg

Arc’teryx Cerium LT

Arc’teryx Cerium LT

Probably my most worn item over all, is this excellent down jacket. It packs down to the size of a Nalgene bottle but keeps me plenty warm during the evenings when camping from Spring through Autumn. It has a durable water repellent (DWR) coating which again is useful for light showers if you are caught out.

81RyZpBS1SL._AC_SY450_.jpg

Atom LT

Arc’teryx Atom LT

The only synthetic layer I have in my collection is this version of the Atom LT. They do have a hooded version but as I originally envisaged wearing it under another insulating layer during extra cold days, I opted for this model instead. The side panels are stretchy and allow for temperature control, the shell has a DWR finish which helps against those spontaneous Irish showers and I general will wear this year round whether I’m shooting landscapes or not.

Vallerret_Markhof-2.0_Black_feature_Mid_2000x.jpg

Vallerret Markhof Pro 2.0 Gloves

Vallerret Markhof Pro 2.0 Gloves

A relatively recent addition to my photo clothing arsenal are the Markhof gloves. I have found them very warm and comfortable, but the dexterity in them has been the best thing about them when operating my camera or drone in the cold weather. The flippable thumb and index finger tips have been crucial when fiddling with dials, menus and touchscreens.

Base Layers & More

It may seem unusual that the first layer of clothing that you put on is the layer of clothing I’ve left till last, but I genuinely believe that that the two other categories have given me the largest benefit when shooting on location to my level of comfort and protection. And when one tries to refine their ideal collection past that point, this area has been far more forgiving when upgrading items in your clothing kit.

Outdoor Research Ferrosi Pants

These have been some of the most comfortable pants I have ever worn hiking. They’re incredibly stretchy, so no movement is restricted whatsoever and they have a handy DWR finish on them which means that rain sheds from them in light showers. However, their thinner fabric is more traditionally suited for more 3 season trips when I’m out shooting landscapes but I tend not to be affected by the cold on my legs too much in general.

The North Face Warm Crew

In colder conditions when hunting for new landscape perspectives I tend to wear this particular synthetic base layer to keep me warm but comfortable. I have found that it has been pretty good for moisture management and after a couple of days wear does not seem to hold on to odours which is a great benefit.

SmartWool PhD Medium Crew Socks

For many years I pretty much ignored the allure of proper hiking socks until I decided to splurge a little 2 years ago and I regret I am so late to the ‘game’. These are incredibly comfortable and I have trialled them numerous days in a row where they not only kept my feet warm and dry without causing blisters, but they do not seem to retain any significant odour either.

Rab Forge SS Tee

This has only been a recent addition to my clothing kit list but I’m very happy with them. They are made from a merino blend which makes it both warm but temperature regulating whilst having the ability to wick away any moisture produced through hiking. I also appreciate that the stitching around the shouleders falls in such a way that the camera bag straps have nothing to rub against and cause irritation.

Thanks for taking the time to look over this summary. I hope it has given you an idea of the best way to keep yourself protected from the elements and hopefully provided a bit of a shortcut in the amount of research you’ll need to do yourself to be happy out shooting in the worst conditions. In the 2nd part of this short series, I’ll be going over the list of equipment I use when camping on location which should provide a comfortable shelter and nice sleep ready for multi-day shooting. Stay tuned.

Comment

Clare Island Survey

Comment

Clare Island Survey

Clare Island Sunset

A few thing’s have changed for me recently hence my absence in posts here. I’ve had a very busy summer with multiple projects and more landscape work in the pipeline I hope to release shortly. I moved to Galway, a goal of mine after living and enjoying the past 6 years in Cork, now time to fully build out my new home office space to work from. However, the most exciting bit of news came when I was contacted in June about collaborating with the Royal Irish Academy in providing a cover image for their latest edition of the Clare Island Survey. This landmark survey was first coordinated by Robert Lloyd Praeger with a team of 100 scientific specialists and published in 1911 and has since gone on to become an “invaluable body of research informing future conservation of natural and built heritage of Ireland and Europe.”

I was pleased that the design team favoured quite a few of my images of Clare Island in consideration for the cover image but ultimately they opted to choose one of my aerial images of home at sunset. The Clare Island Survey of 1901-11 was the most ambitious natural history project ever undertaken in Ireland and the first major biological survey of a specific area carried out in the world and It’s been a pleasure to collaborate with the Royal Irish Academy on this latest rendition of the project. You can purchase a copy of the book directly from the RIA here.

Copyright Drop in the Ocean.jpg

Comment

Montenegro

Comment

Montenegro

The Adriatic sits as the serene gateway between Central Europe and the westerly fringes of the Balkan Peninsula, hosting some of the most stunning coastlines and countries steeped in history. Having travelled these region on numerous occasions I have always been fascinated with its maritime affiliation intertwined with a slower pace of life, all while being set amongst some of the most stunning landscapes in Europe. This time I managed to travel to something that’s been on my landscape bucket list for a long time, Montenegro.

Starting in the Northern part of the country, after a steady 3 hour windy drive from the Bay of Kotor, the stunning surroundings of Durmitor National Park rises towards you as you near. Encompassing the Dinaric Alps and hosting the country’s famous Black Lake, it is home to wild bears and wolves, this UNESCO world heritage centre provides some incredible landscapes to explore. My only regret was not organising to stay even longer than the time I had there, but I have every intention to return in the future.

Having visited the country in October, the indigenous pine laden northern landscapes were dotted with splashes of iconic autumnal hues of yellows and reds. The drive to this region from the south west is breathtaking and the serpentine roads through the mountains, particularly at autumn are something to be admired.

River Tara Canyon, the deepest canyon in Europe and the 2nd deepest in the world.

Overlooking the Tara River Canyon, one can really appreciate the serenity of this region of the less famous Dinaric Alps. Open to kayaking and zip lining or quiet get away, it is truly beautiful

One of the most immediate draws I had to Montenegro was my discovery of the Bay of Kotor. This incredible fjord region on the west coast of the country draws every visitor in to it’s incredible surroundings dotted with small villages all around it’s meandering bay.

Featuring Old Towns, chapels, man made islands and stunning mountainous views, this region was one of my favourites during my time here. Particularly relaxing was the numerous waterside restaurants where one could get a breakfast omelette and an espresso for around €5!

Misty Mountains in the Bay of Kotor

One small village on the fjord’s coastline is Perast. This beautifully peaceful area hosts a small road that runs alongside the shoreline with numerous eateries spaced among little docks, all built in the traditional sandstone architectural form that is so iconic in the Adriatic region.

One of Bay of Kotor’s most iconic sights is the manmade island of Our Lady of the Rocks whose foundations are made from a mixture of generic rock coupled with old and seized ships that were also loaded with rock.

The Adriatic coastline never fails to impress, regardless of which international border it laps against. Budva being the most famous of Montenegro’s coastal towns, it is home to a stunning Old Town, with narrow cobblestone lanes that open into a variety of beautiful plazas featuring plenty of al fresco dining options.

Within viewing distance from the old town and available for excursions, is the small island of Sveti Nikola, set amongst the crystal clear waters of the Adriatic.

Other small fishing and elite establishments could be found in the sleepy village of Petrovac or the more northerly and famous private resort of Sveti Stefan.

Despite the country's miniature size and situated next to its more popular neighbour Croatia, Montenegro manages to feature an incredible range of landscapes and I hope to return again to the northern region of the country to explore the Dinaric Alps even further.

Comment

Italy

Comment

Italy

Conca Dei Marini

Having taken some time away from online activity I wanted to update the journal with some of the projects/events/trips I have been up to since last posting. First up, a photo trip to the Amalfi coast...

Positano

Exploring the stunning Amalfi coastline with its intricate winding roads and steep pine coloured cliffs that drape into the Mediterranean offers a plethora of photographic rewards for those with a love of the Southern European landscape.

Pastel hued cliffside dwellings that intertwine with one another, each seeking out a view over the building below it are the format along the entirety of the steep Amalfi coastline. The beautiful popular destination of Positano hosts sinuous narrows streets and pathways throughout the town that leads one to off the beaten track pizzerias or independent Limoncello sellers.

Sitting at the foot of Monte Cerreto mountain, Amalfi town hosts a seafront line of traditional Mediterranean architecture preserving a bustling environment within, all while its stunning mountainous backdrop overlooks this popular destination.

The stunningly clear azure waters of the Mediterranean sea invite onlookers with ease and warm temperatures, all while gently lapping against the white shingle shoreline.

Fiordo di Furore

Perhaps one of the most spectacular beach locations amongst the entire Amalfi coastline, Fiordo di Furore is Italy's only fjord and nestles a glistening shingle beach that looks out through a narrow view between the steep cliffs either side.

My base for the three days while photographing the coastline was the sleepy village of Conca Dei Marini. situated approximately halfway between Amalfi and Positano, it suited as an off the beaten path cliffside hideaway. Hosting a few of its own cliffside dwellings (and many many steps!) it serves as a small harbour launch point to access either Positano or Amalfi by boat, but can be accessed by bus from the main road above. The views towards Sorrento in the distance or down at the crystal clear waters of the compact beach truly are wonderful photographic backdrops, no wonder this coastline is such a draw for weddings and wedding photography.

Limón Espresso

It was a pleasure getting to photograph this rustically elegant region of Italy and sampling some of the local delicacies, in particular the Limón espresso (and I'm not a coffee drinker at all!). Should you be looking for photography for wedding or portraits internationally and appreciate my style, please don't hesitate to get in touch.

Comment

Crosshaven

Comment

Crosshaven

Situated approximately 30/40 minutes from Cork City, is one of my favourite little getaway towns in the county. Crosshaven lies right at the mouth of Cork harbour and views of Rochespoint Lighthouse can be seen nearby with the history filled complex of Camden Fort Meagher a shot walk from the village centre.

The village faces Currabinny woods and looks out on numerous small water craft dotted across the bay and marinas.

Between Carrigaline and Crosshaven lies a beautiful scenic walk. Having taken wedding photographs along this route, the atmosphere is very relaxing for anyone interested in portrait, engagement or wedding imagery.

Coming from an island off the west coast of Mayo, it's always fun to check out the various yachts and boats throughout the harbour.

A beautiful winter glow casts its warm light across the landscape as the sun sets at the end of a cold day.

In 2014 I shot Sadya & Zuban's wedding event in the neighbouring Carrigaline. When looking for somewhere scenic to get the couples portraits we knew we had to head straight towards the shoreline by the Carrigaline to Crosshaven walk.

Getting to enjoy the slower pace of life down here is an enjoyable departure from the hustle and bustle of the city. If you would like to have your photographs taken here through either portrait or engagement sessions, you can get in touch with me here.

If there are any images you wish to own a printed copy of, please get in touch with me here.

Comment

Drone Photography

Comment

Drone Photography

Over the past few months I have been trying a new perspective within my landscapes by using a drone and have been rewarded with some stunning views.

Circling around the cliffs at the lighthouse on Clare Island and flying over the quay gave an amazing new perspective to something I have always enjoyed from ground level since childhood.

I brought it with me on my most recent trip to California and travelling with the drone was pretty easy as it fits easily inside my ThinkTank HeliPack and is perfect size for overhead cabin baggage. As it is backpack style I've found it easy to carry the vast majority of my camera equipment including all the additional batteries etc

What I love most is the fact that you can capture stunning landscape vistas to very minimalist style images such as the arc of this beach below on Clare Island.

This final shot was a composite panoramic image over the surrounding mountains of Lake Tahoe, offering breathtaking views.

If you'd love to introduce this new perspective to your wedding or portrait session, contact me here. Let me know what you think in the comments below!

Comment

California

Comment

California

During February and early March I took a trip to the west coast of California for two weeks visiting the beautiful San Diego and Lake Tahoe. Both areas offer a varied beauty in their ideal conditions, long soft sunsets of the coastline and crisp blues and whites of the snowy mountains. 

The California coastline offers stunning slow sunsets that offer a beautiful kind of light, no wonder why it's a haven for the epitome of summer imagery.

Kathryn

My trip took me from the beautiful Sunset Cliffs up to the gorgeous La Jolla and Torrey Pines National Park.

I followed up the coastline by snowboarding out in Lake Tahoe, an absolutely stunning location even if you were to just take in the breath-taking views.

One of my new favourite landscape images, below, this panorama of the mountainous landscape north of Lake Tahoe itself captured during the crisp sunset via drone looks absolutely stunning on Hahnemuhle Photo Rag Pearl.

Getting to catch up with friends and family after so many years on this trip, California was more than just an opportunity to photograph some of the states beauty and I hope to return here for more portrait and landscape work.

Comment